Xero Export
Overview
Nanonets streamlines the process of exporting files or extracted data directly to your Xero account. Once data is processed and extracted, it can be automatically exported to Xero based on the configured export triggers. You can set up multiple Xero export blocks to send data to different Xero accounts simultaneously.
Steps to Set Up Export to Xero
-
Access Workflow
- From the Extract Data page, navigate to the Workflow section via the left-hand panel.
-
Browse Export Options
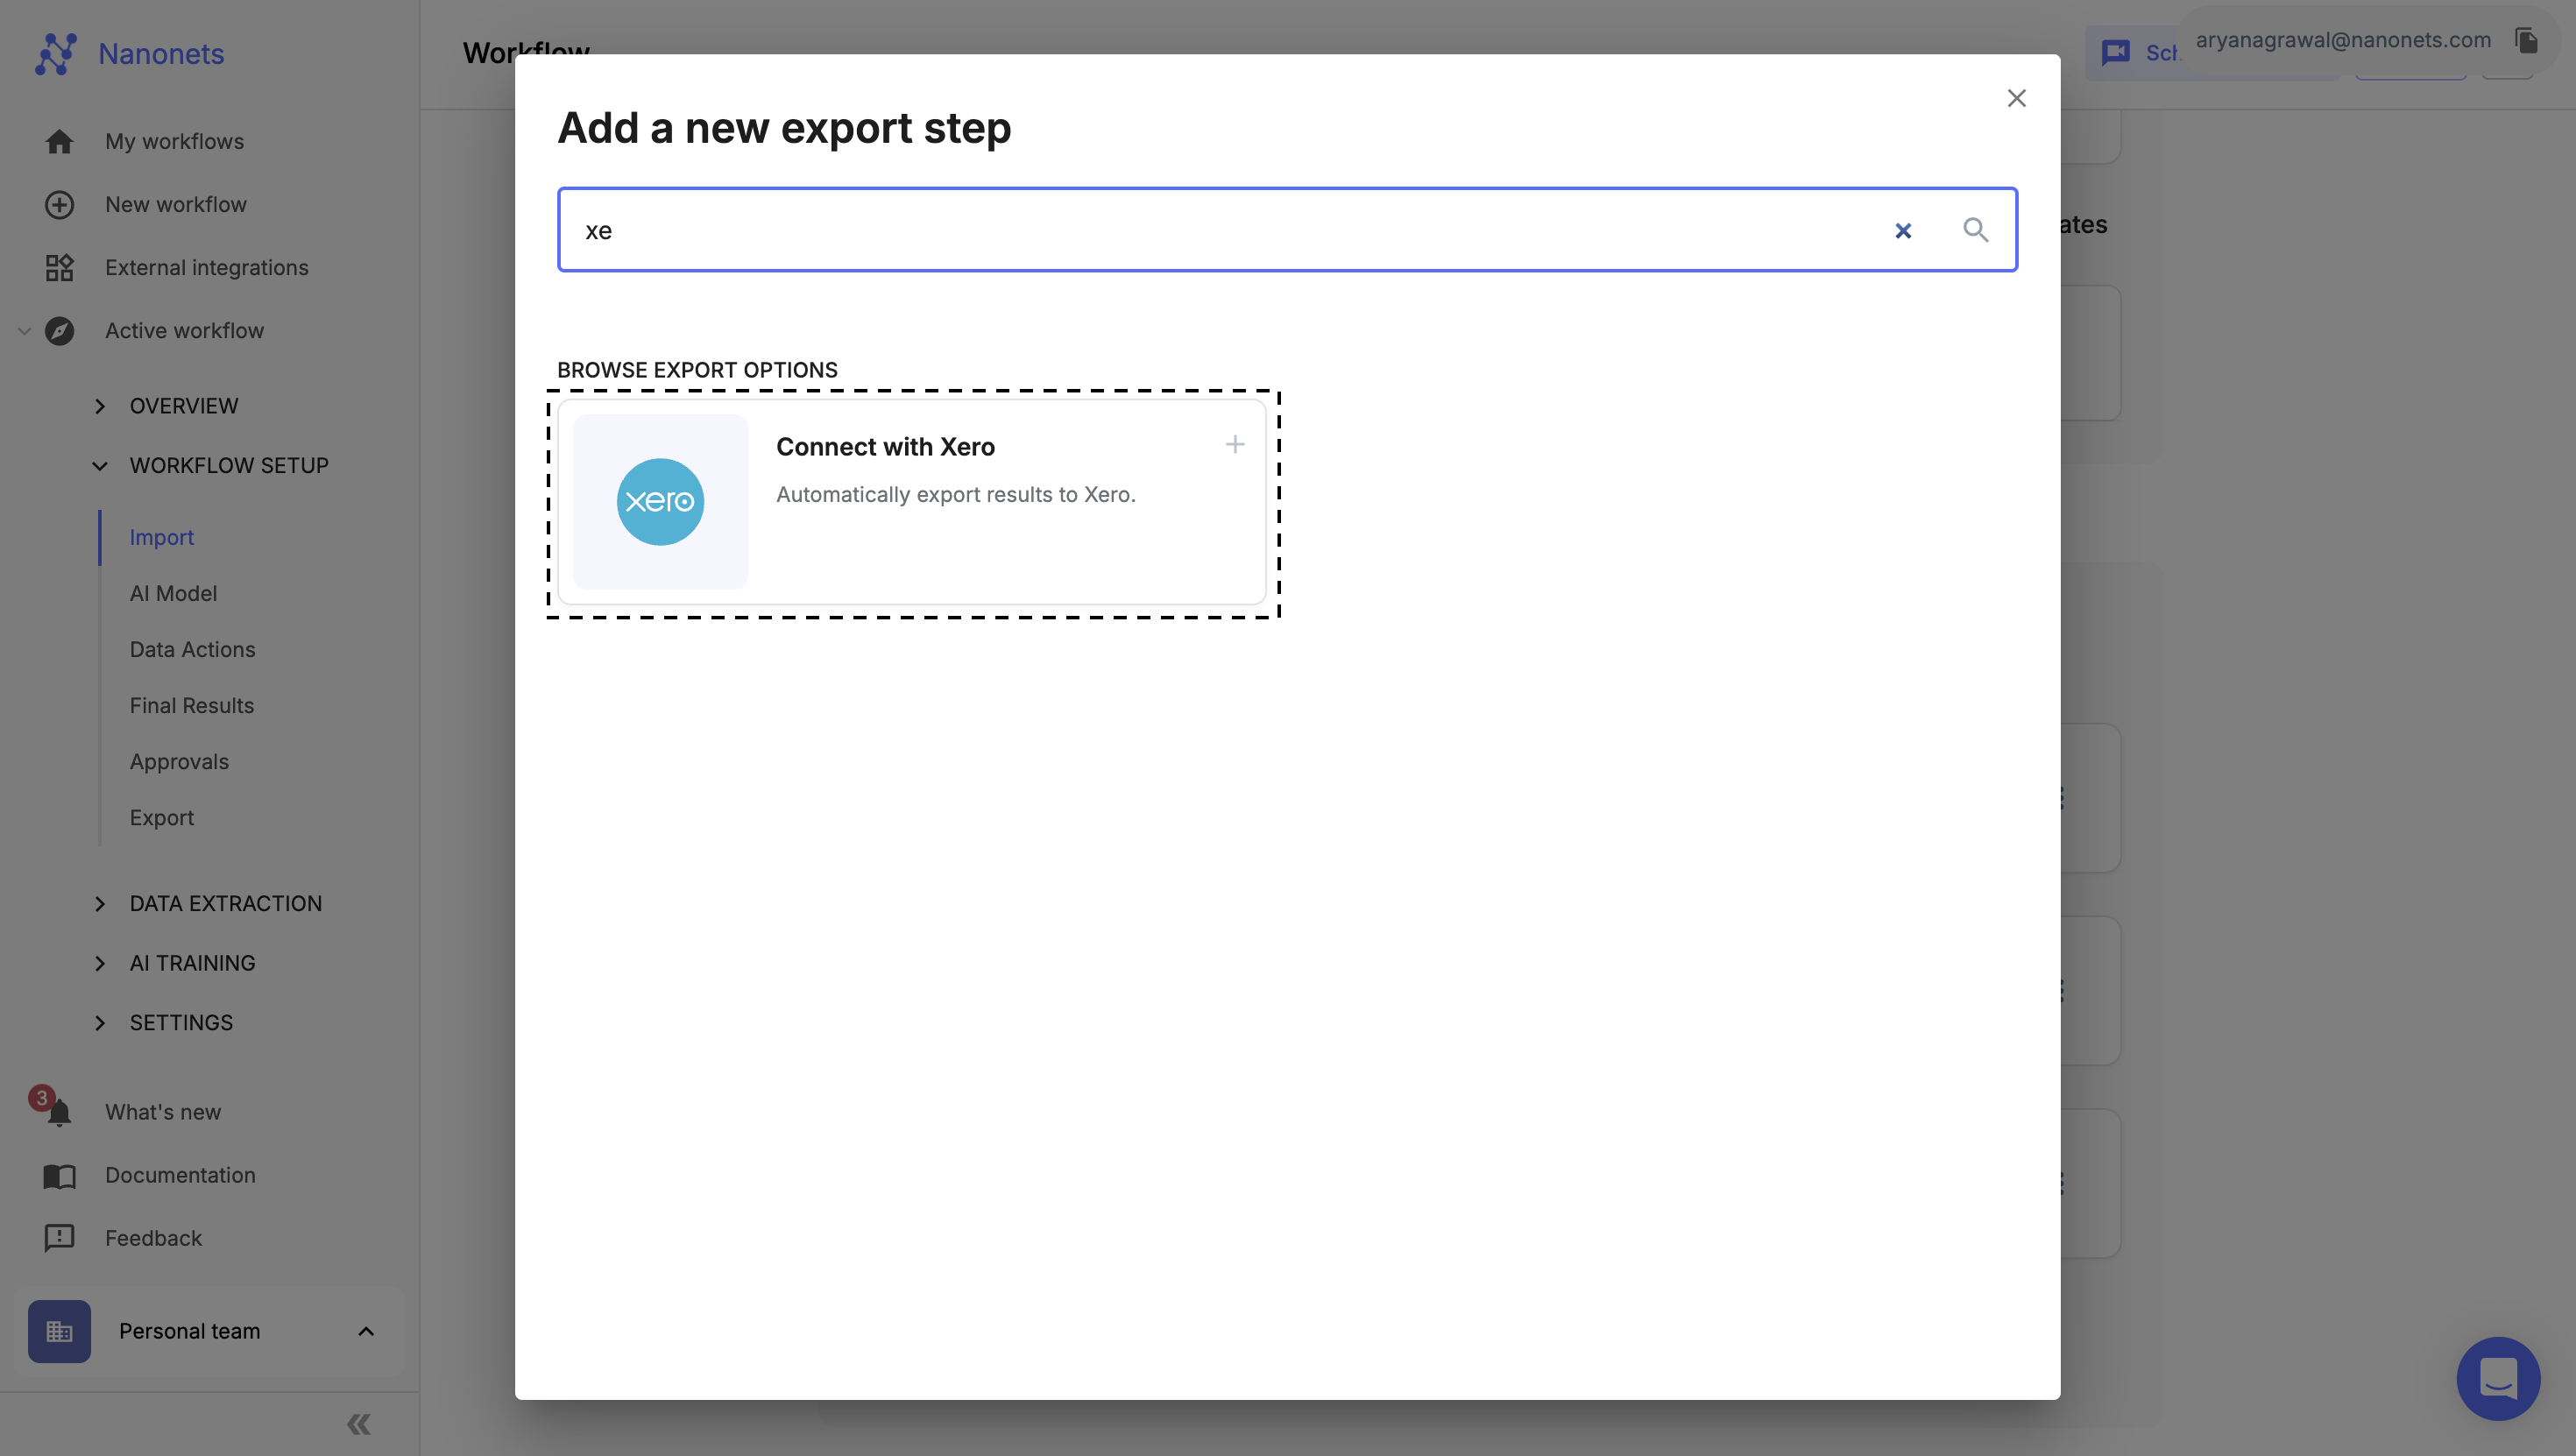
- Click on Browse all export options to see all supported export methods.
- Select Export to Xero from the list of available options.
-
Connect Your Xero Account
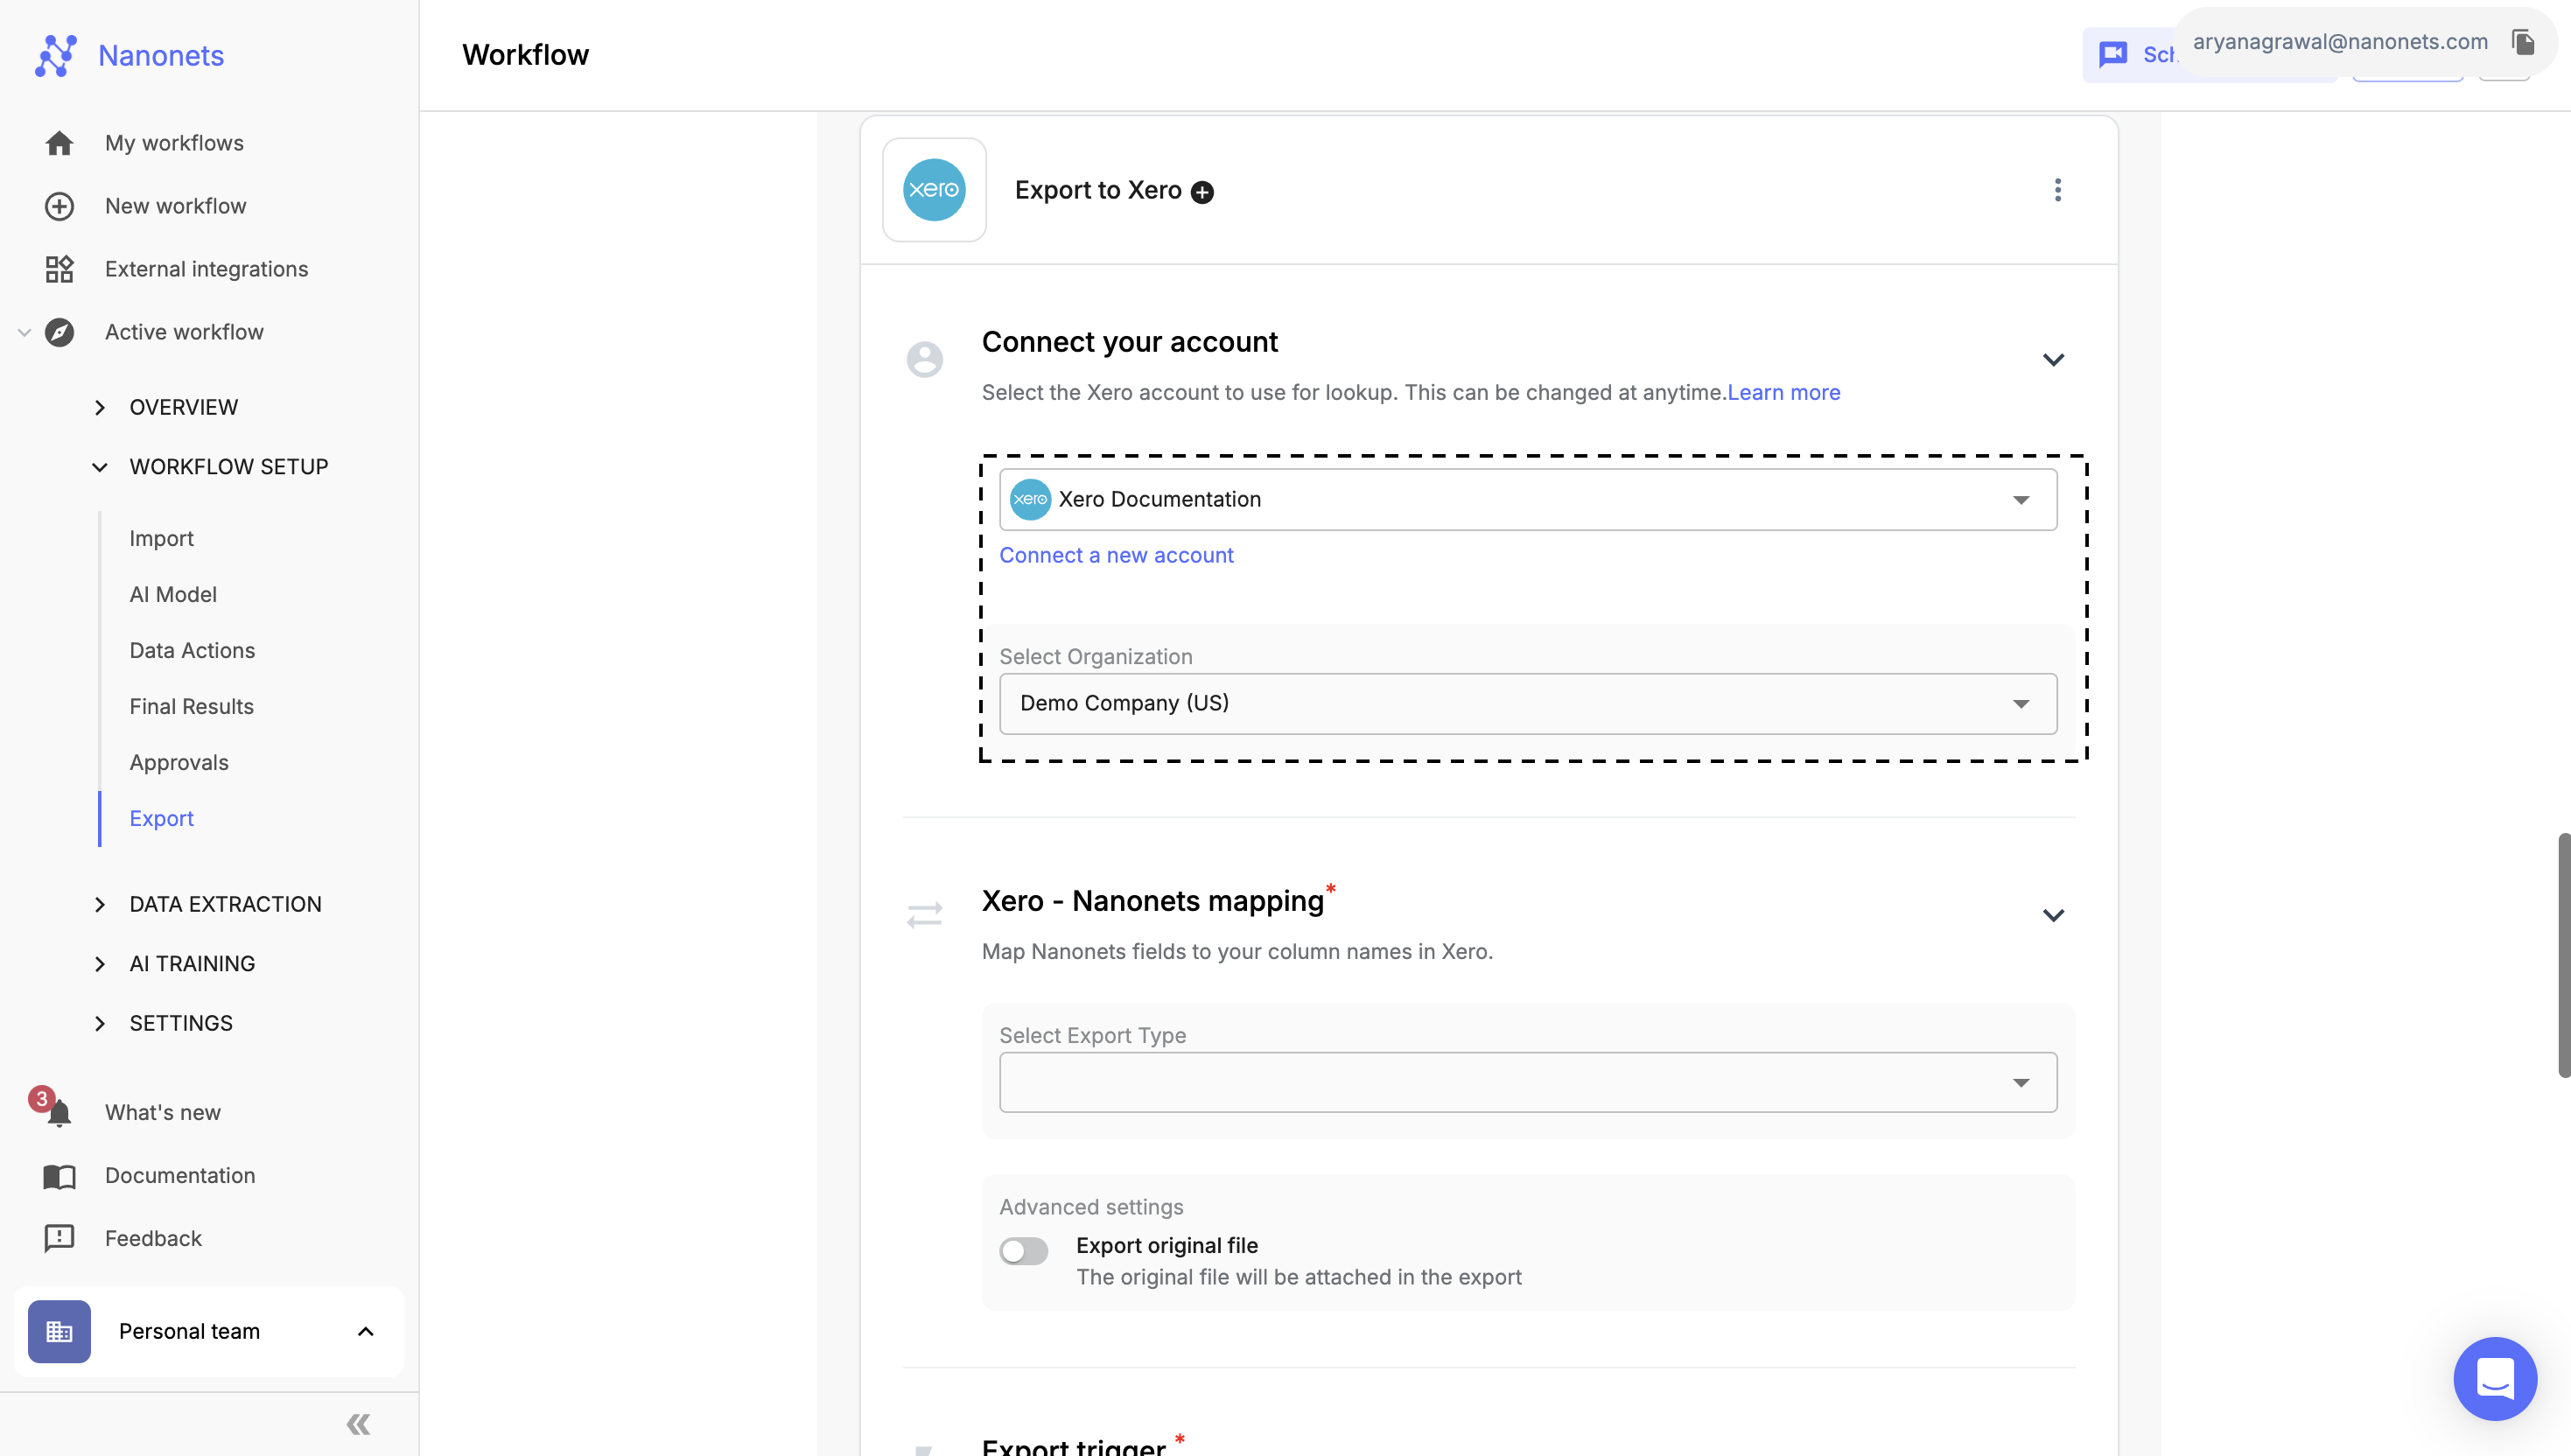
- Click on Connect a new Account and authorize Nanonets to access your Xero account.
- Once authorization is complete, select the appropriate Xero organization to connect.
-
Xero - Nanonets Field Mapping
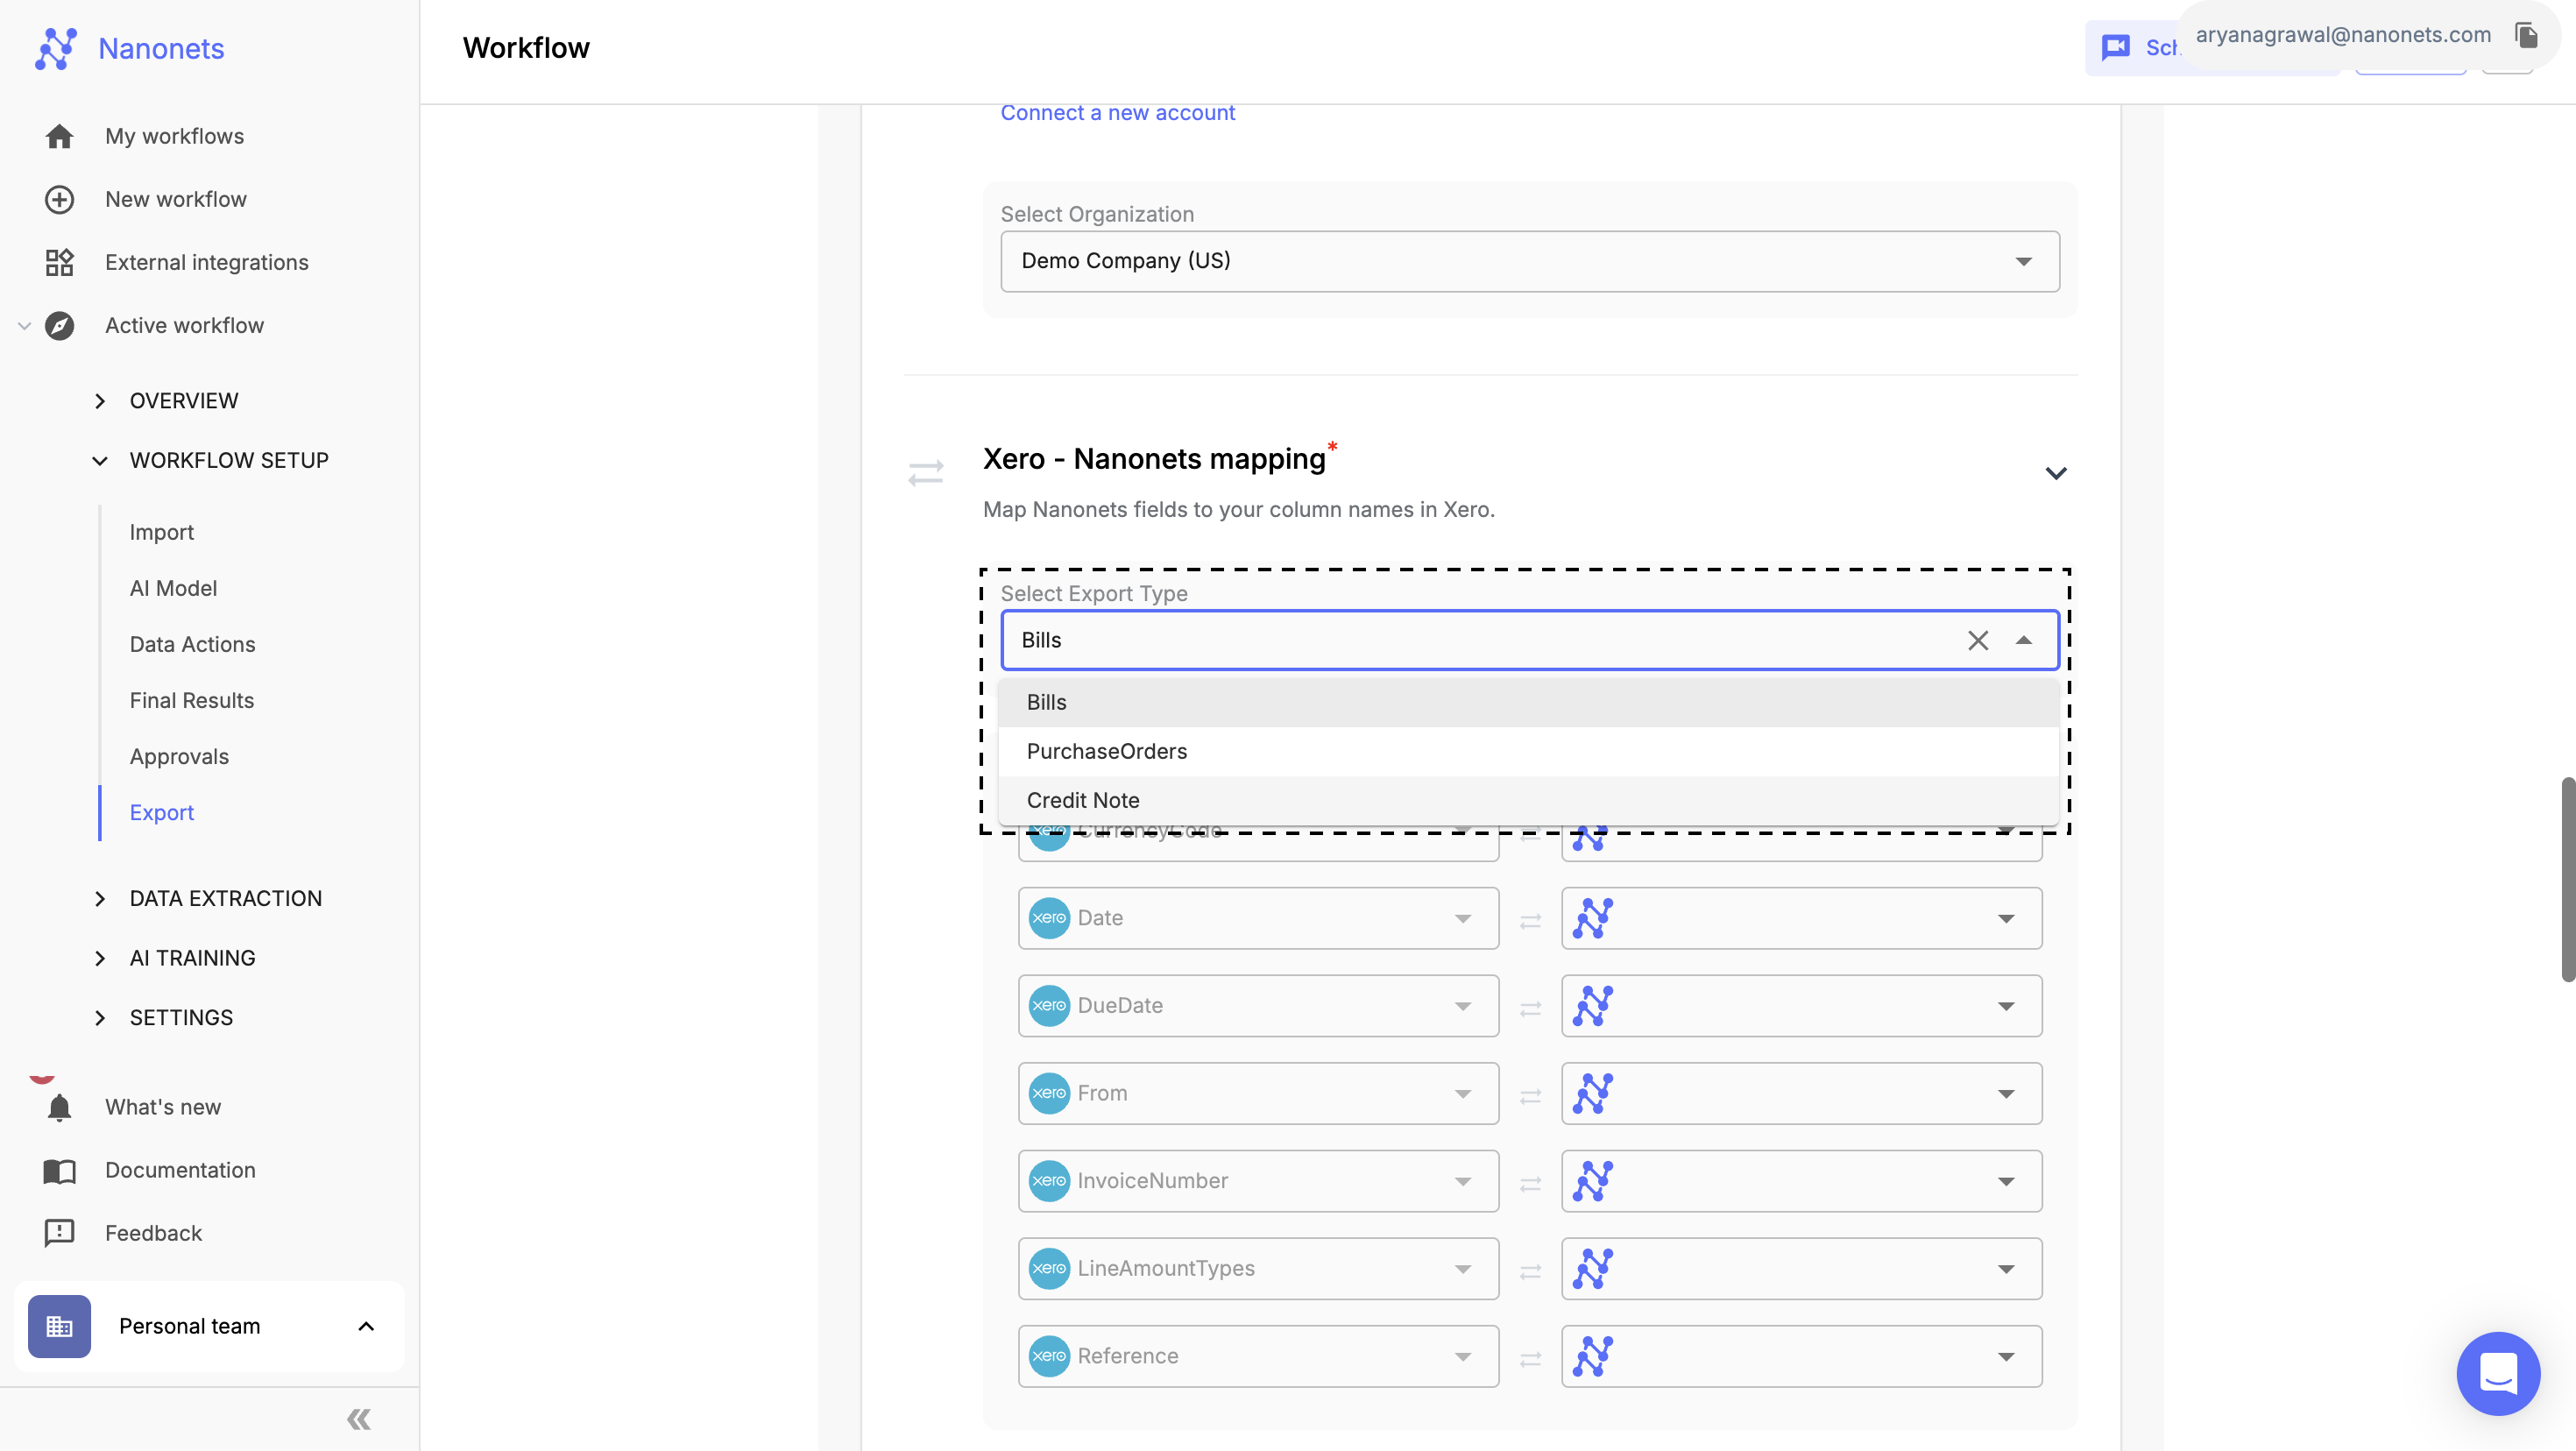
- In this section, map the extracted fields from Nanonets to the corresponding columns in Xero.
- Select the Export Type from the dropdown (e.g., Contacts, Invoices).
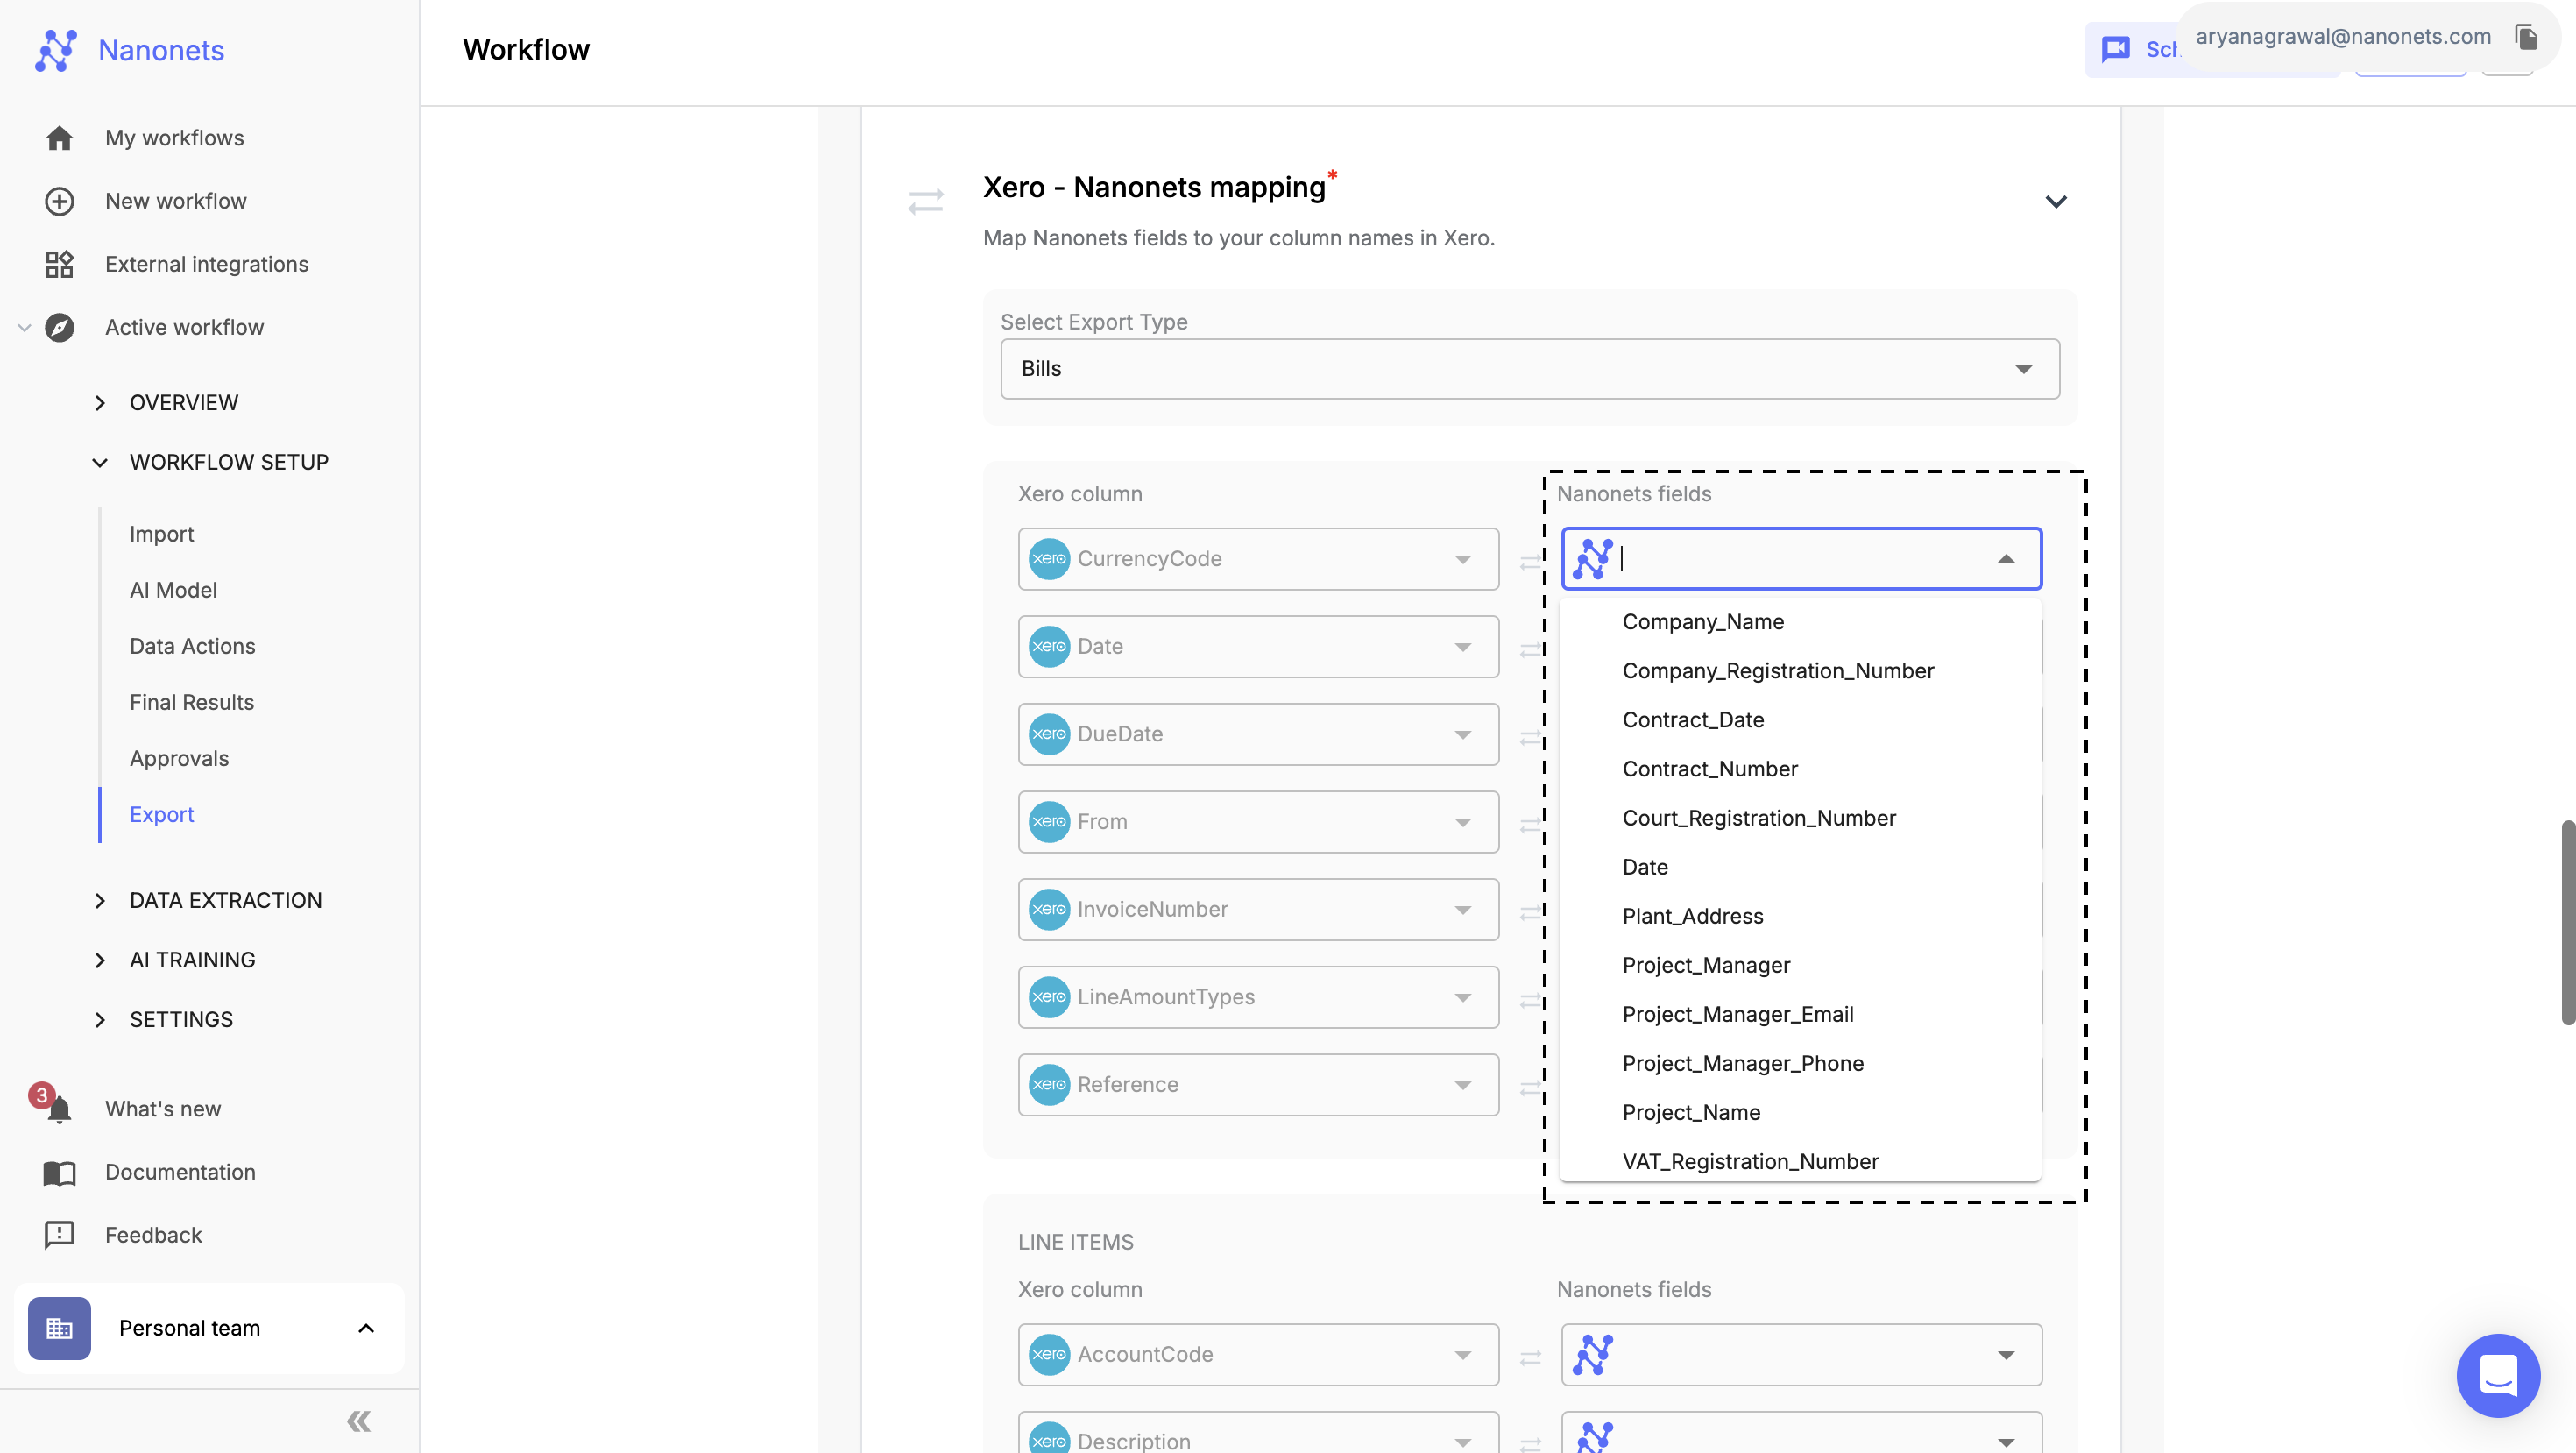
- On the left-hand side, you’ll see all the available fields from Xero. Use the right-hand side drop downs to create mappings with fields extracted by Nanonets.
-
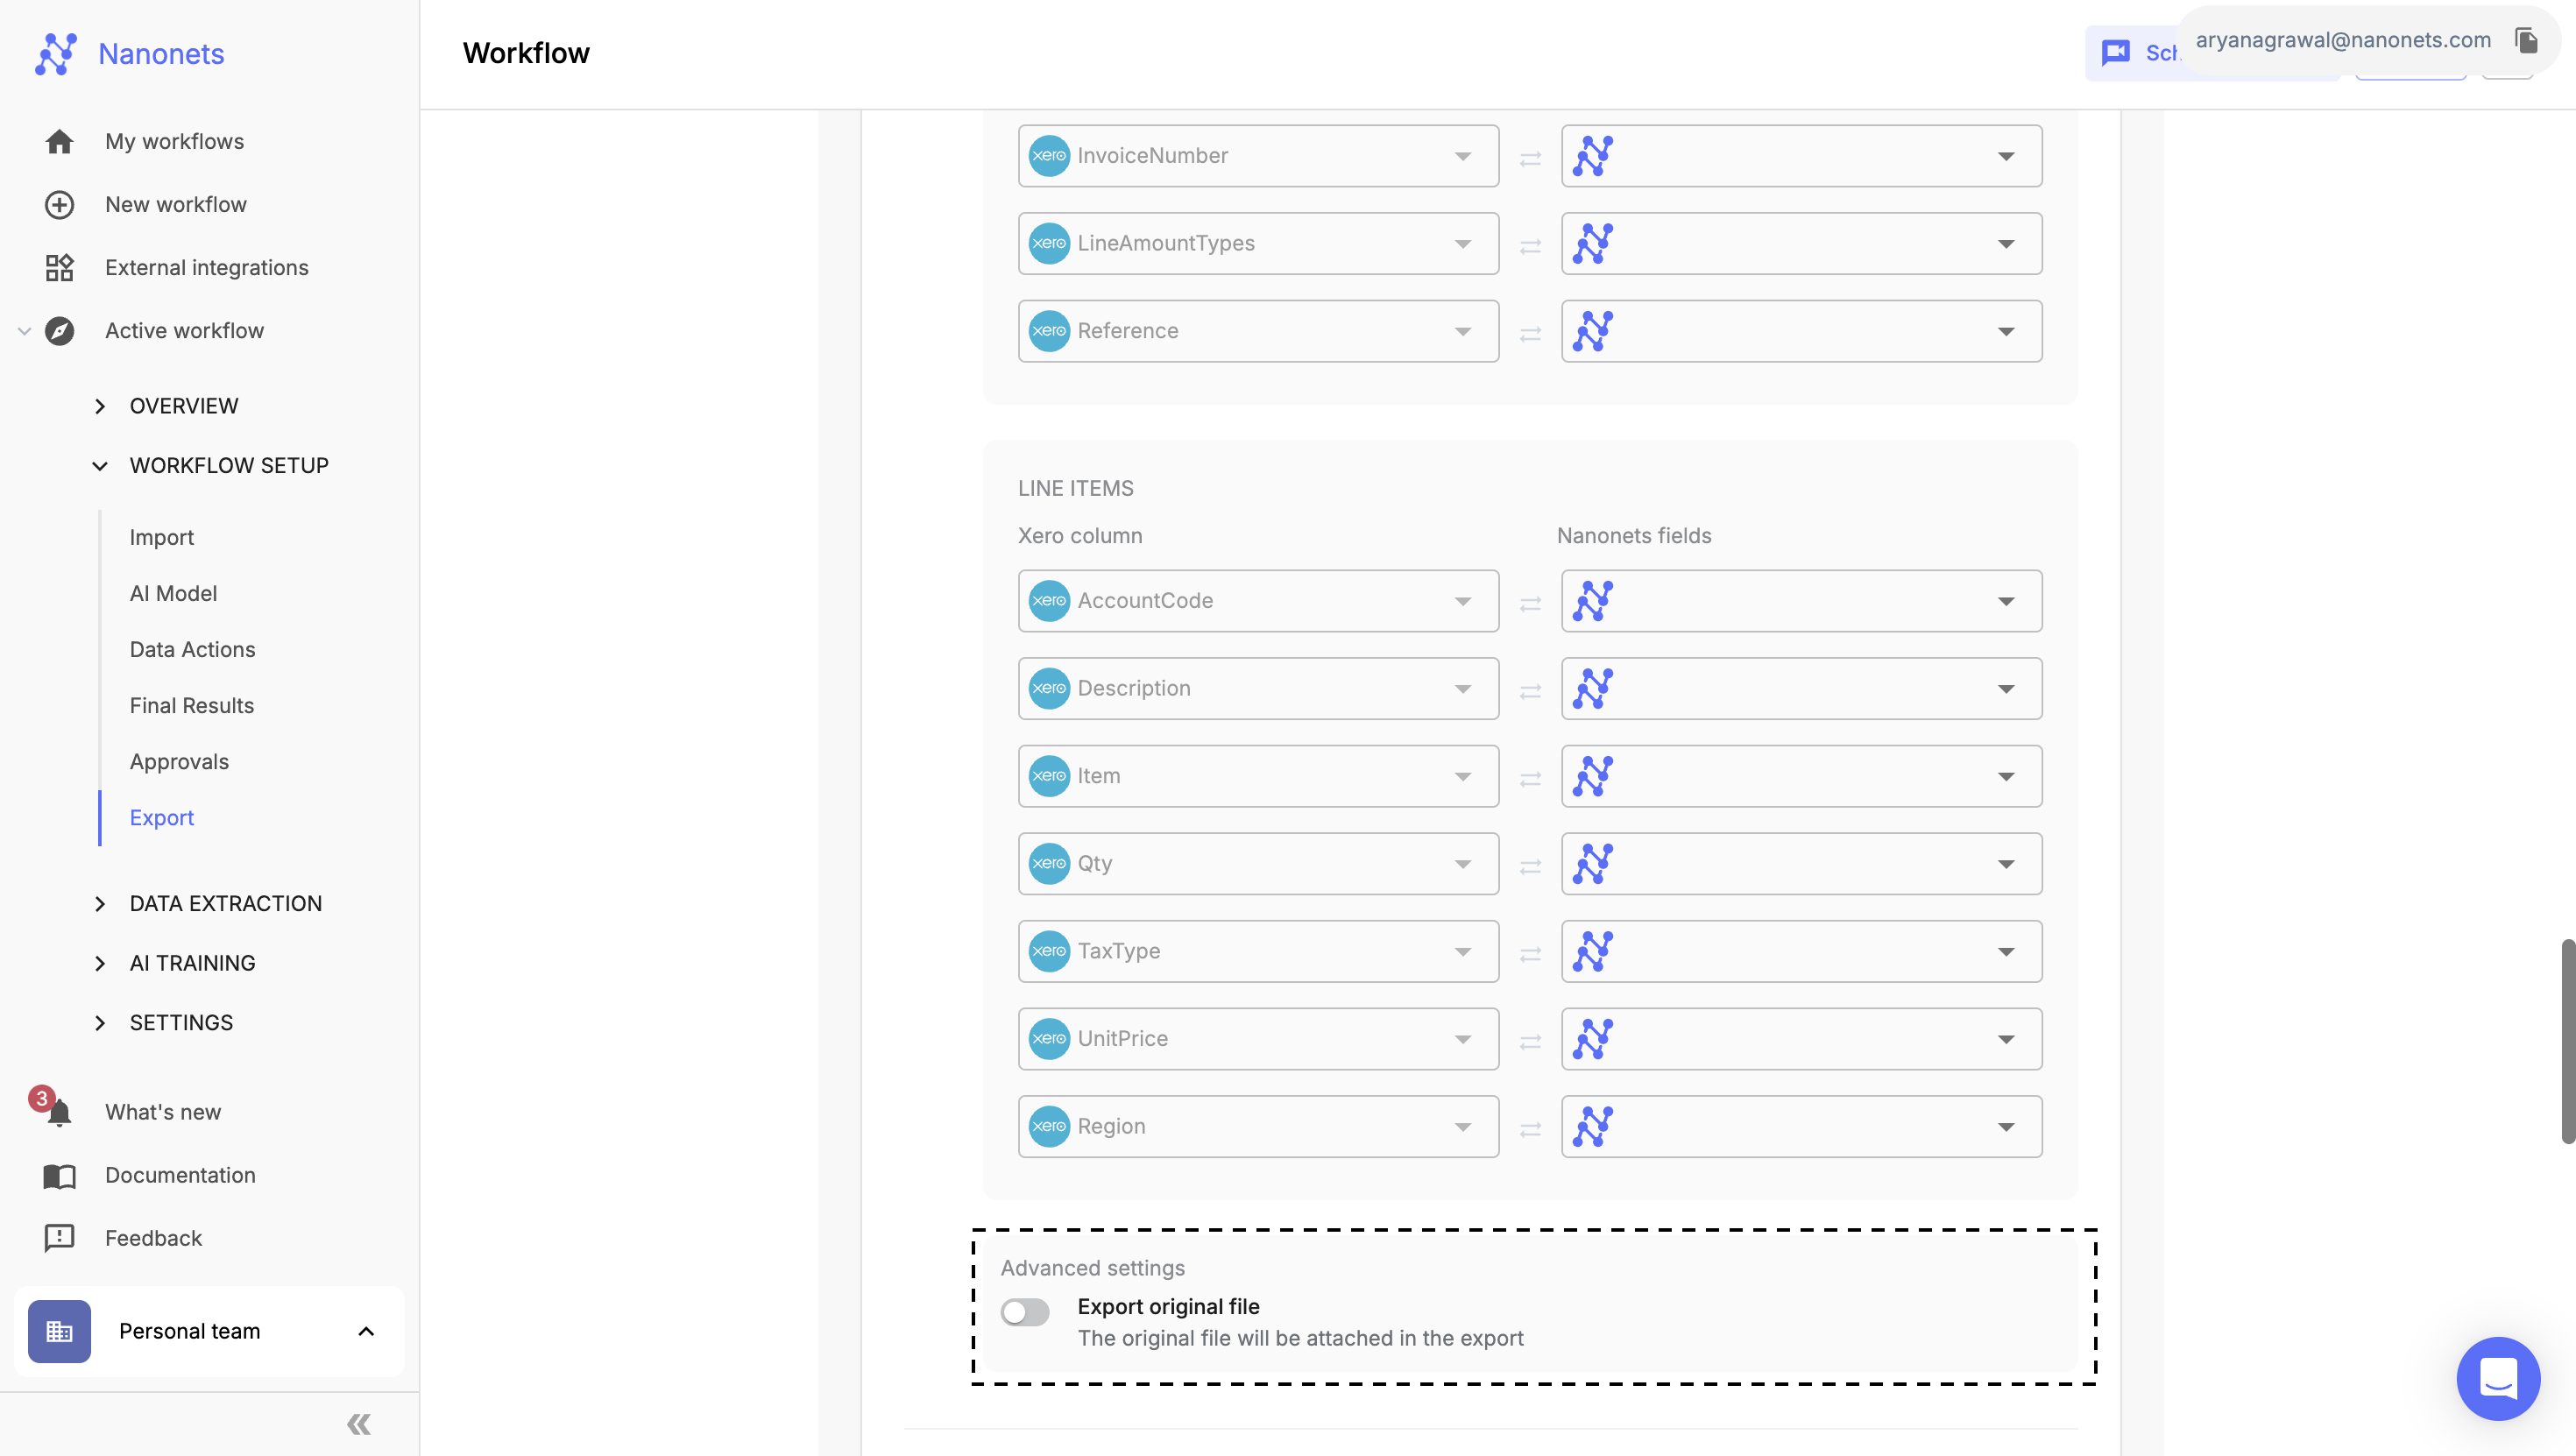
Advanced Settings
- Toggle the option to upload the original file if you want to include the source document along with the exported data.
-
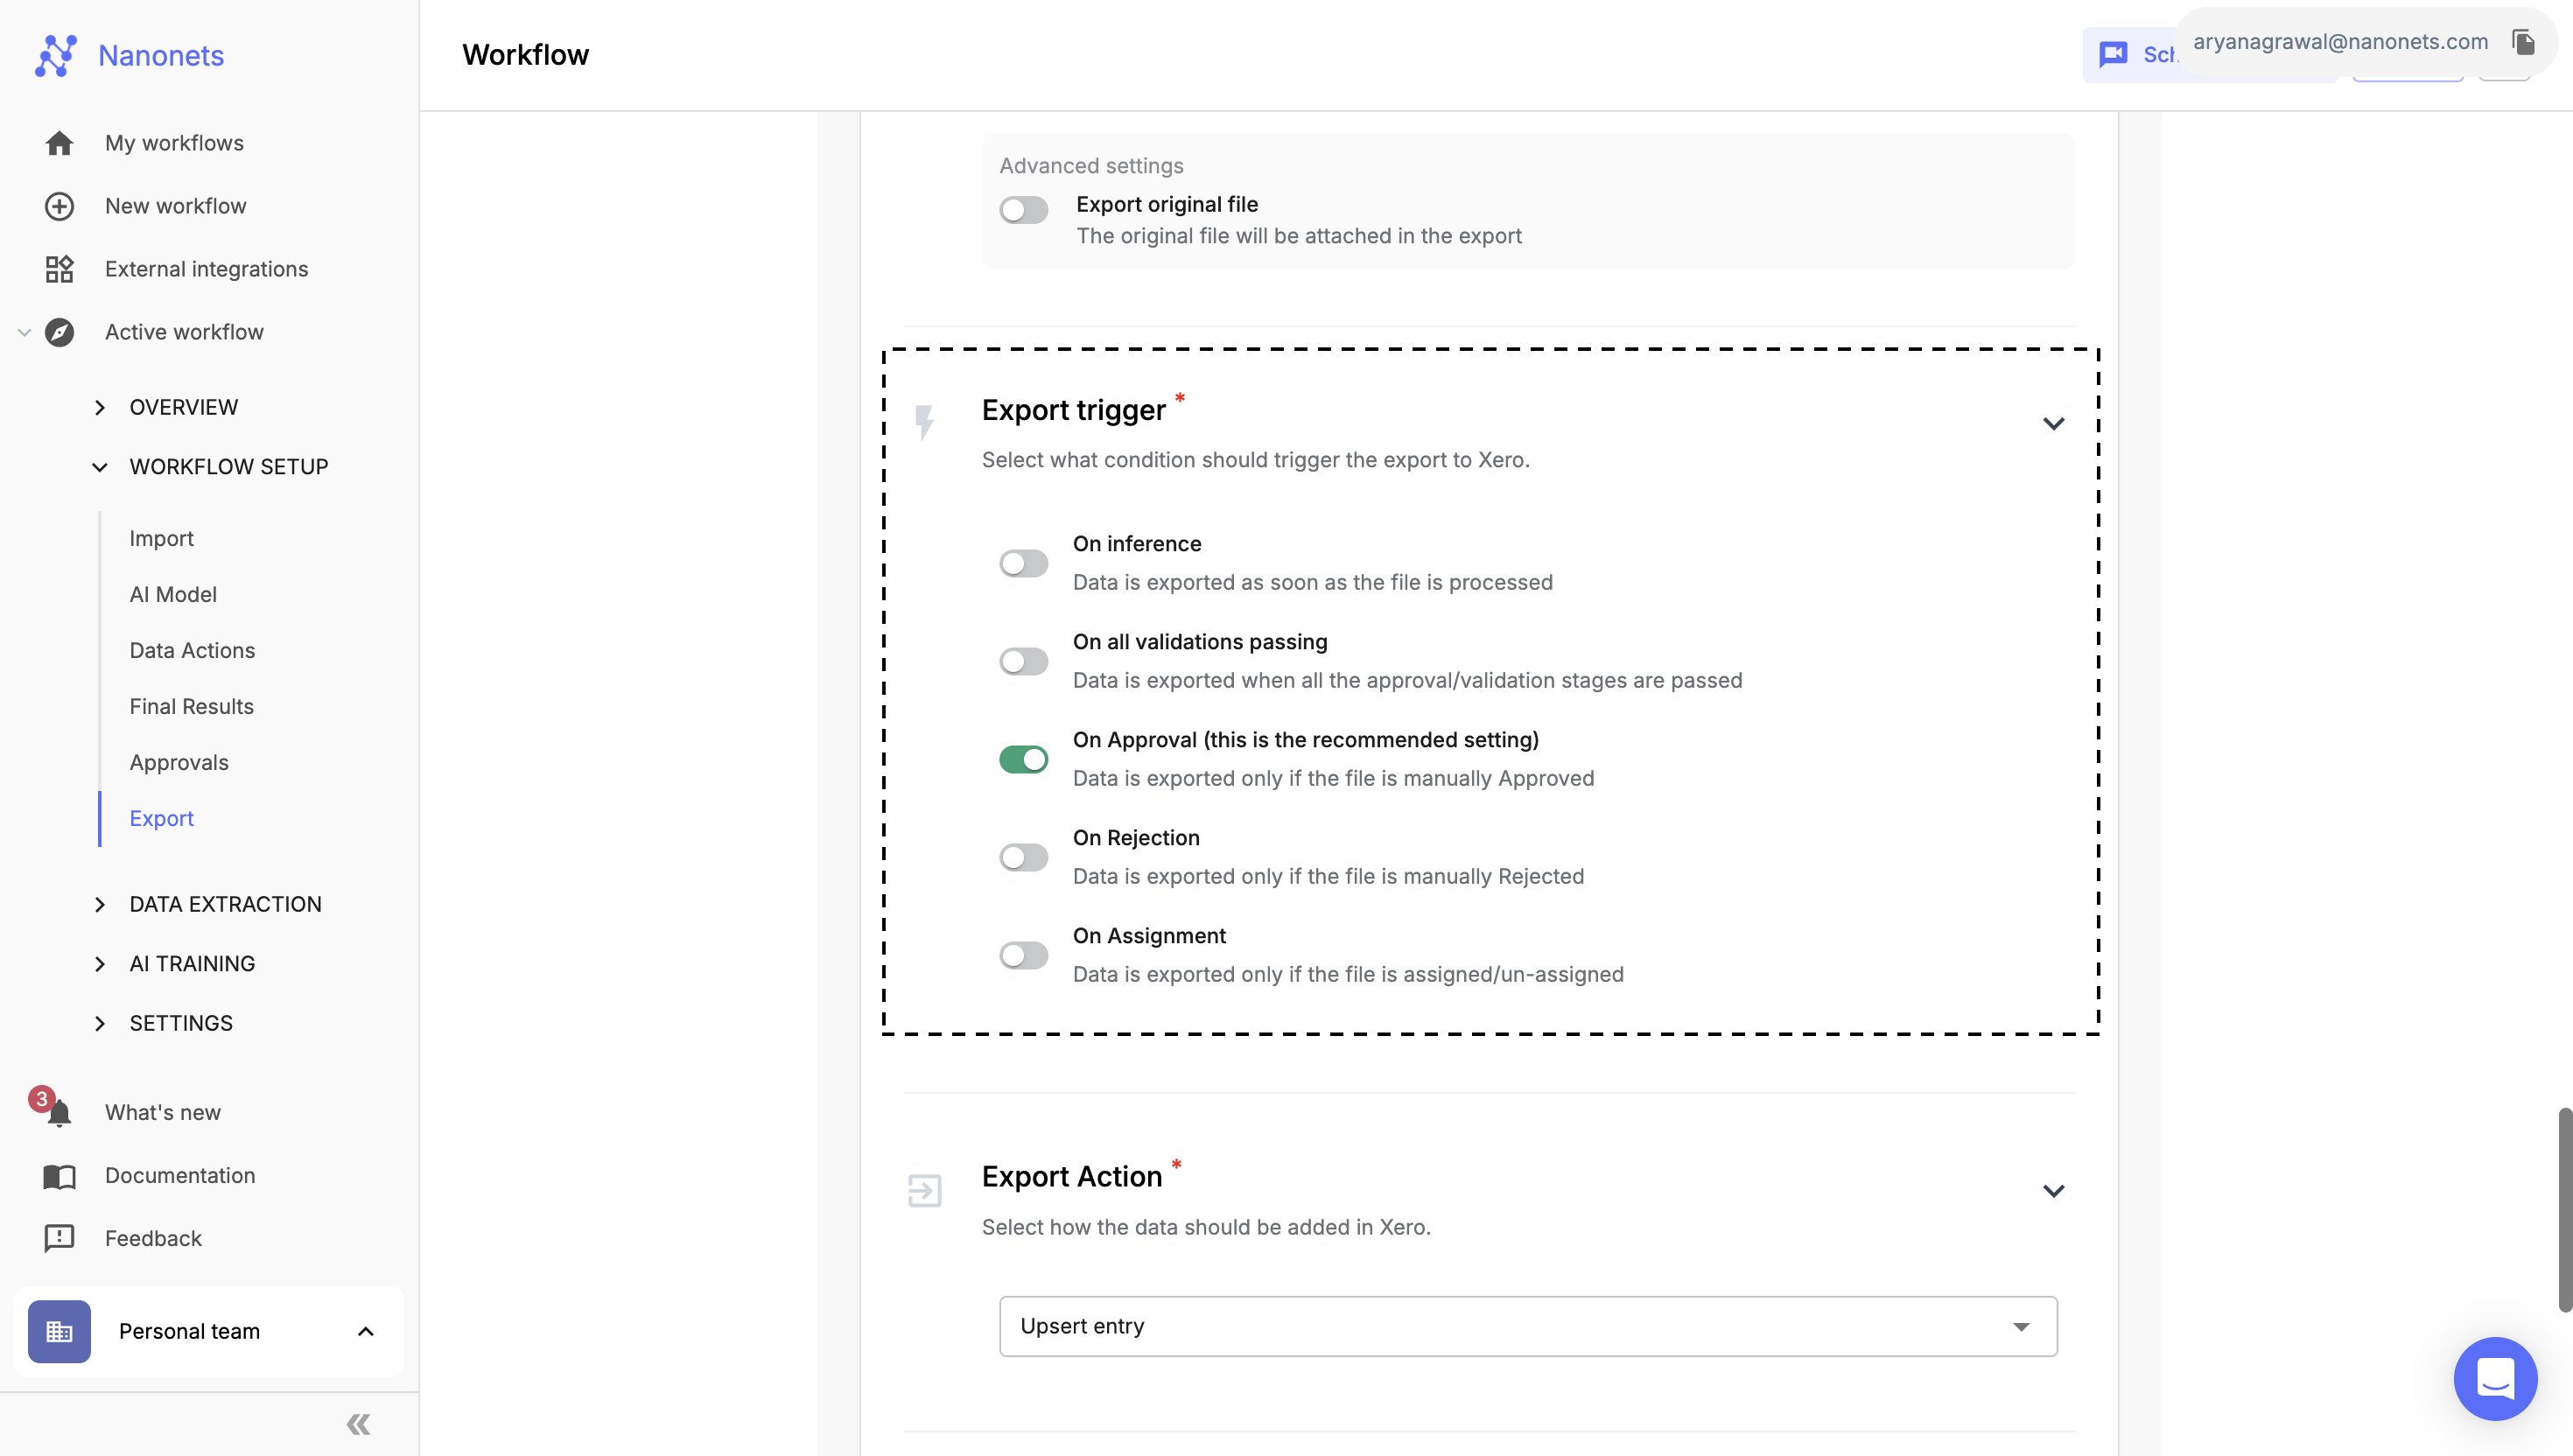
Set Up Export Triggers
-
Configure export triggers to automate the export process. You can enable or disable triggers as needed. These triggers operate with an "OR" condition, meaning any active trigger can initiate the export:
- On Inference: Automatically export data as soon as processing is complete.
- On All Validations Passing: Export only after all validations and approvals have been successfully completed.
- On Approval: Export when manual approval is given.
- On Assignment: Export when a file is assigned or unassigned.
- On Rejection: Export if a file is manually rejected.
-
-
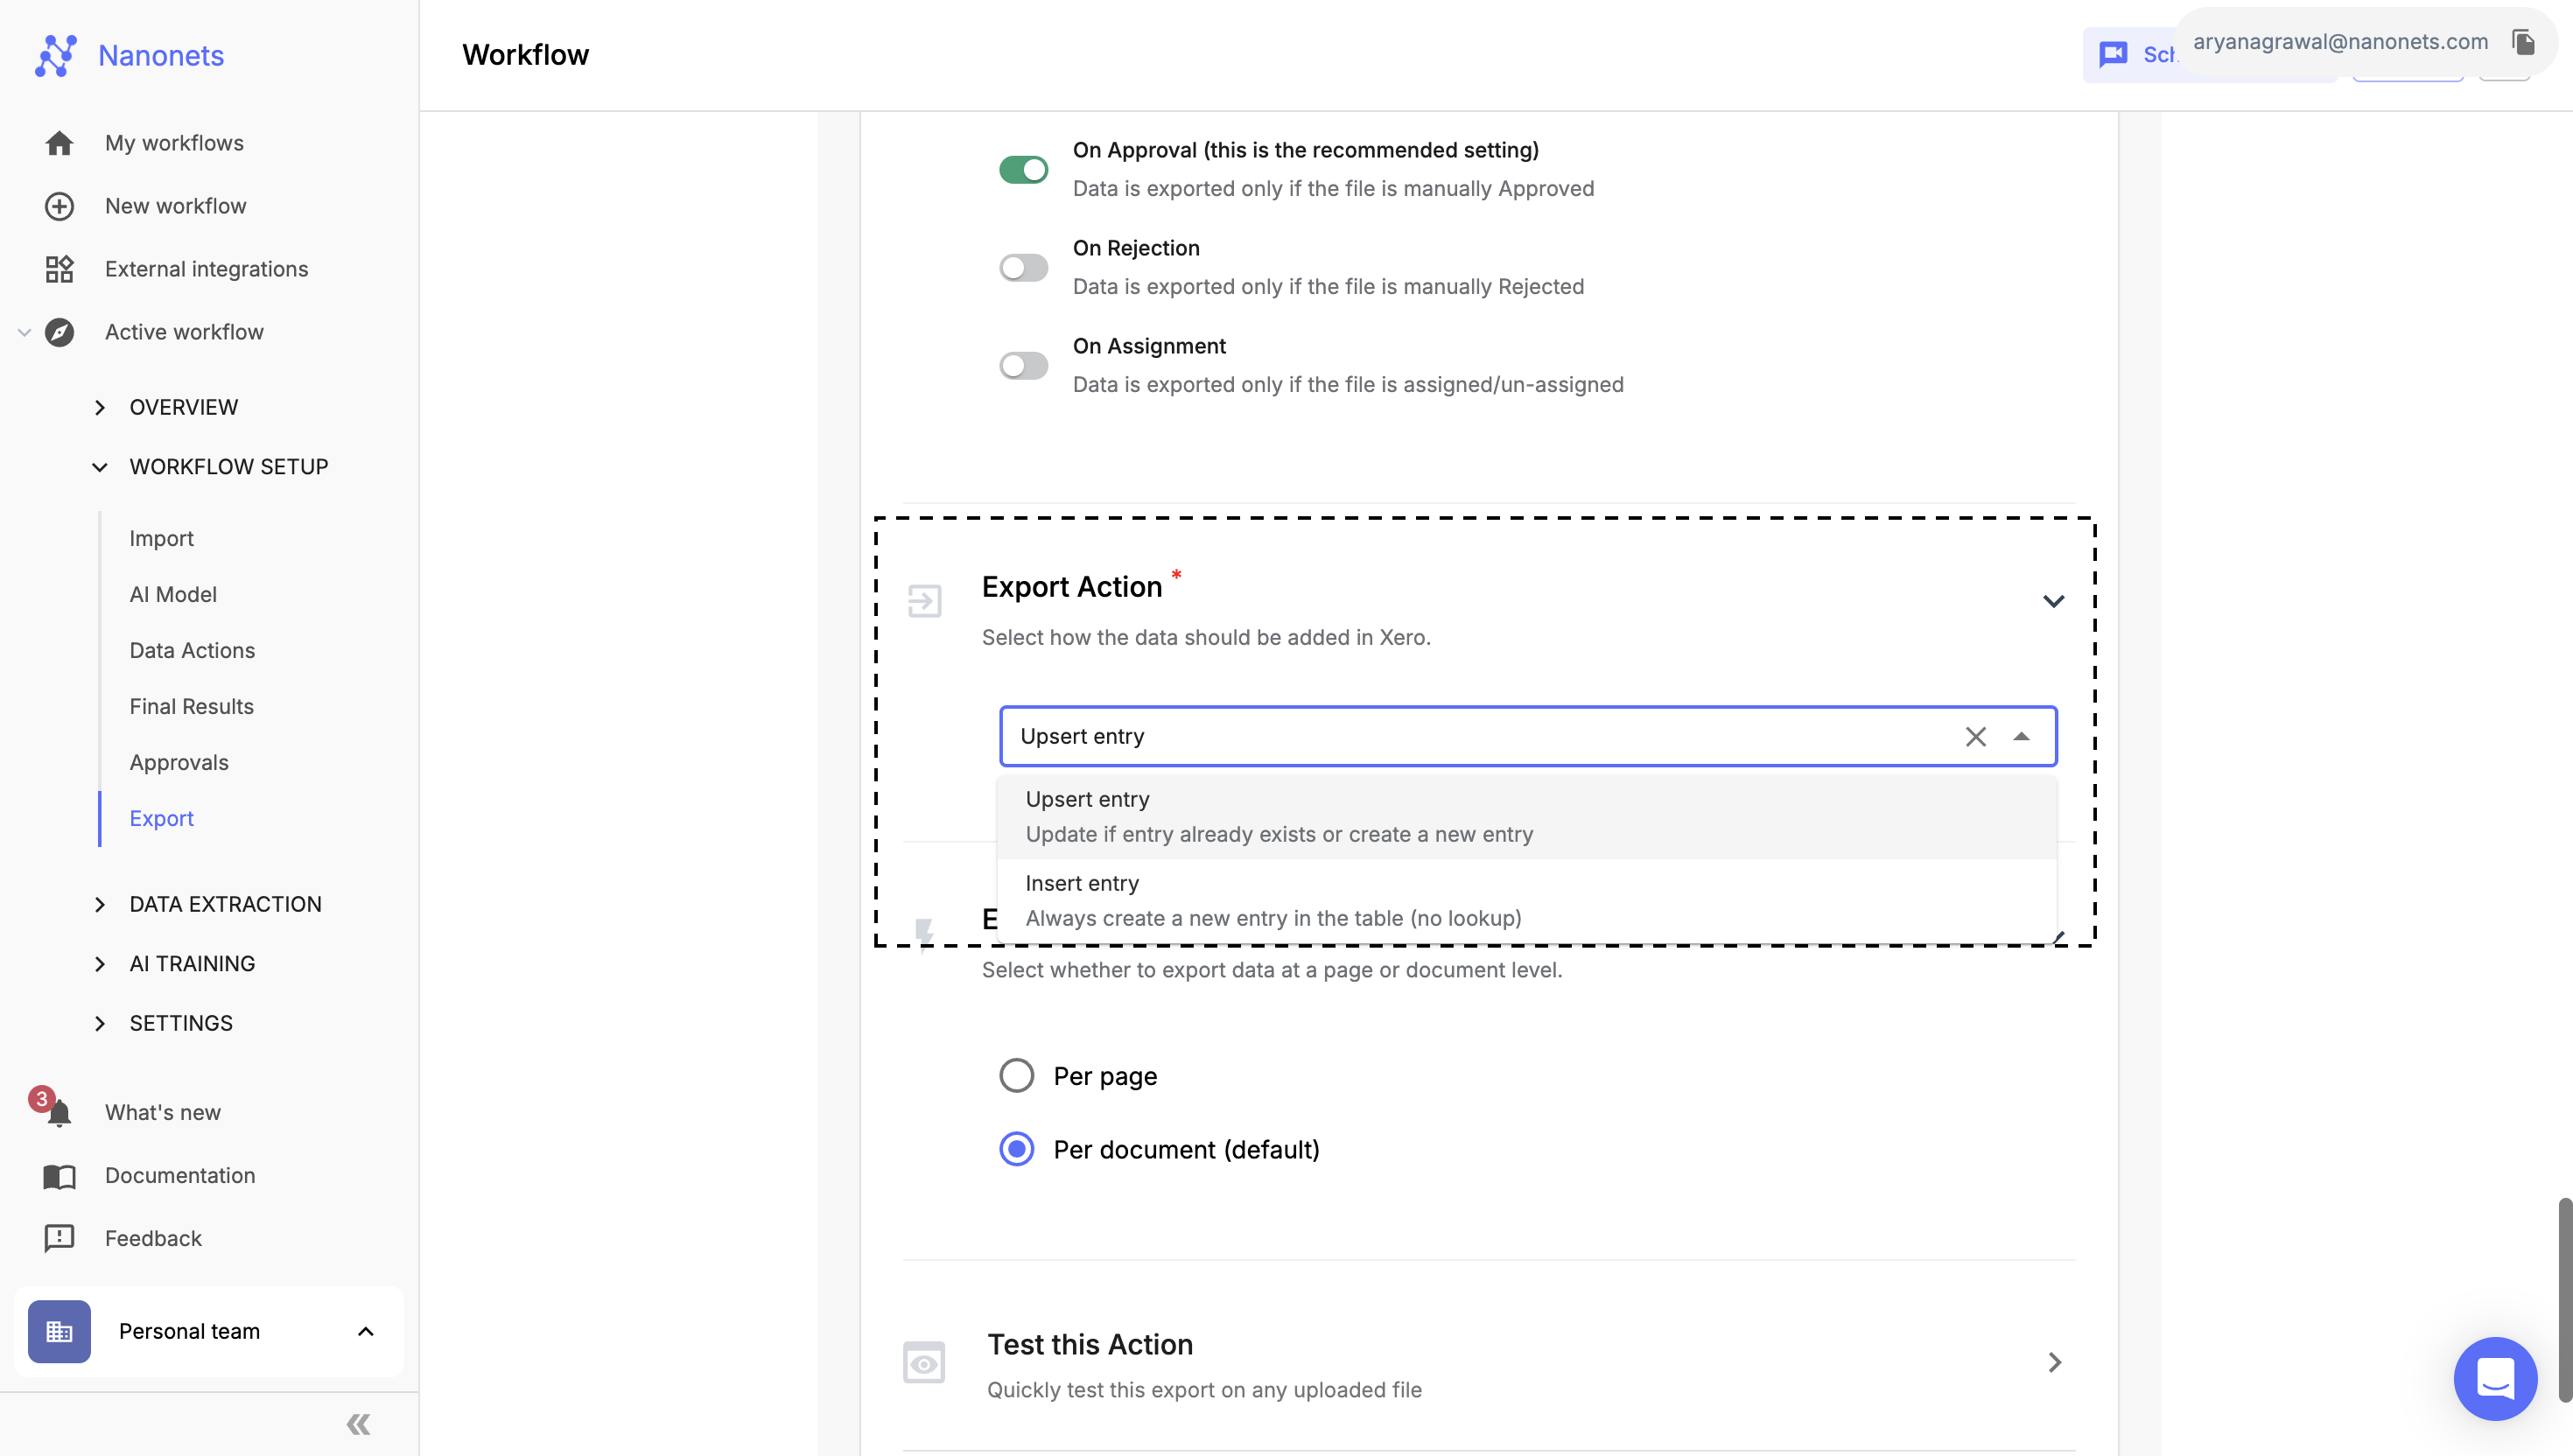
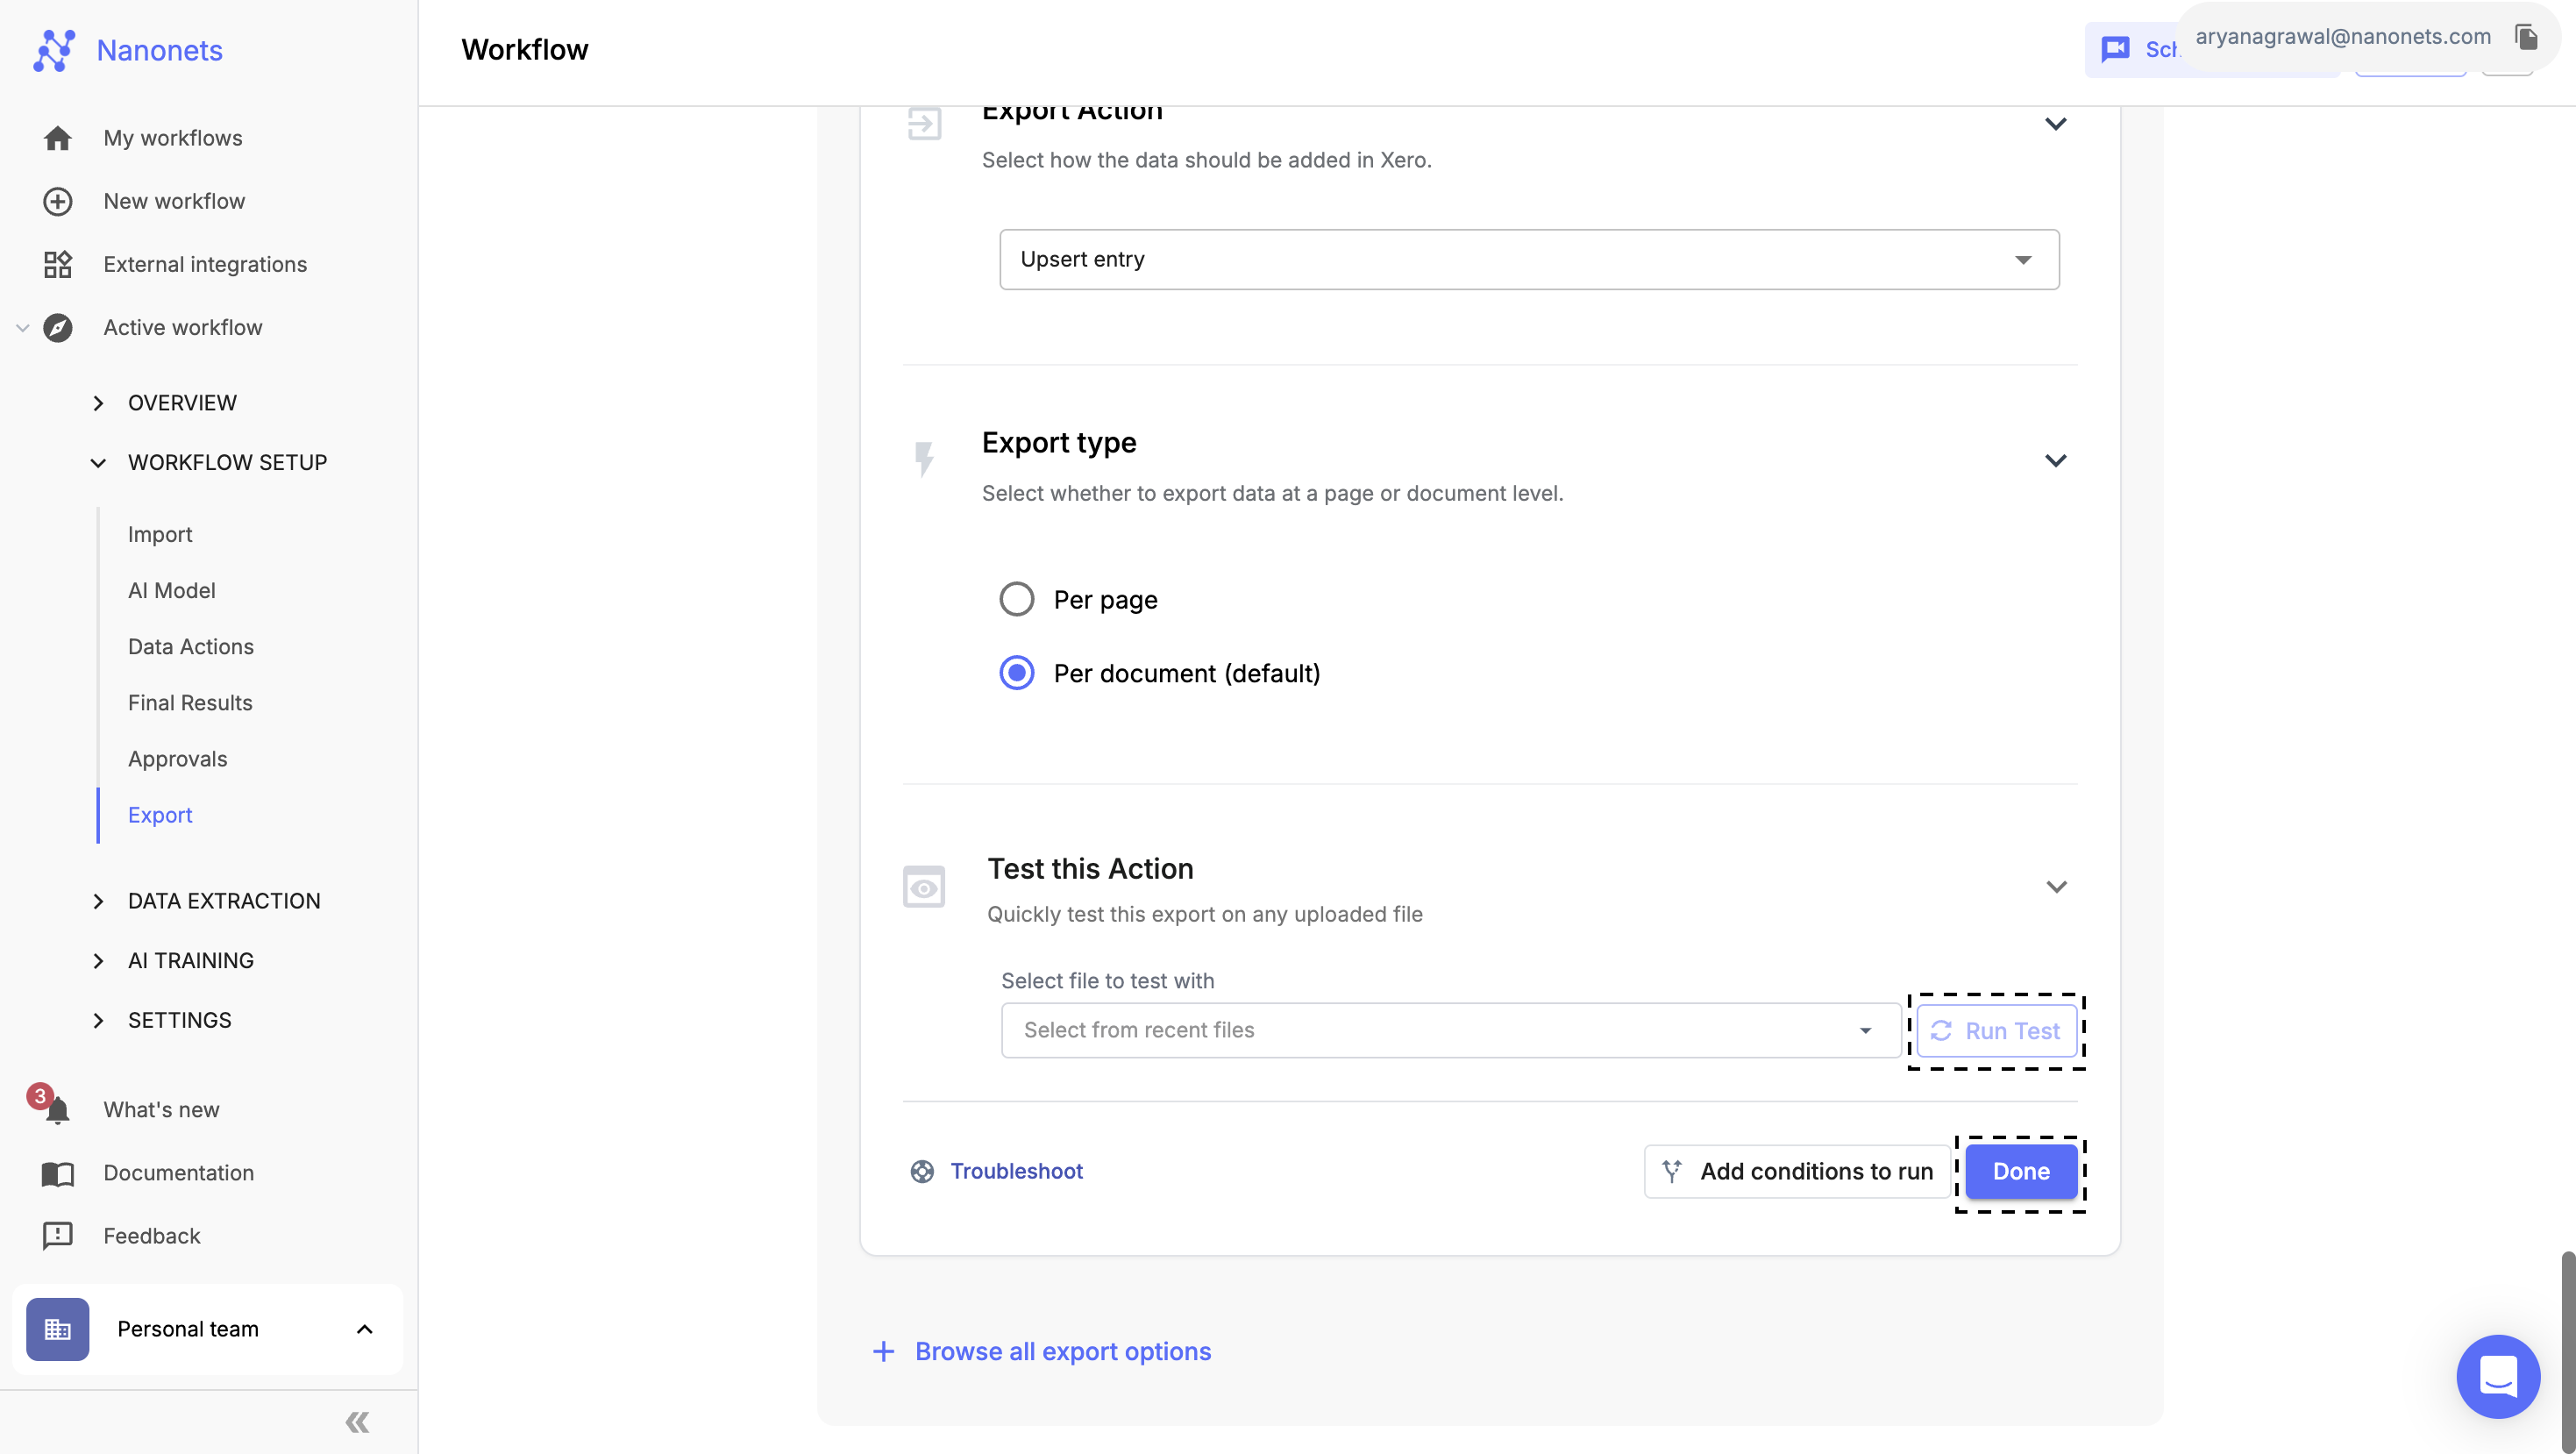
Configure Export Action
-
Use the dropdown to specify how data should be exported to Xero:
- Upsert Entry: Updates the existing entry if it matches or creates a new one if no match is found.
- Insert Entry: Always creates a new entry in the selected table, even if a similar entry exists.
-
-
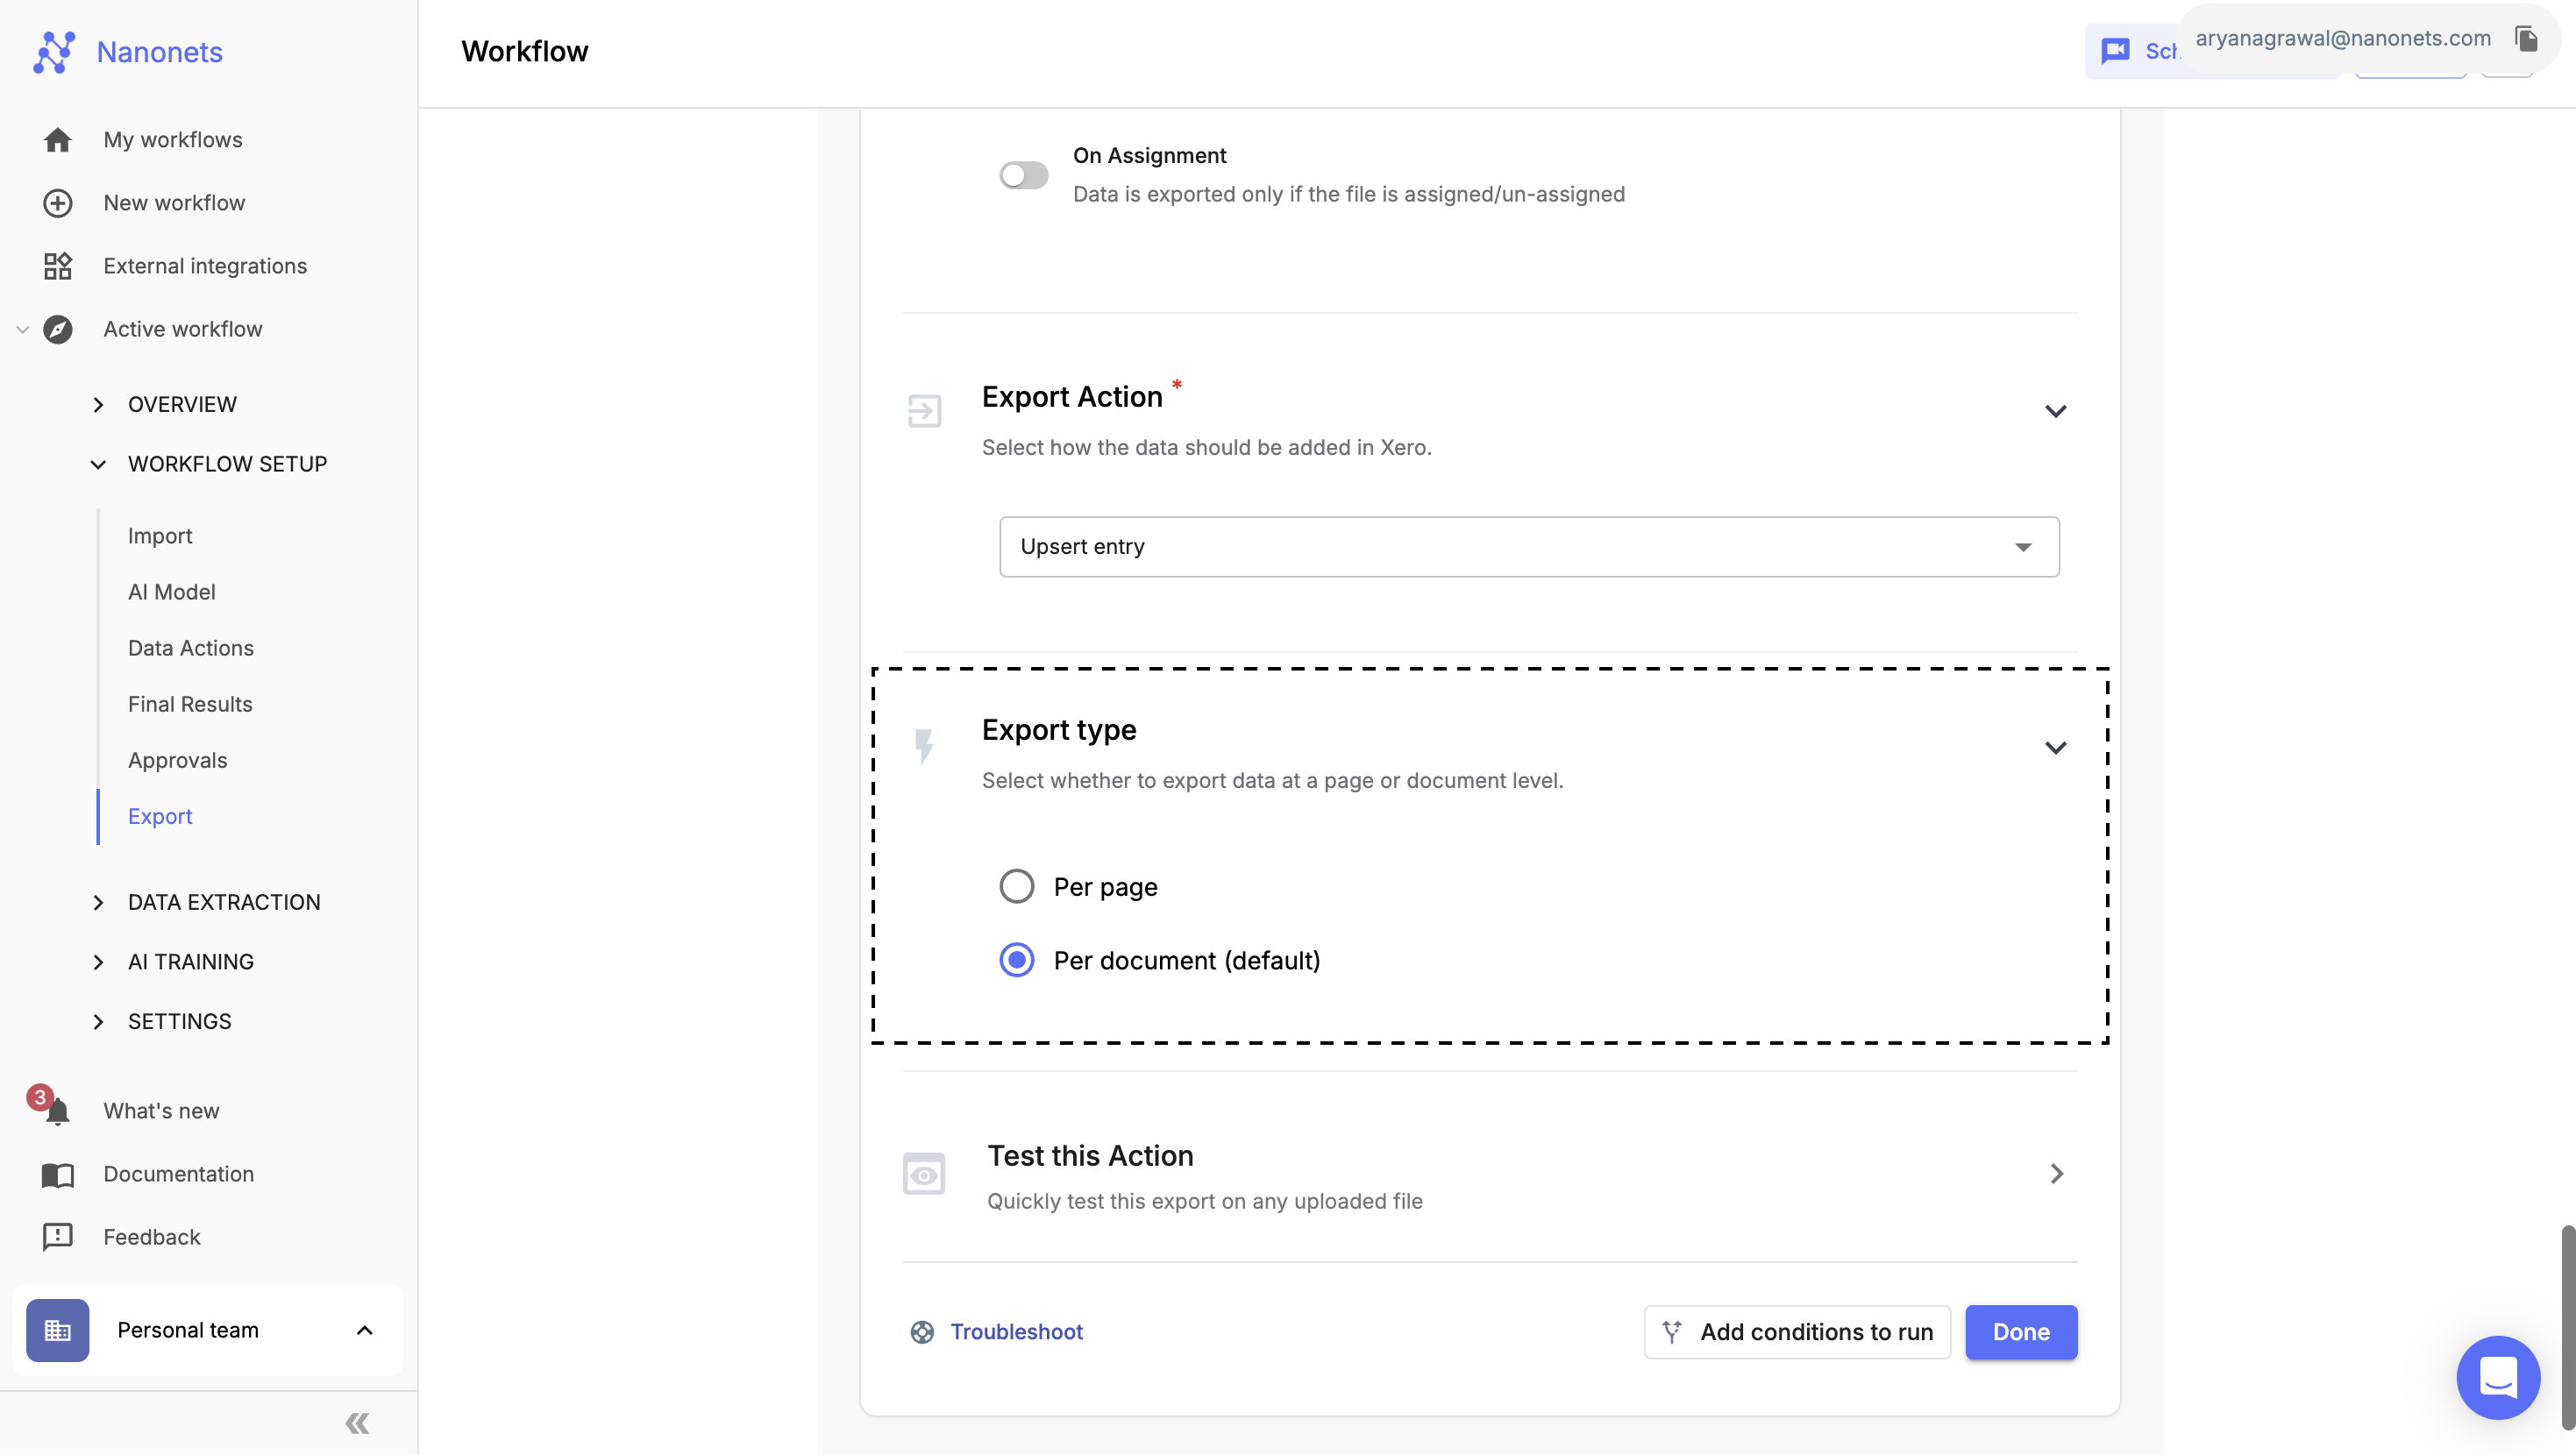
Select Export Type
- Choose whether to export data at the document level or page level. By default, exports occur at the page level.
-
Save and Test Configuration
- Once your Xero account and export settings are configured, test the setup by using the Test this Action feature.
- If the test is successful, click Done to save your settings and finalize the configuration.
Frequently Asked Questions (FAQ)
I can't see my Xero account in the dropdown menu
- Please follow the steps listed here to set up the Xero integration: https://docs.nanonets.com/docs/xero-integration
We offer customizations for ERP integrations. Feel free to reach out to us at [email protected].
Updated 10 months ago
