
Email Import
Nanonets can automatically import files that you receive as attachments on your email to the required model.
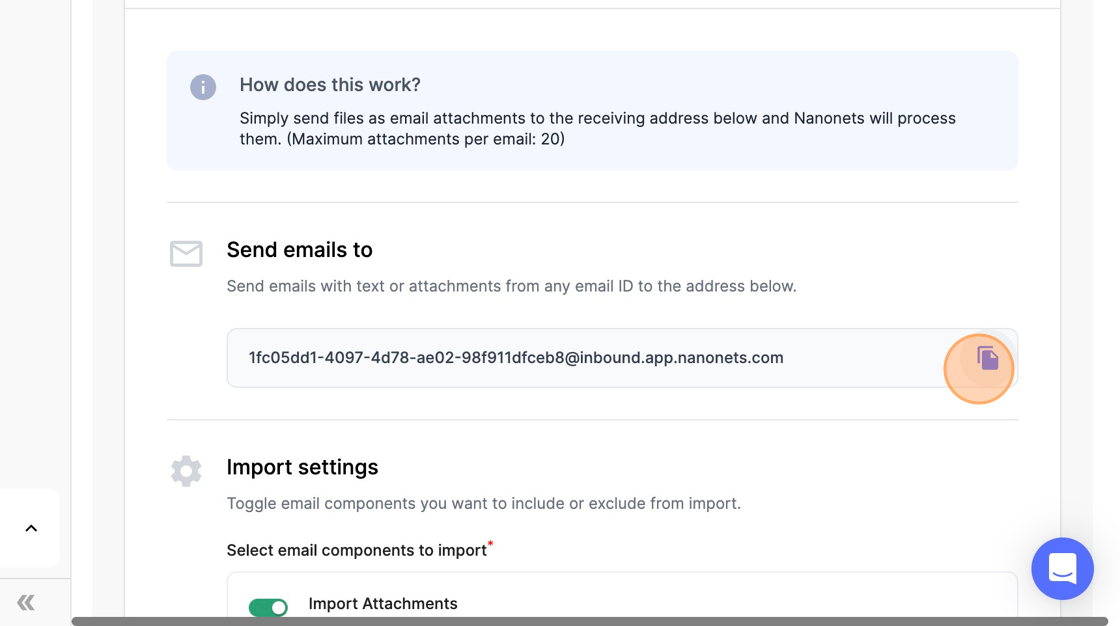
How does this work?
Each Nanonets Workflow has a unique receiving address. When an email is sent to this address (either directly or by forwarding), that email is processed by that Workflow.
The receiving address looks like this:

How to set this up
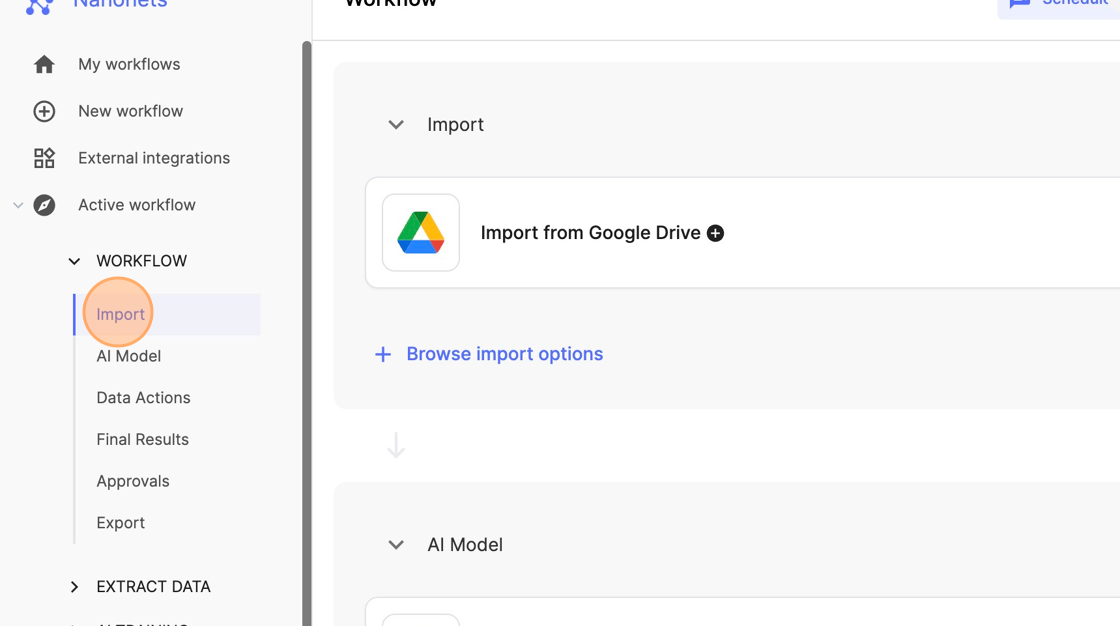
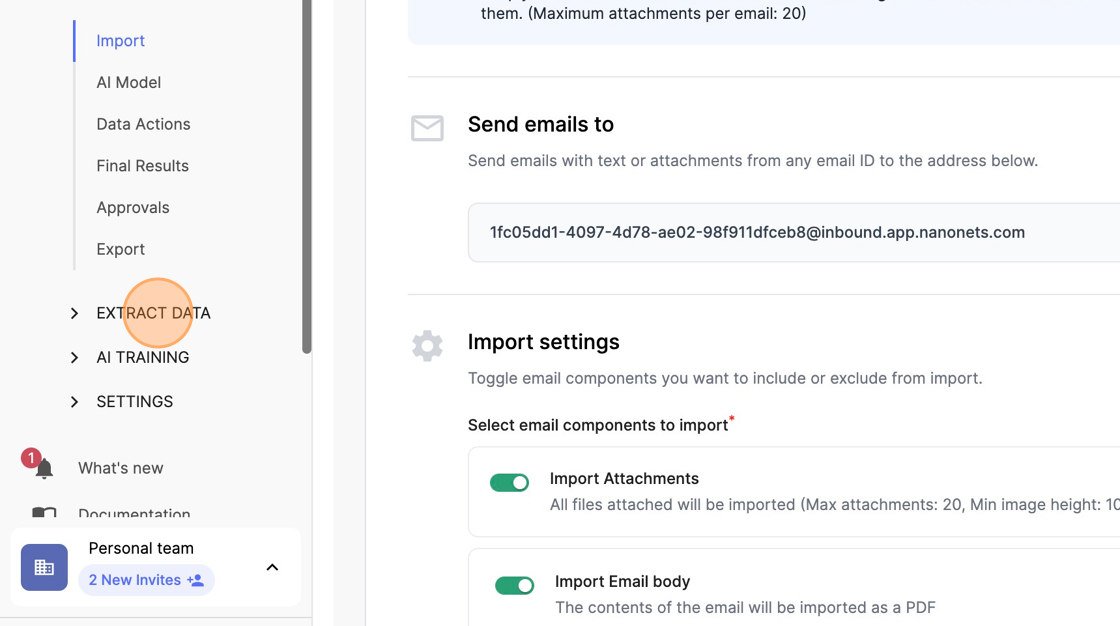
- Go to your Workflow and navigate to the Import section within Workflow setup
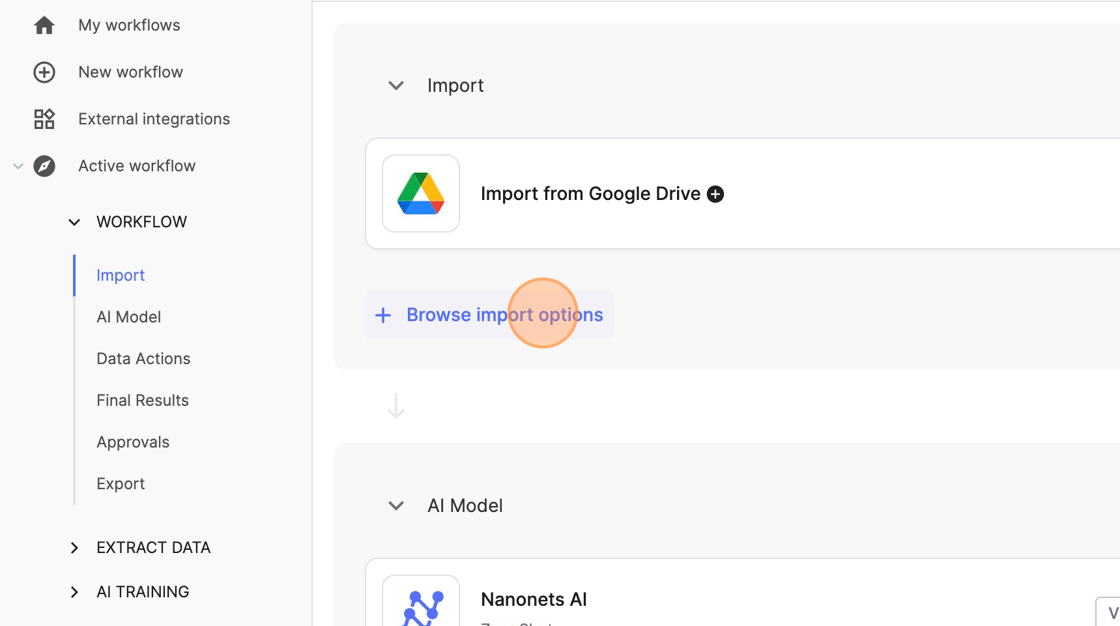
- Click on Browse Import options
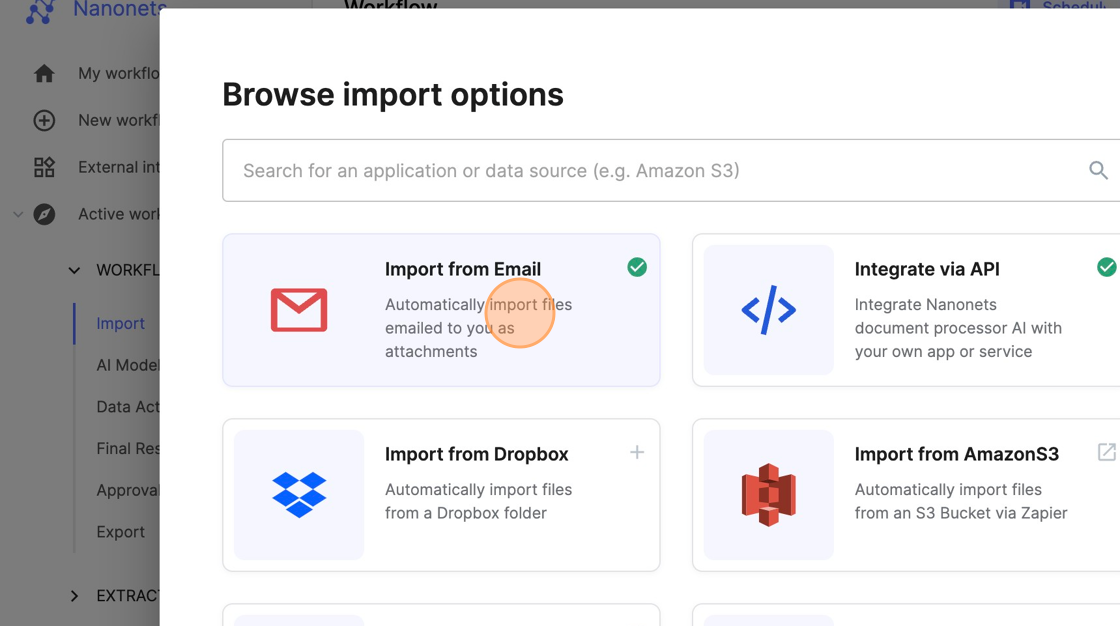
- Choose Import from Email option from the modal
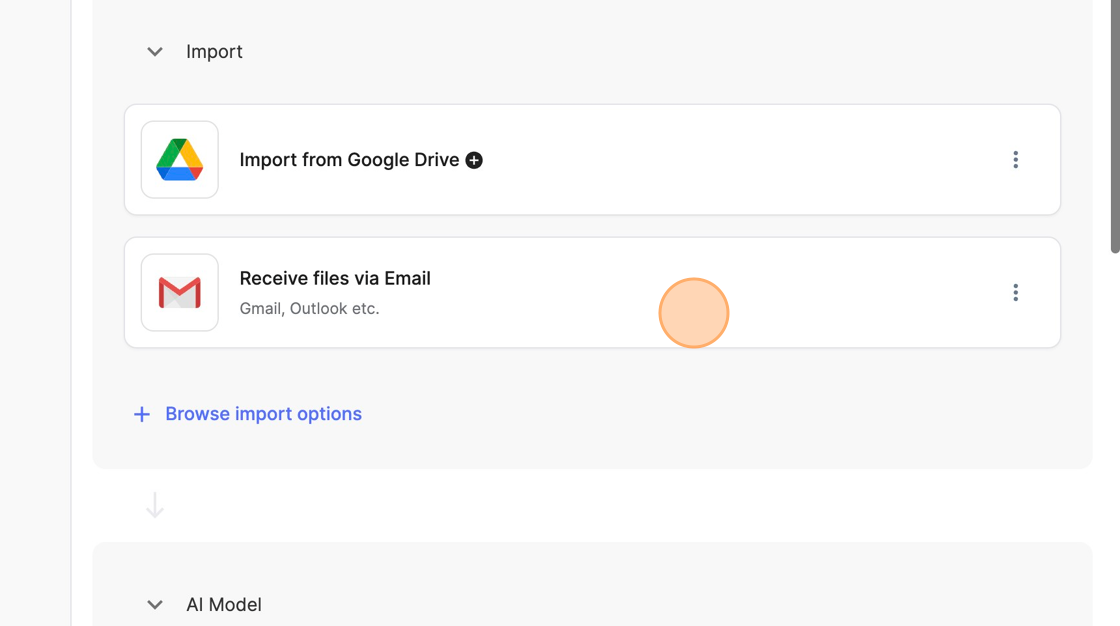
- Once the block is added to your workflow, click on it to modify and complete setup
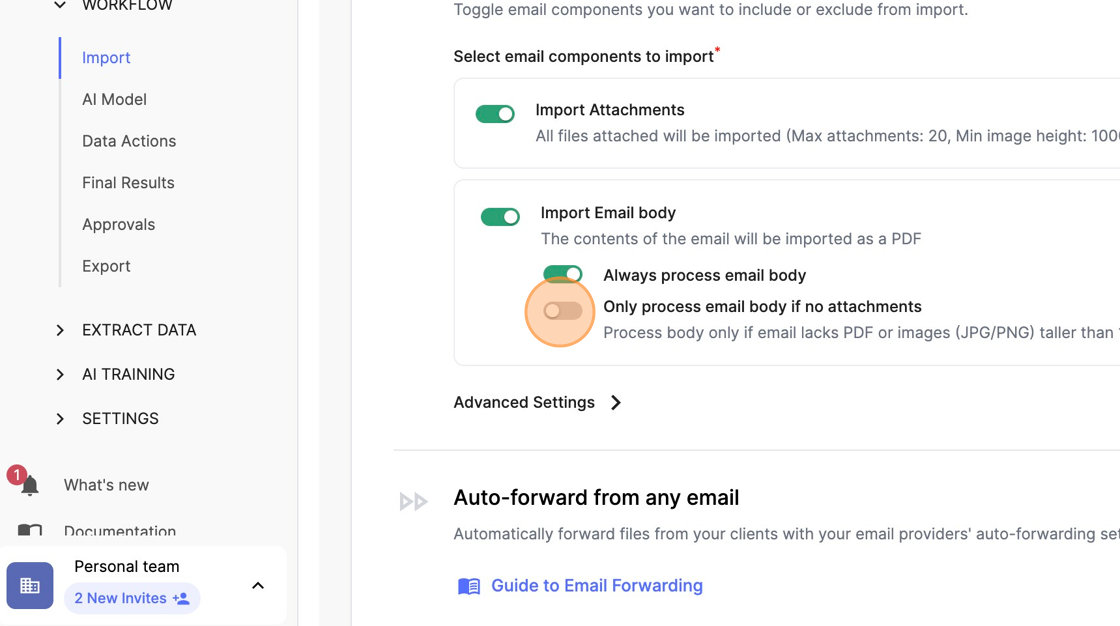
- Optional - Select the necessary settings (Import attachments or body or both)
- Copy your unique receiving address and try this out by sending your first email!
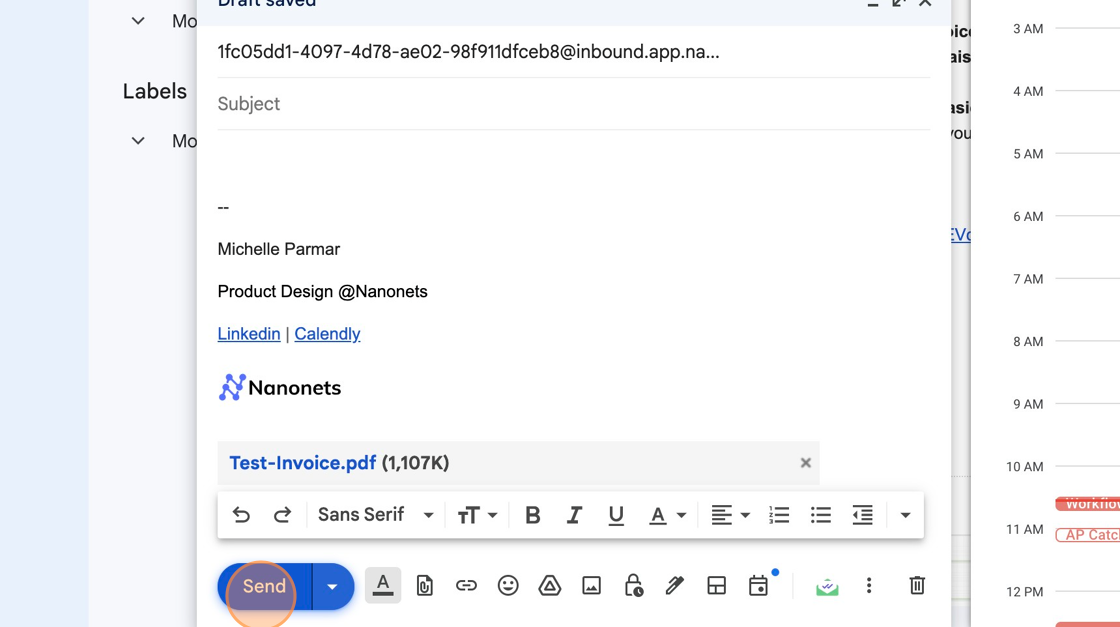
Send your first email to the Workflow
- Paste the receiving address in the "To" field in your Email composer, attach your file if any, and Send the email
- Go to Extract data and wait for a few seconds till your Email is processed
How to automate Import via Email
Set up auto-forwarding to the unique receiving address so that you don't need to manually send an email each time.
- On your computer, open Gmail using the account you want to forward messages from. You can only forward messages for a single Gmail address, and not an email group or alias.
- In the top right, click Settings >See all settings.
- Click the Forwarding and POP/IMAP tab.
- In the "Forwarding" section, click Add a forwarding address.
- Enter your unique receiving email address here
- Click Next > Proceed > OK.
- A verification message will be sent to that address. Click the verification link in that message. (You will receive this code from us in your Inbox)
- Go back to the settings page for the Gmail account you want to forward messages from, and refresh your browser.
- Click the Forwarding and POP/IMAP tab.
- In the "Forwarding" section, select Forward a copy of incoming mail to.
- Create a filter for the type of emails to send to Nanonets.
- At the bottom of the page, click Save Changes.
Set up auto-forward on Outlook:
Advanced settings and FAQ
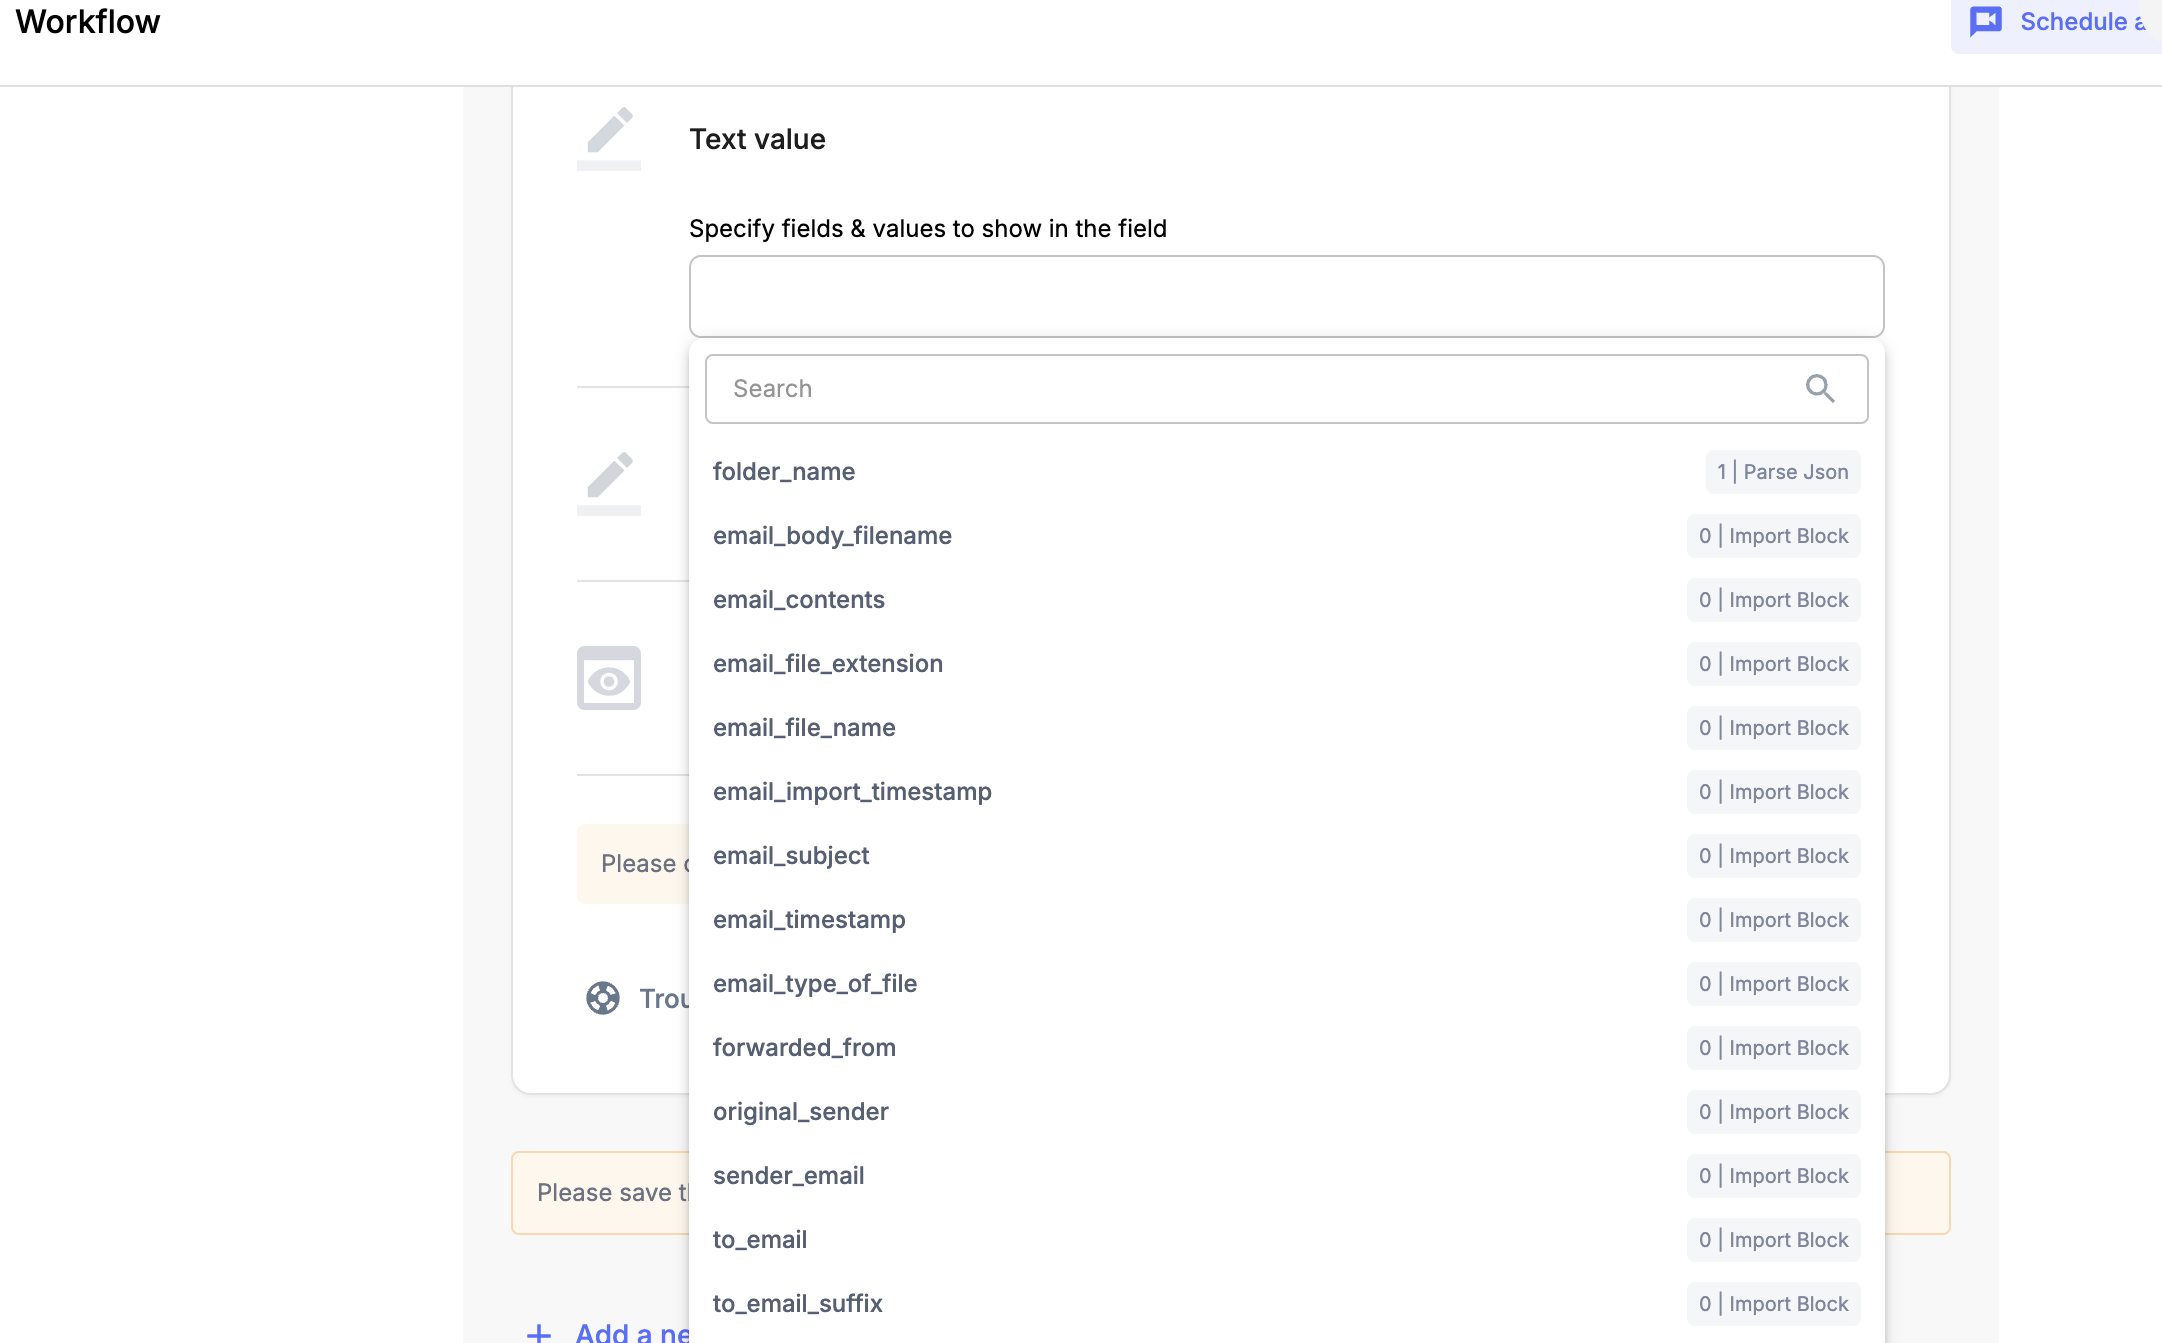
Email metadata
After adding the Email Import block to your workflow, you can access various email metadata fields within your Data Actions.
Metadata Fields: When selecting fields in Data Actions, you'll see the following email metadata options available:
sender_email, email_timestamp, email_subject, email_content, and more...
Tagging: The metadata fields are grouped under a new tag labeled ‘Import Block’ to help you easily identify them.
How to Access:
- Add the Email Import block to your workflow
- Navigate to any Data Action
- When selecting a field, you’ll now see the available email metadata with the 'Import Block' tag
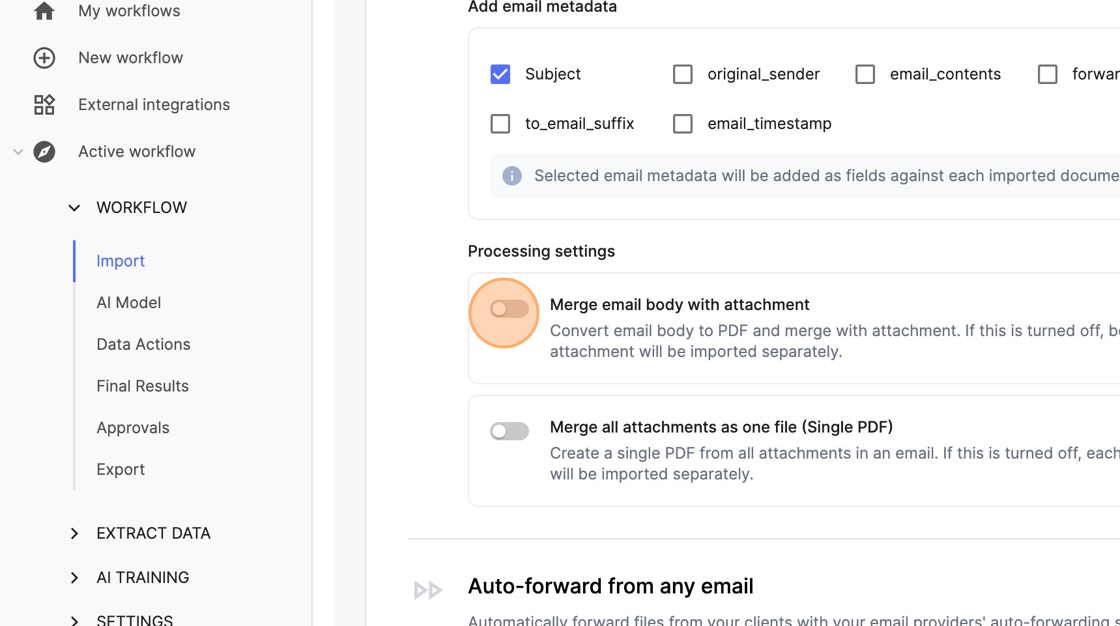
File processing settings
Merge your email body and attachment into a single file, and choose to merge multiple attachments into a single file based on your requirements.
What is the encryption supported by Nanonets in emails?
Nanonets uses TLS to encrypt emails in transport. This provides security to all emails in transit.
Does Nanonets provide support for PGP or S/Mime encryption? Not currently
Where can I see Logs of Email imported?
Updated about 1 year ago