
Sharepoint Export
Introduction
How to connect Sharepoint with Nanonets so you can export structured data processed by Nanonets straight to Sharepoint
Steps:
-
Go to app.nanonets.com
-
Select the model you want to export data from to Sharepoint
-
Within the workflows screen go to the export section
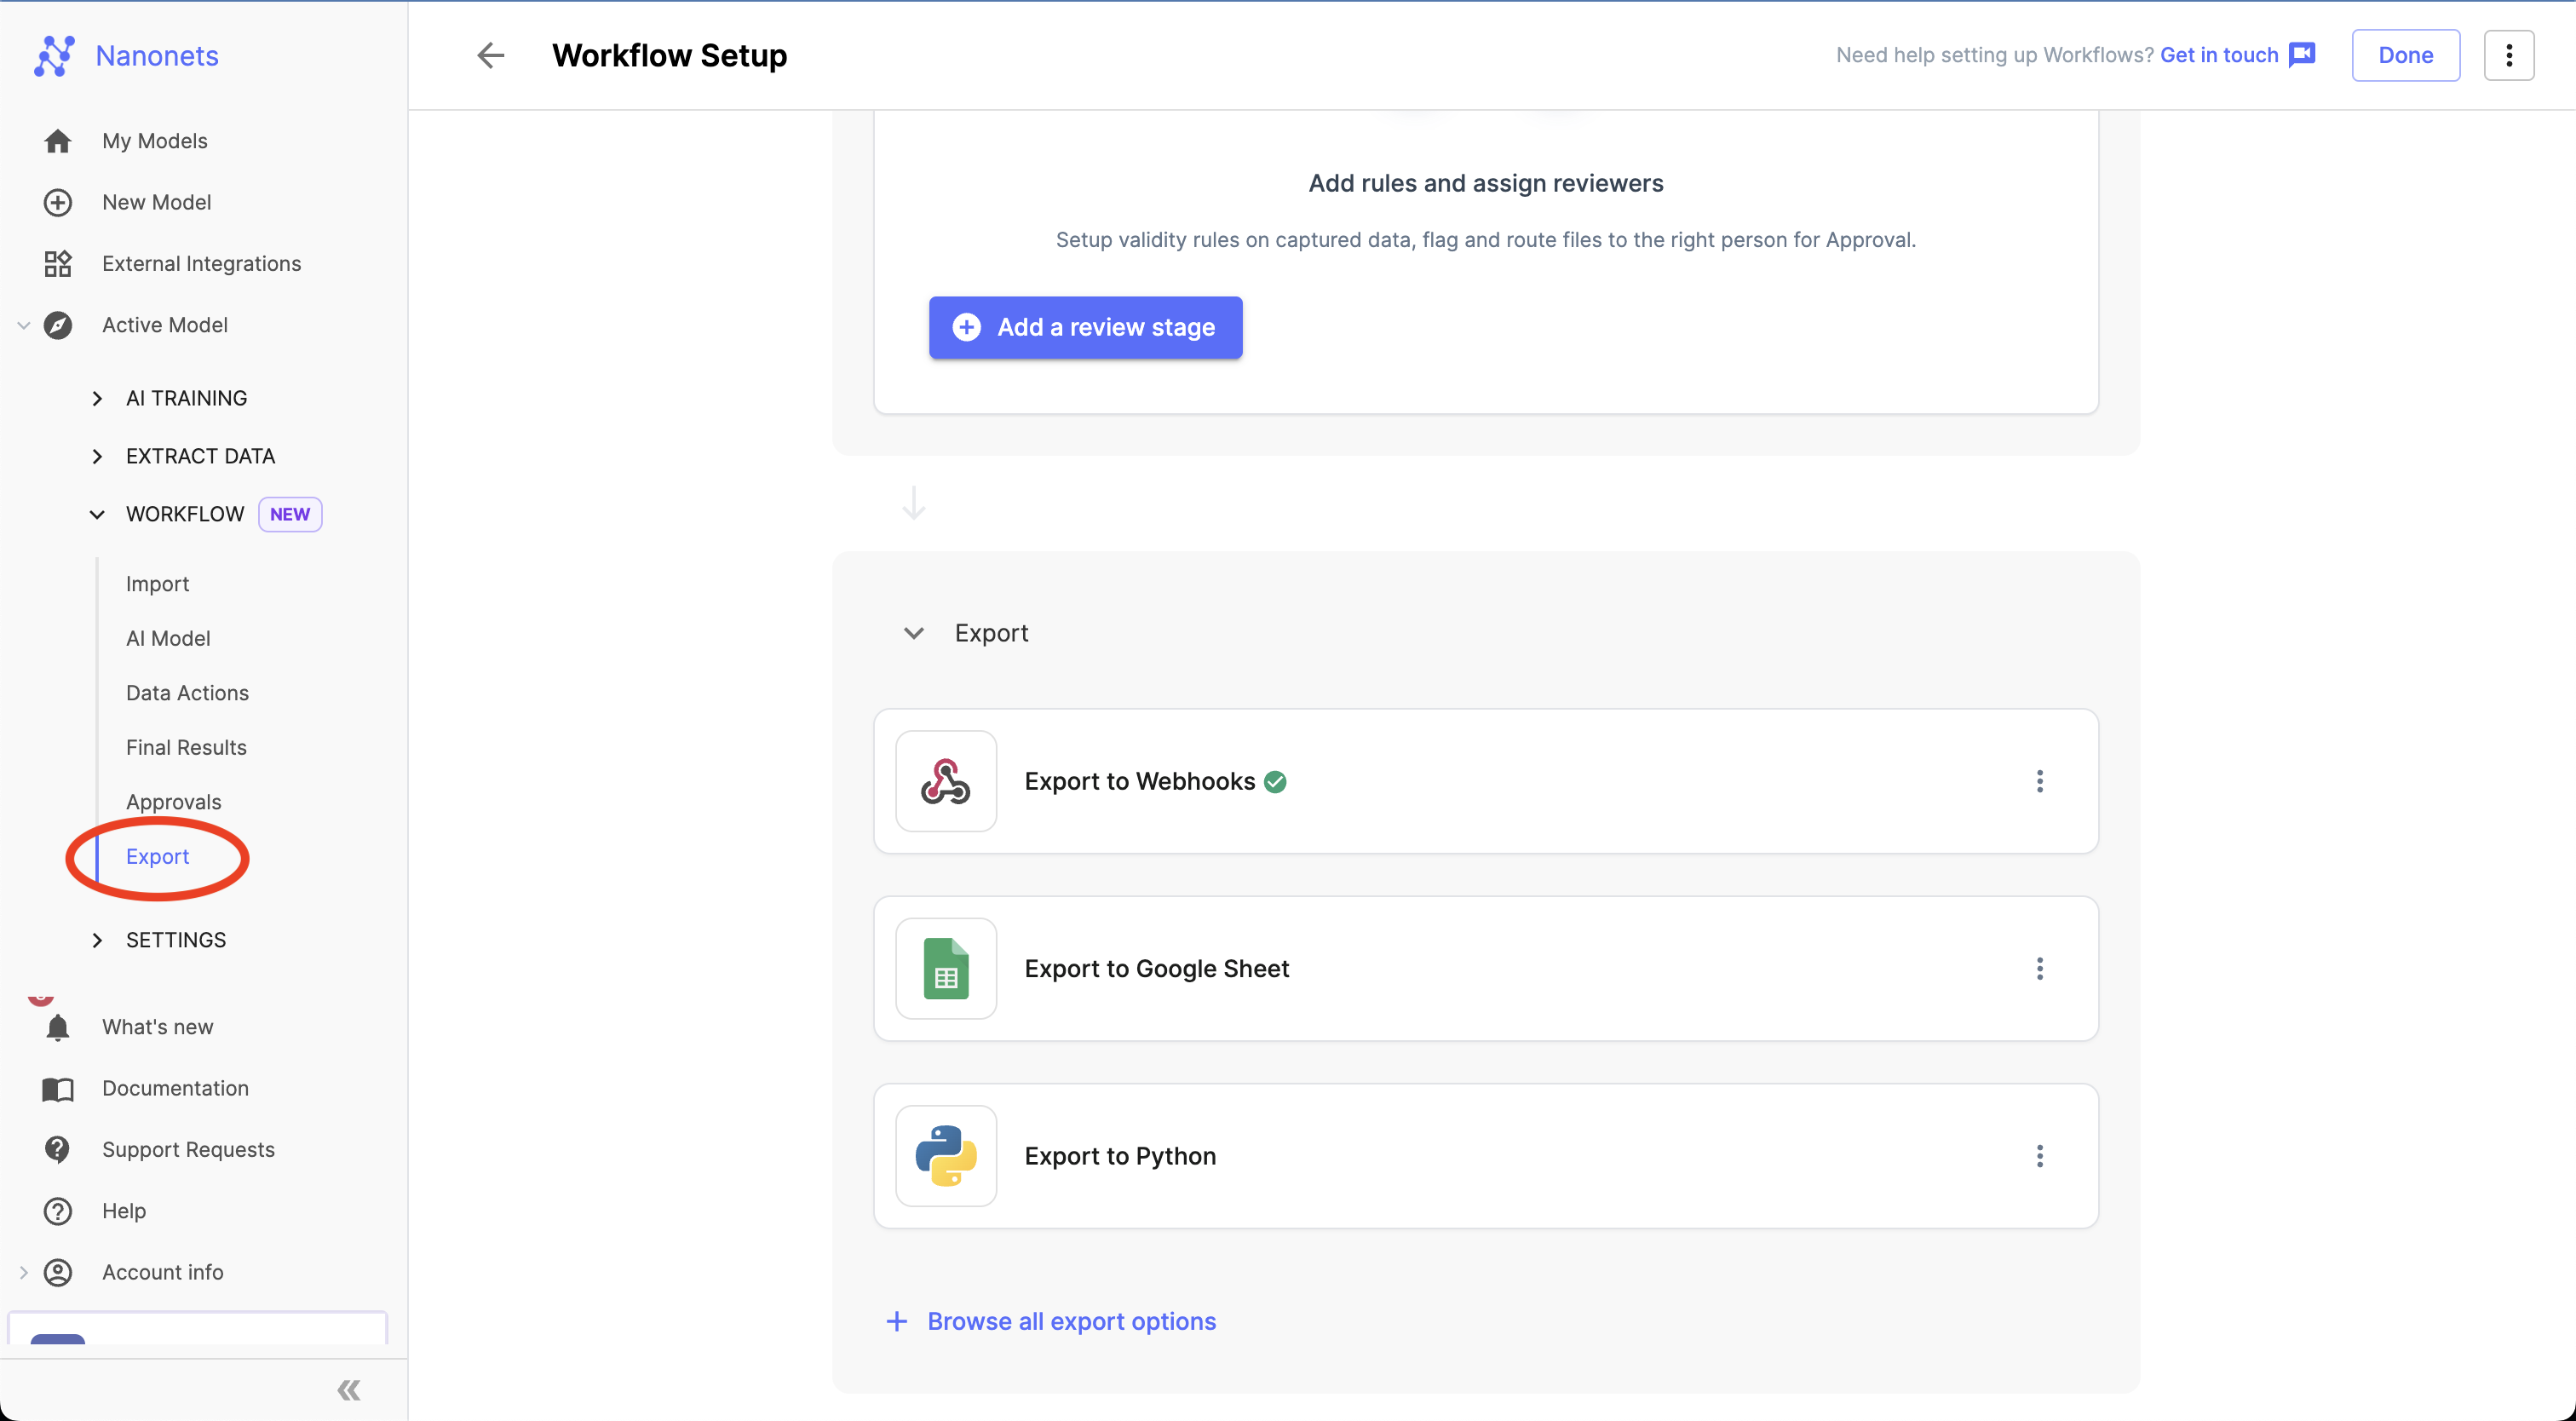
- Click "Browse all export options" and Select the Sharepoint Export

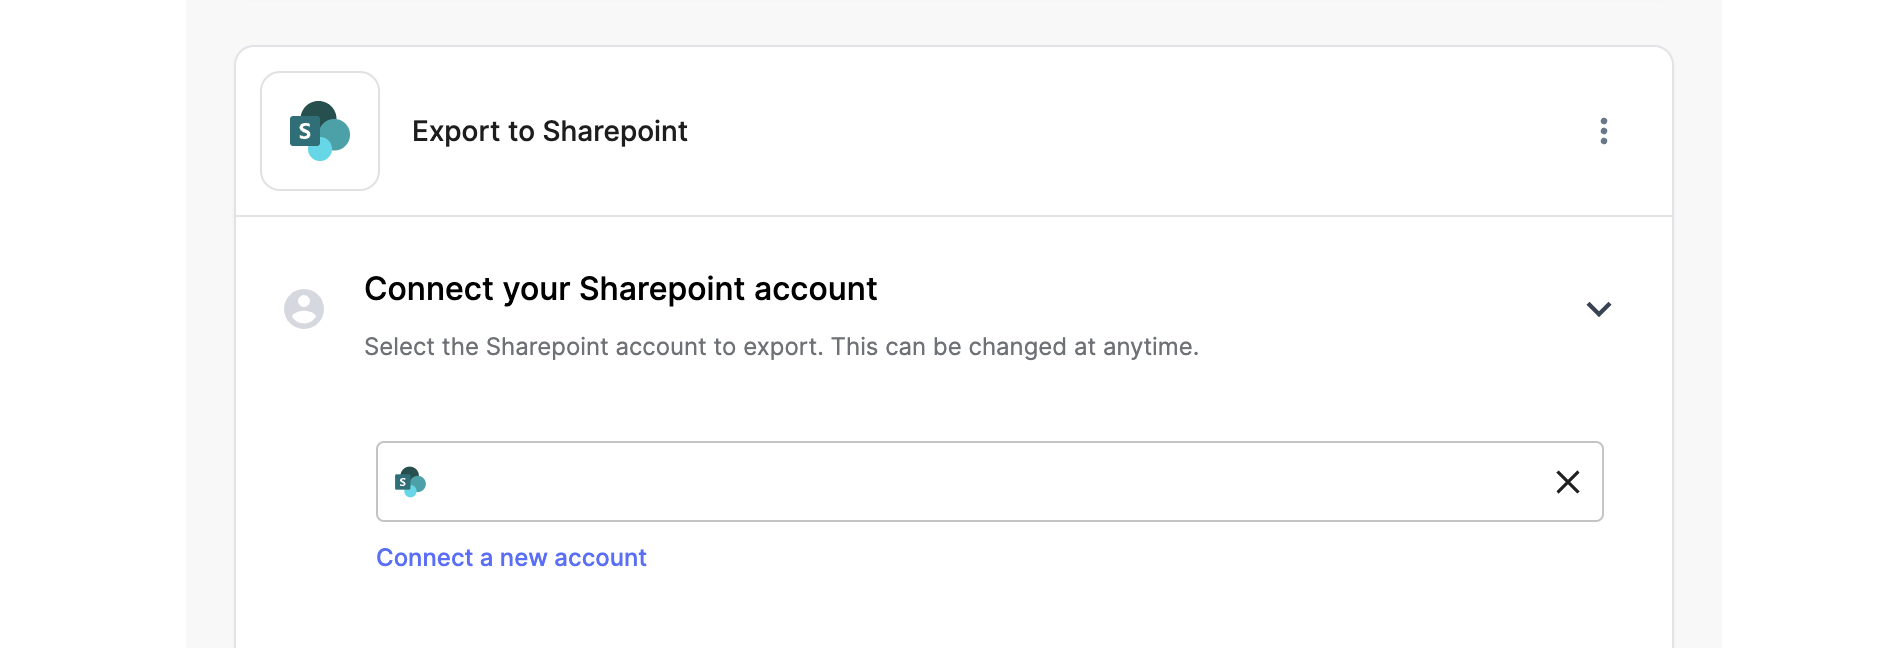
- Connect your account
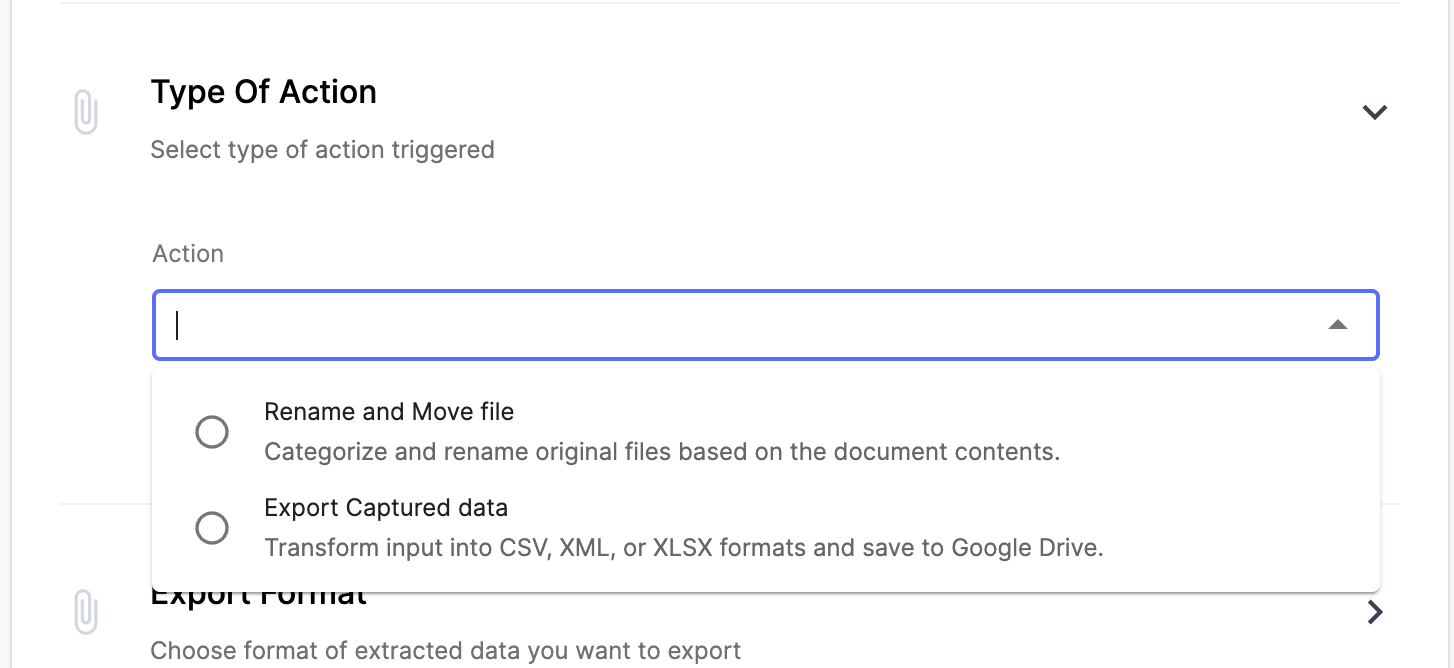
- Select the type of Action > 'Export Captured data'
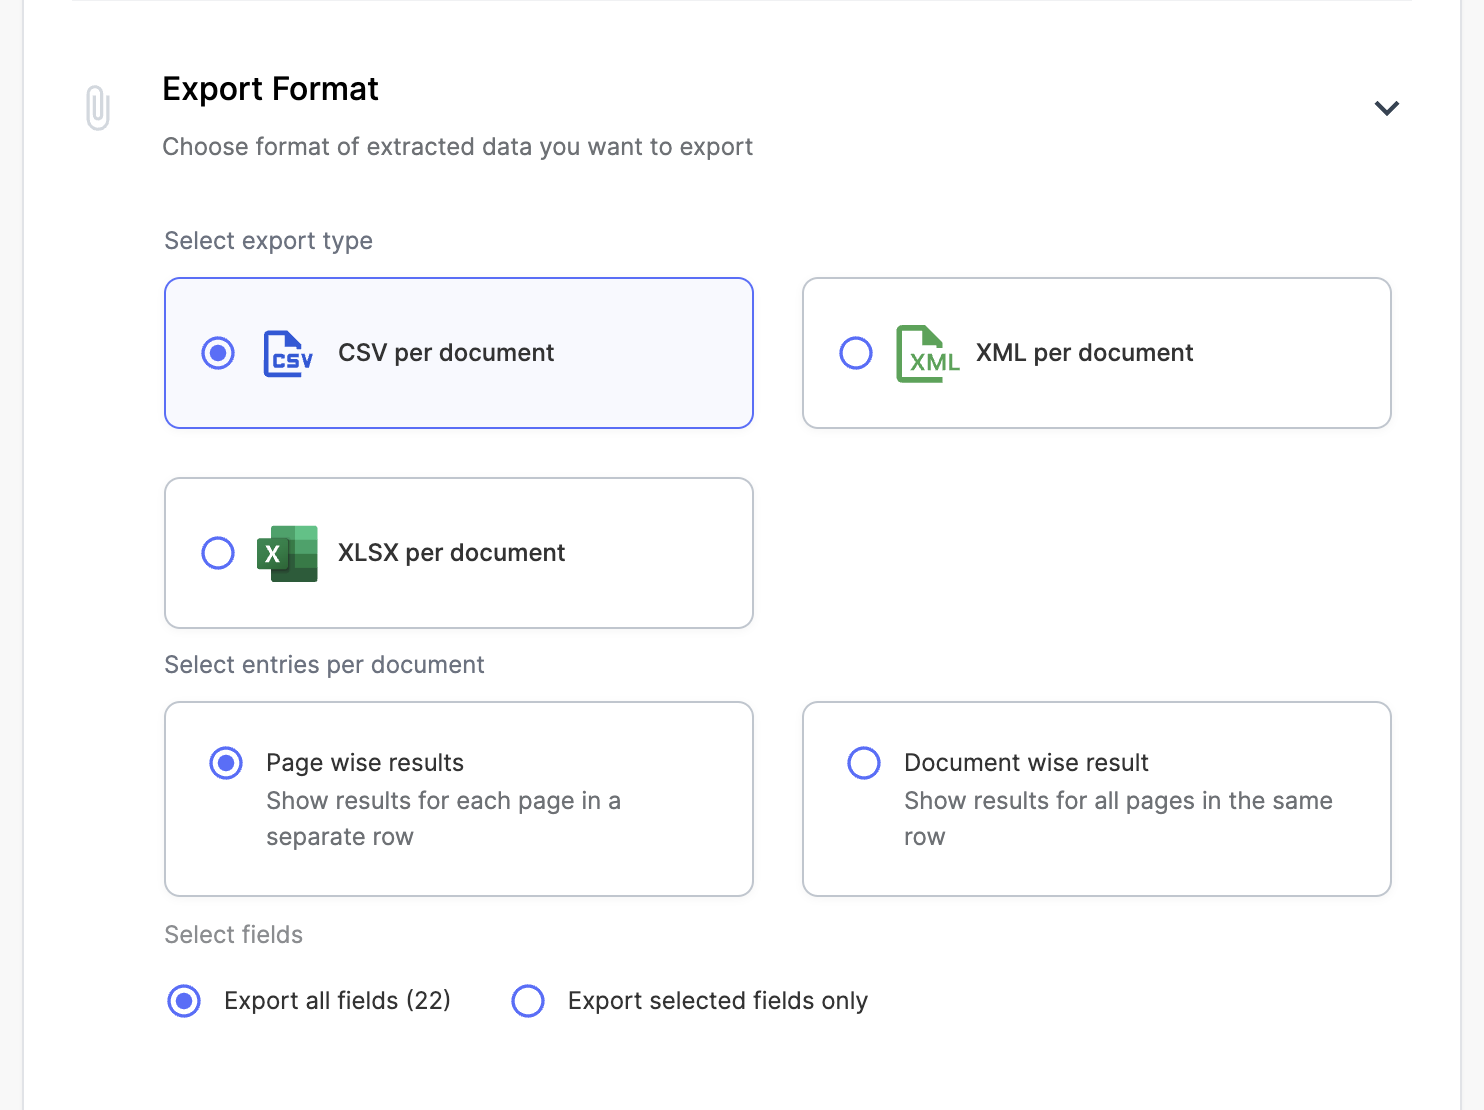
- Choose the format in which you want to send the data to Dropbox (CSV/XML/XLSX). You can also customise the fields exported in the file.
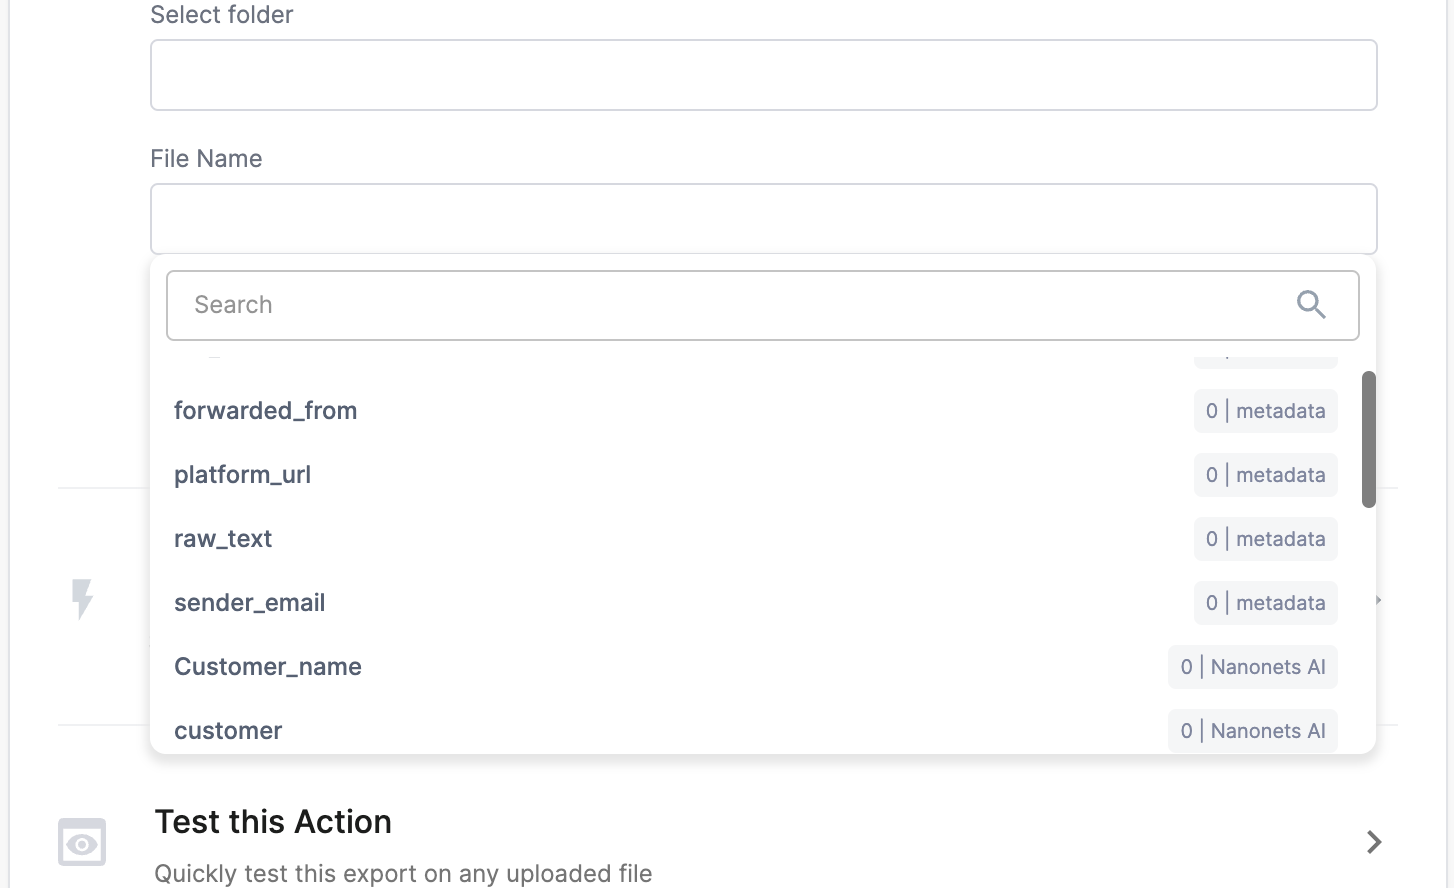
- Choose the folder you want to export files to, you can even create folders using data extracted from the files
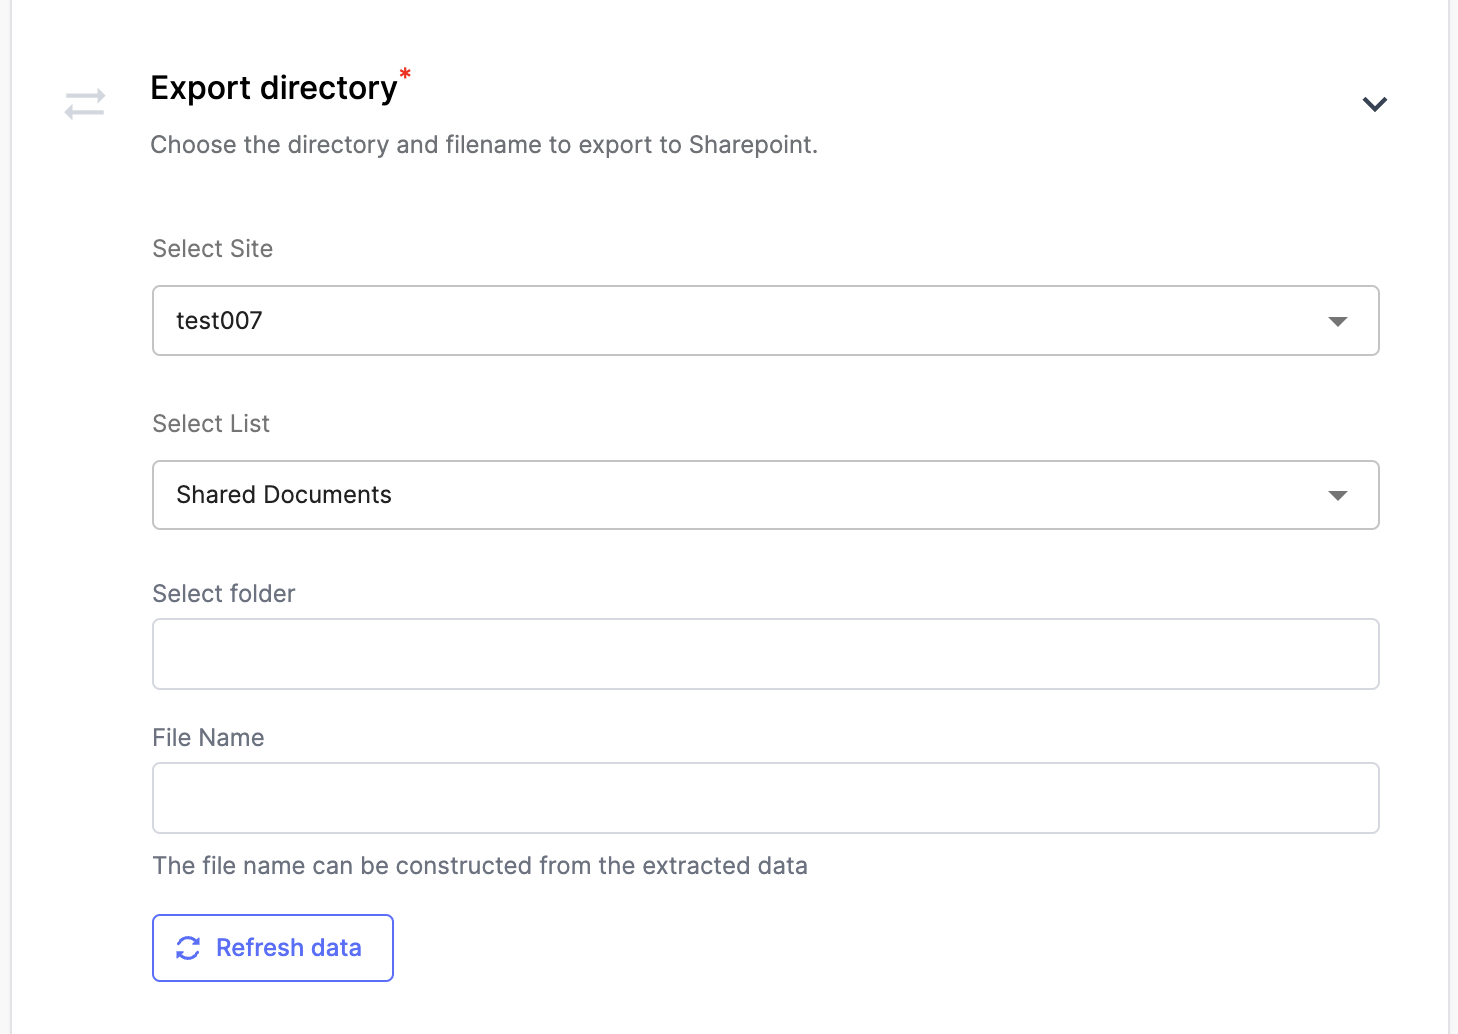
- Choose the filename (you can choose to export the original filename or rename the file based on data extracted)
- Choose an export trigger (on inference is when the file is finished processing, on approval is when the file has been approved by the user manually, or when all validations have passed is when all the validation rules setup have passed. The best option to get started with is "on inference")
- Choose a test file to run
- You're all set!
Updated about 1 year ago
Did this page help you?