Quickbooks Export
Nanonets integrates directly with QuickBooks so you can sync transactions directly to your accounting system.
How to setup the QuickBooks integration
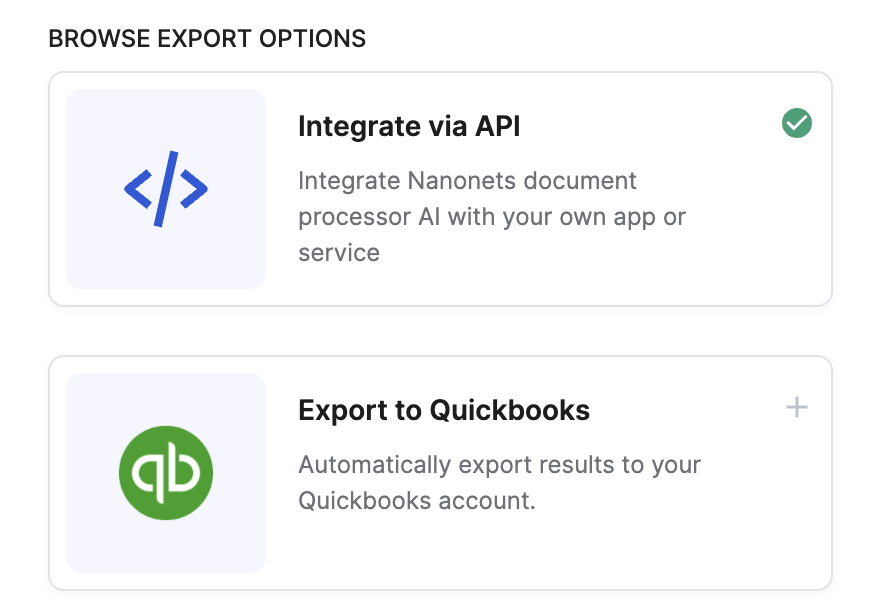
- Go to Workflows -> Exports -> Browse All Export Options.
- Click on the QuickBooks card to add it to your workflow.
- Once added to your workflow, click on the card to open it.
- Click on Sign in to QuickBooks. You will be redirected to QuickBooks.
- Enter your QuickBooks credentials. You will be asked for the relevant permissions, and then redirected back to Nanonets.
Configuring your QuickBooks mapping
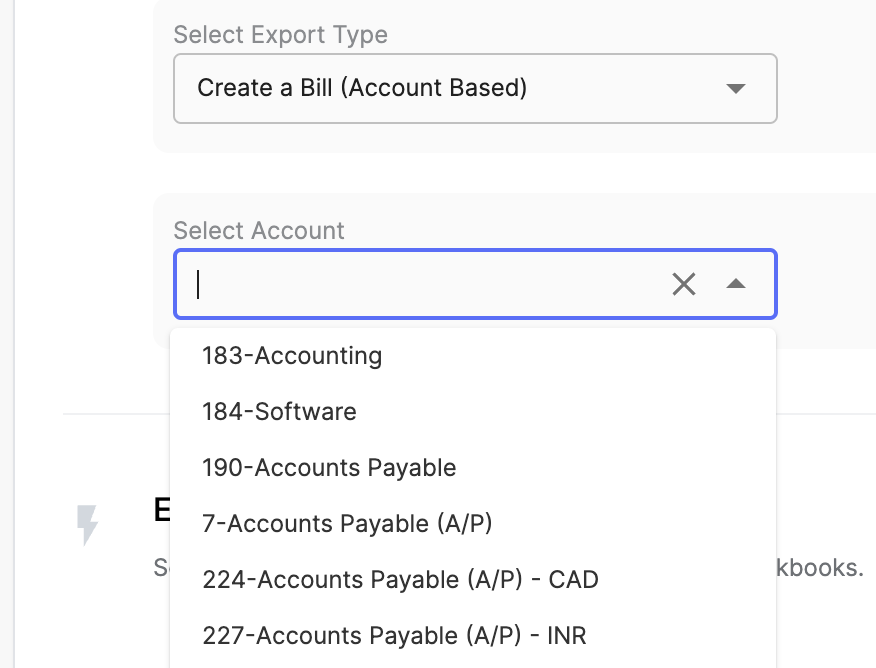
- Back on the Nanonets QuickBooks card, select the type of object that you would like to create inside QuickBooks:
- Account-based Bills (this is usually the default when you're trying to export payable invoices to QuickBooks)
- Item-based Bills
- Expense entries
- Select the appropriate AP account / Expense account to post to
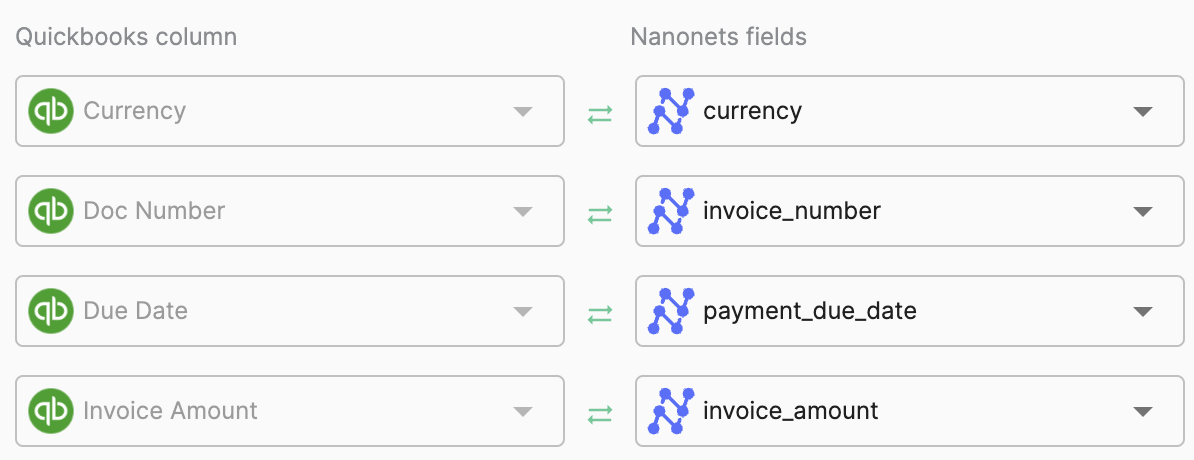
- Map the Nanonets fields to the corresponding columns in QuickBooks.
Eg: The Invoice_number captured in Nanonets should be populated under 'Doc Number' in QuickBooks. To link these two entities, they need to be mapped in the QuickBooks export block.
-
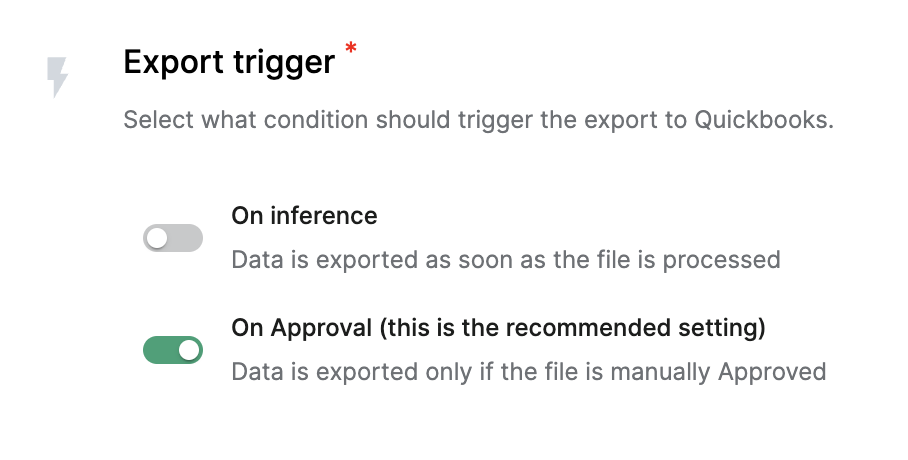
Select an Export Trigger:
- The file can be exported as soon as it is processed by the model, or
- The file can be exported only if marked "Approved" (this is the recommended setting)
-
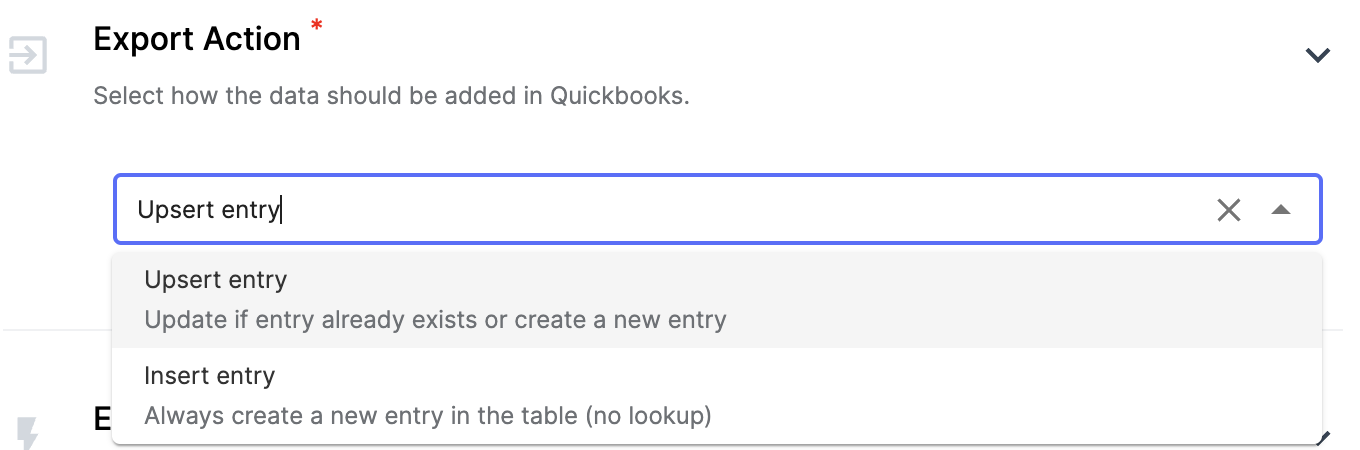
Select an Export Action:
- The file can be upserted a new entry will be created only if there isn't an existing one with the same data)
- The file can be inserted (a new entry will always be created)
-
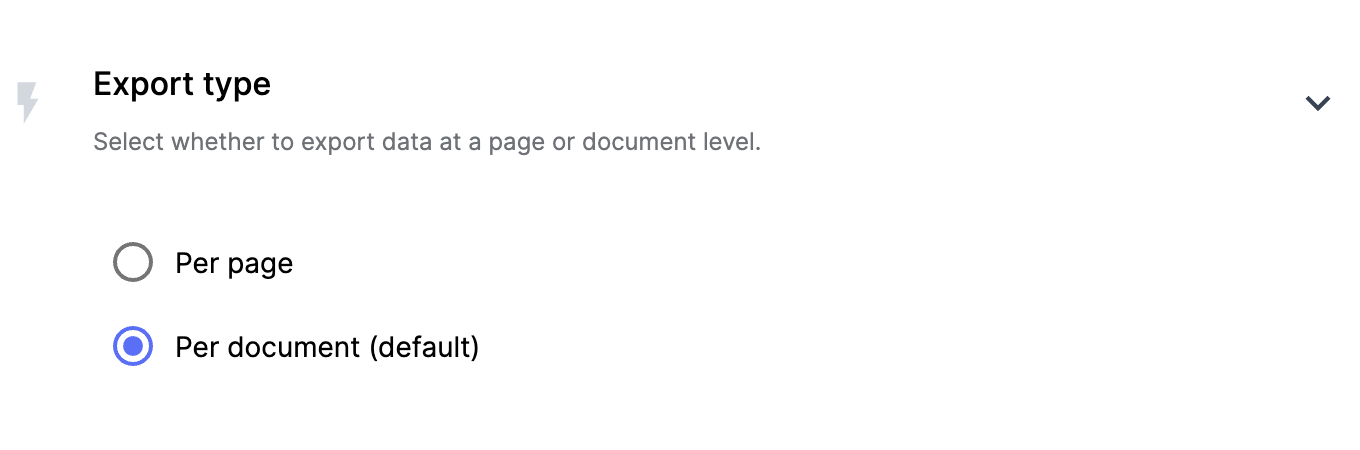
Select an Export Type:
- You can export each page of the uploaded file separately, or
- You can export each file as an entire document
-
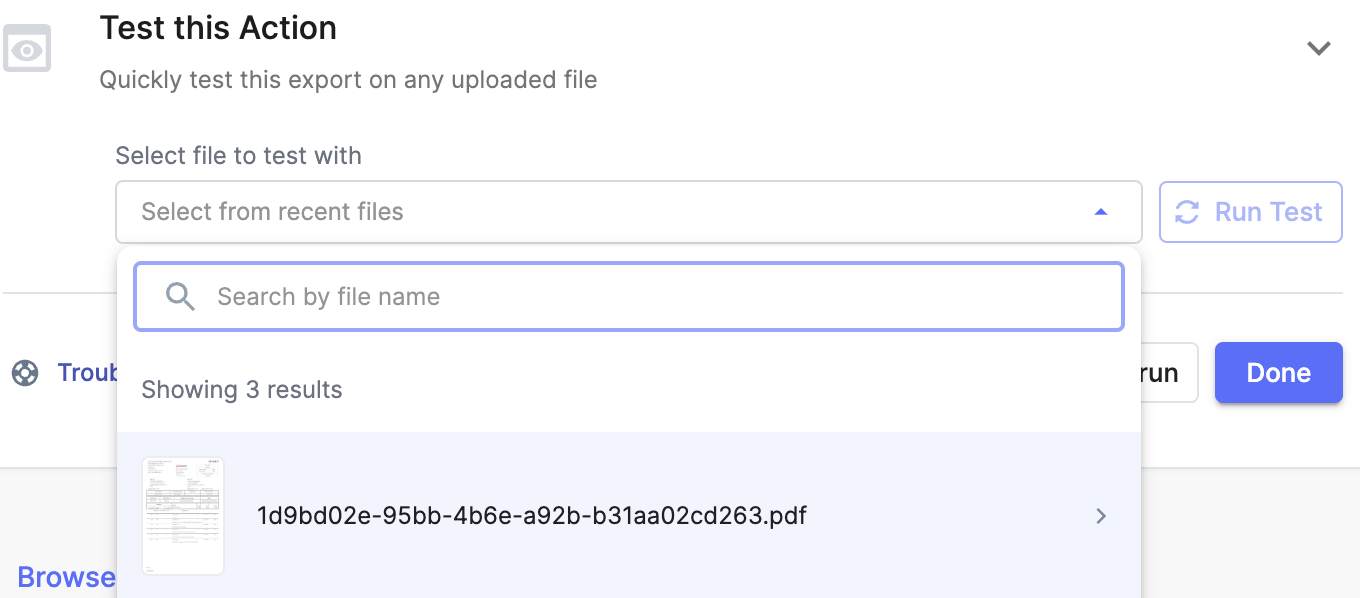
Test Action - You can select a sample file from your model and test the export on it
- Click on Done
Exporting an Invoice to QuickBooks
- Once you have saved your integration, head to Extract Data screen on the model and go into an invoice.
- You can create lookup or dropdown data actions in the Workflow section, and store any master data from QuickBooks in a Nanonets field.
- For instance, if you set up a Vendor dropdown, you will be able to see your vendors in a dropdown on the invoice details page, and then select the appropriate vendor when coding the invoice.
- The same goes for fields like Class, Customer, Account etc which are essentially QuickBooks master data, need to first come from QuickBooks (via a lookup or dropdown), then they can be used in an export.
- From here, you can select the appropriate vendor, class, location etc. and map line items to the right GLs, and check all the other fields before triggering an export to QuickBooks by approving a file.
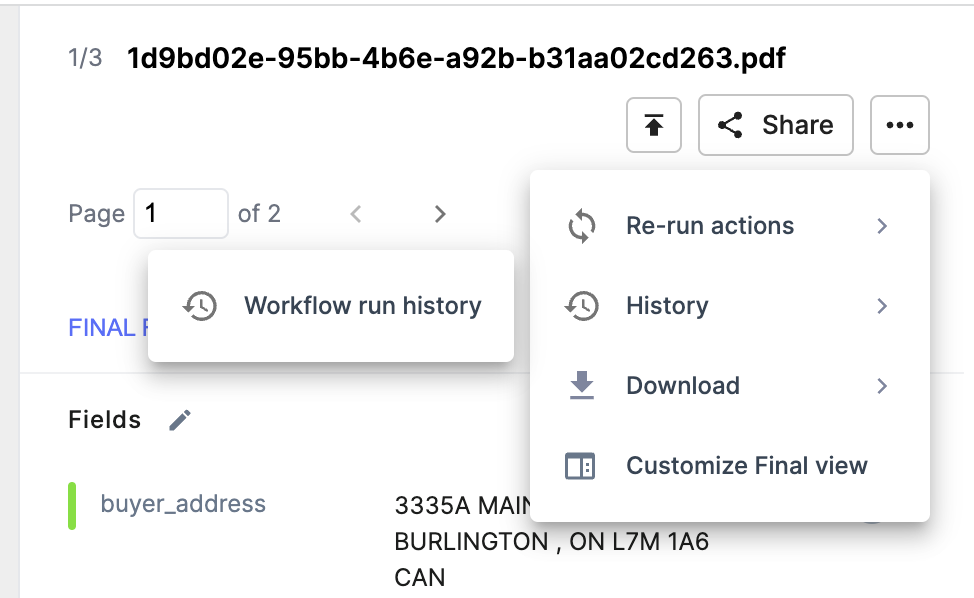
- From the contextual actions menu on the top right, you can verify the status of your export on the Workflow Run History screen.