
Dropdown Fields
Description
This document describes how to use dropdown fields in Nanonets
Introduction
Sometimes in order to process a document, there is information that isn't present on the document that needs to be part of extracted data'
For example:
- You want to add the Vendor IDs present in your ERP system to the data extracted by Nanonets and display it on the UI
- You want to add the GL codes in your Accounts payable software to be present along with the each line item that Nanonets extracts from your invoices
- You want to associate a 3 digit currency code with the data that nanonets extracts from your invoice/receipt/purchase order
In order to do this, you can create a dropdown field
Setup
- Go to the workflows section of your model
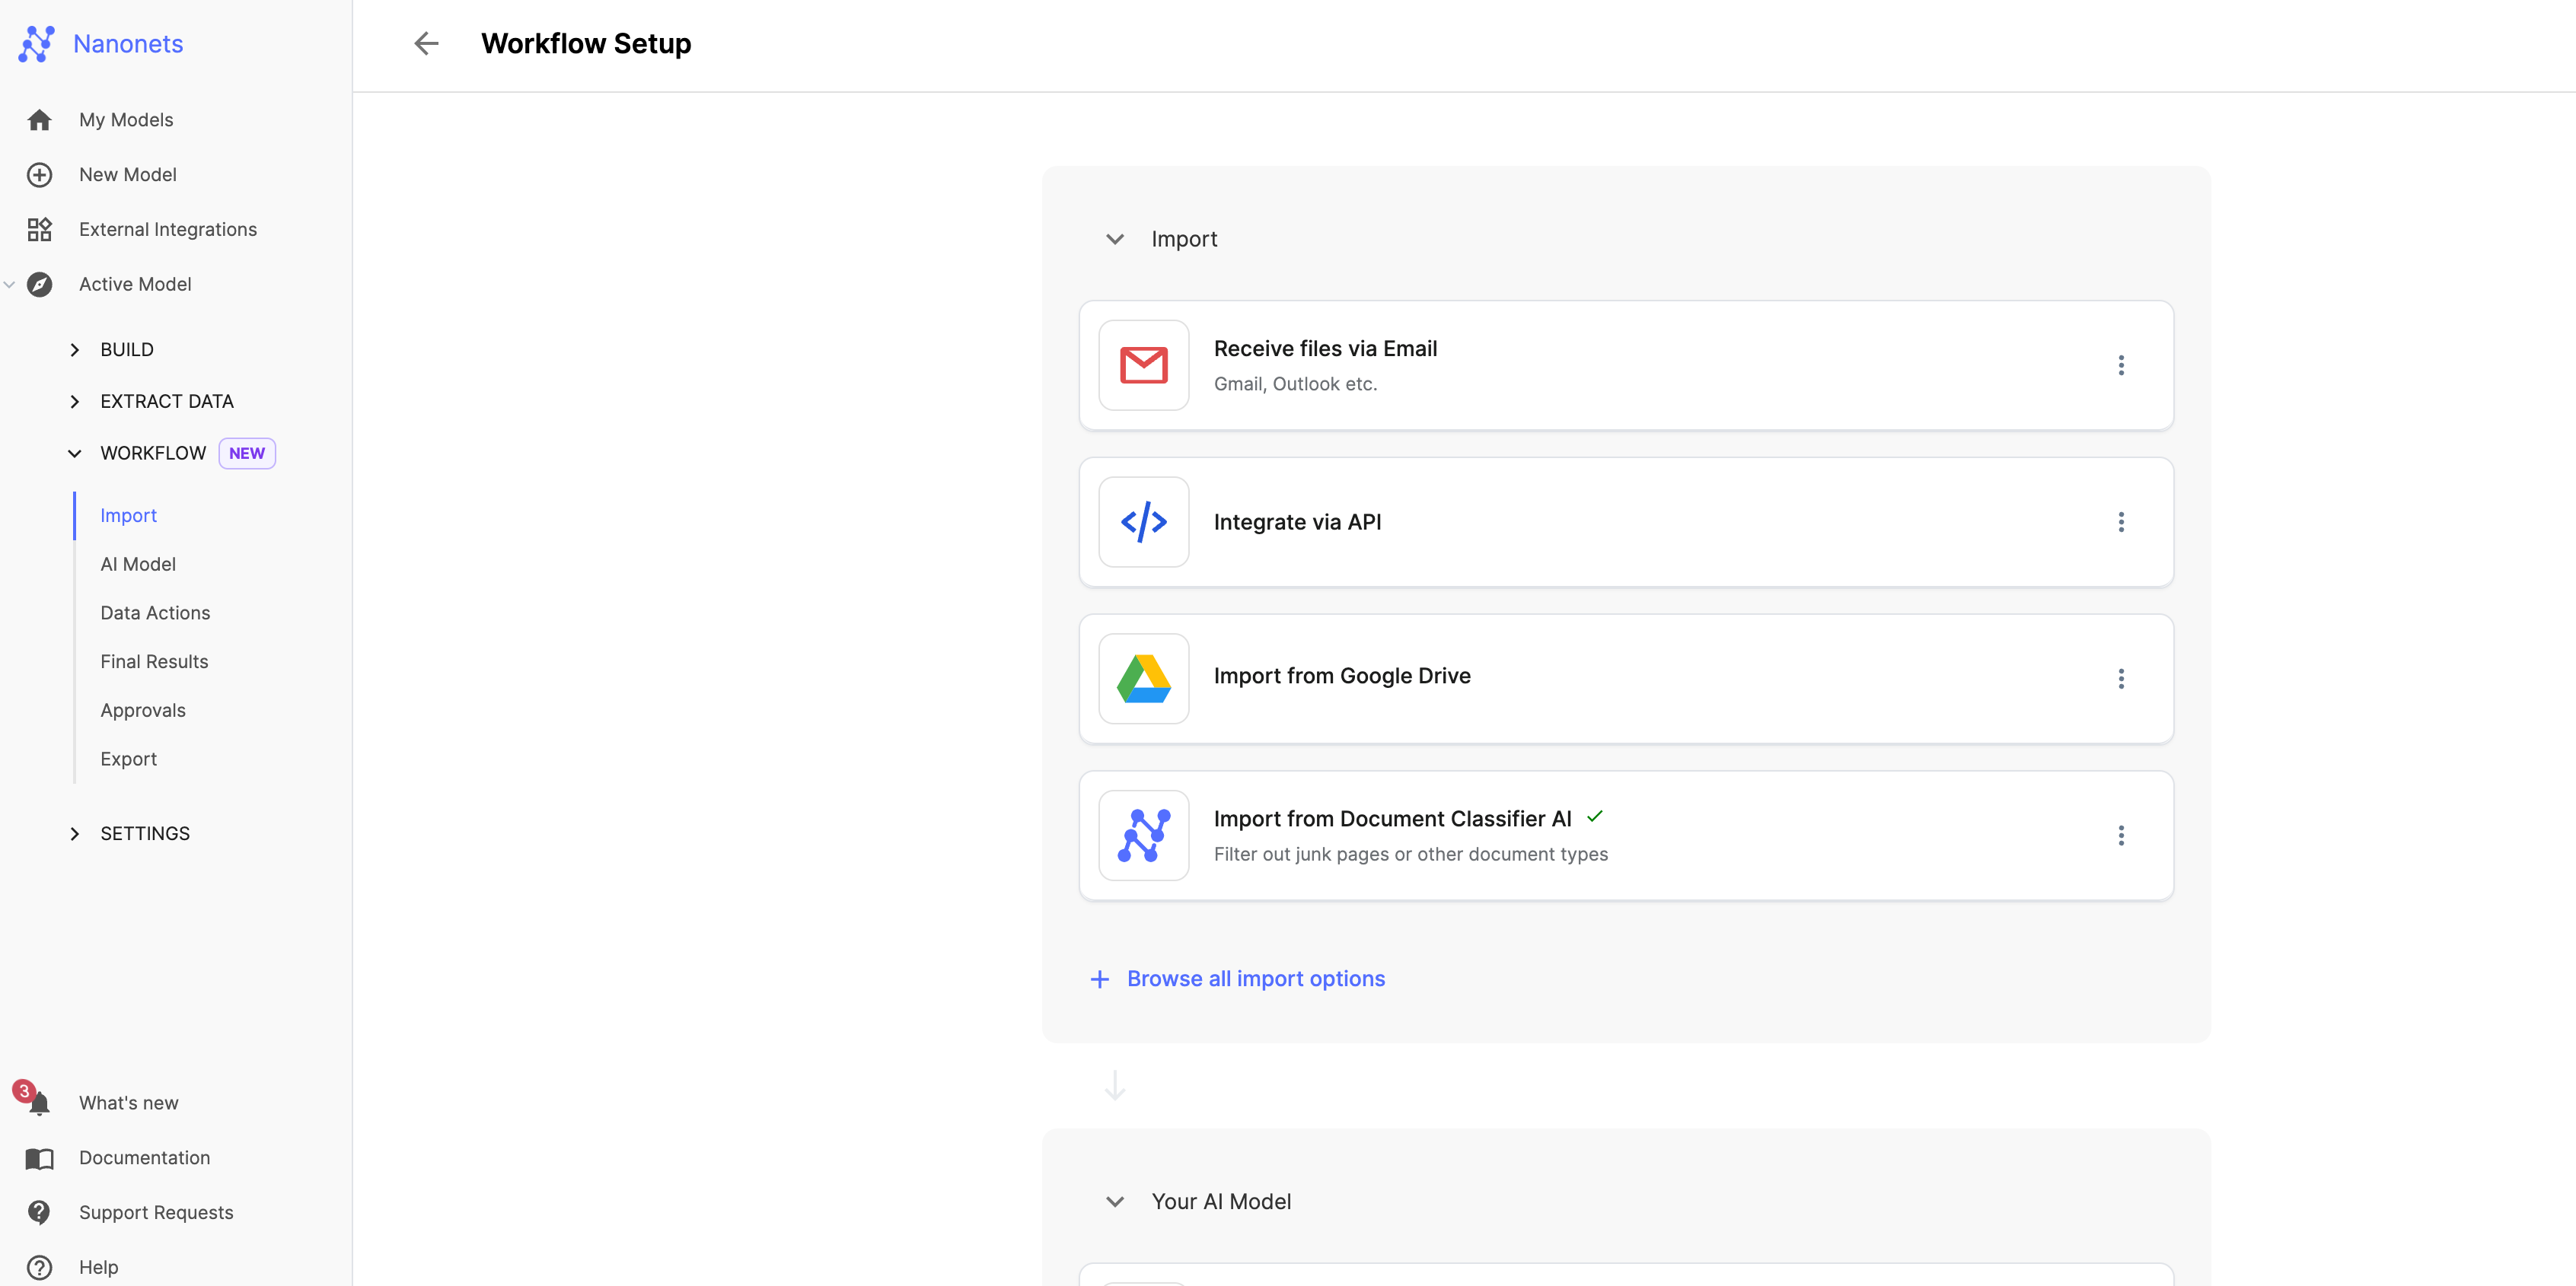
- Go to the Data Actions section
- Create a Dropdown field
- Choose the data source of the dropdown field
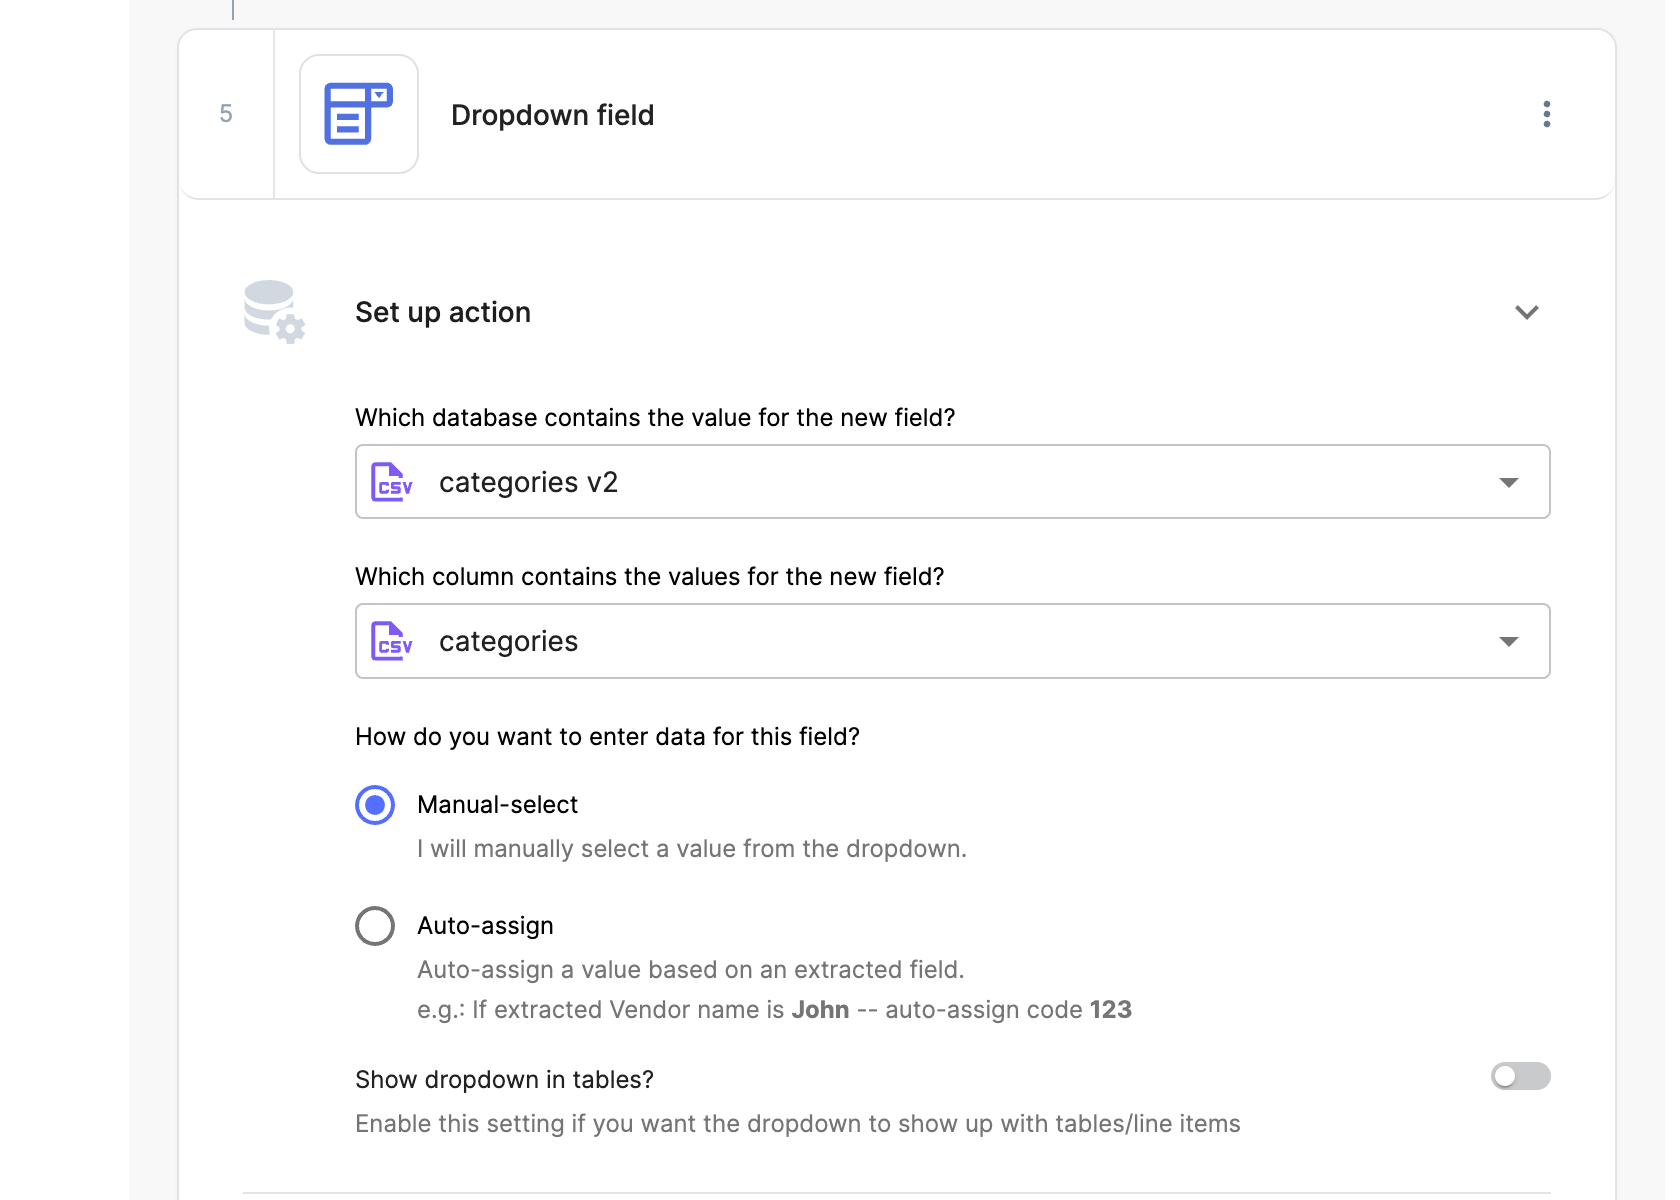
- This can either be a CSV file or a Database
-
Choose the way you want to assign the dropdown field
- Auto assign
- In case you select Auto assign, you'll have to add the Matching Criteria that Nanonets can use
- Manual Select
- Auto assign
-
Choose whether this dropdown will appear in your tables or as a manual field
- In case you select tables, you'll see one dropdown in every row extracted in your table

How does auto assign work?
You can provide the matching criteria to Nanonets in order for the dropdown field to get auto populated
You can provide the columns in your data source that need to be looked up in order to fetch the correct data

Updated about 1 year ago
Did this page help you?