
White Label Review and Approval Solution
Overview
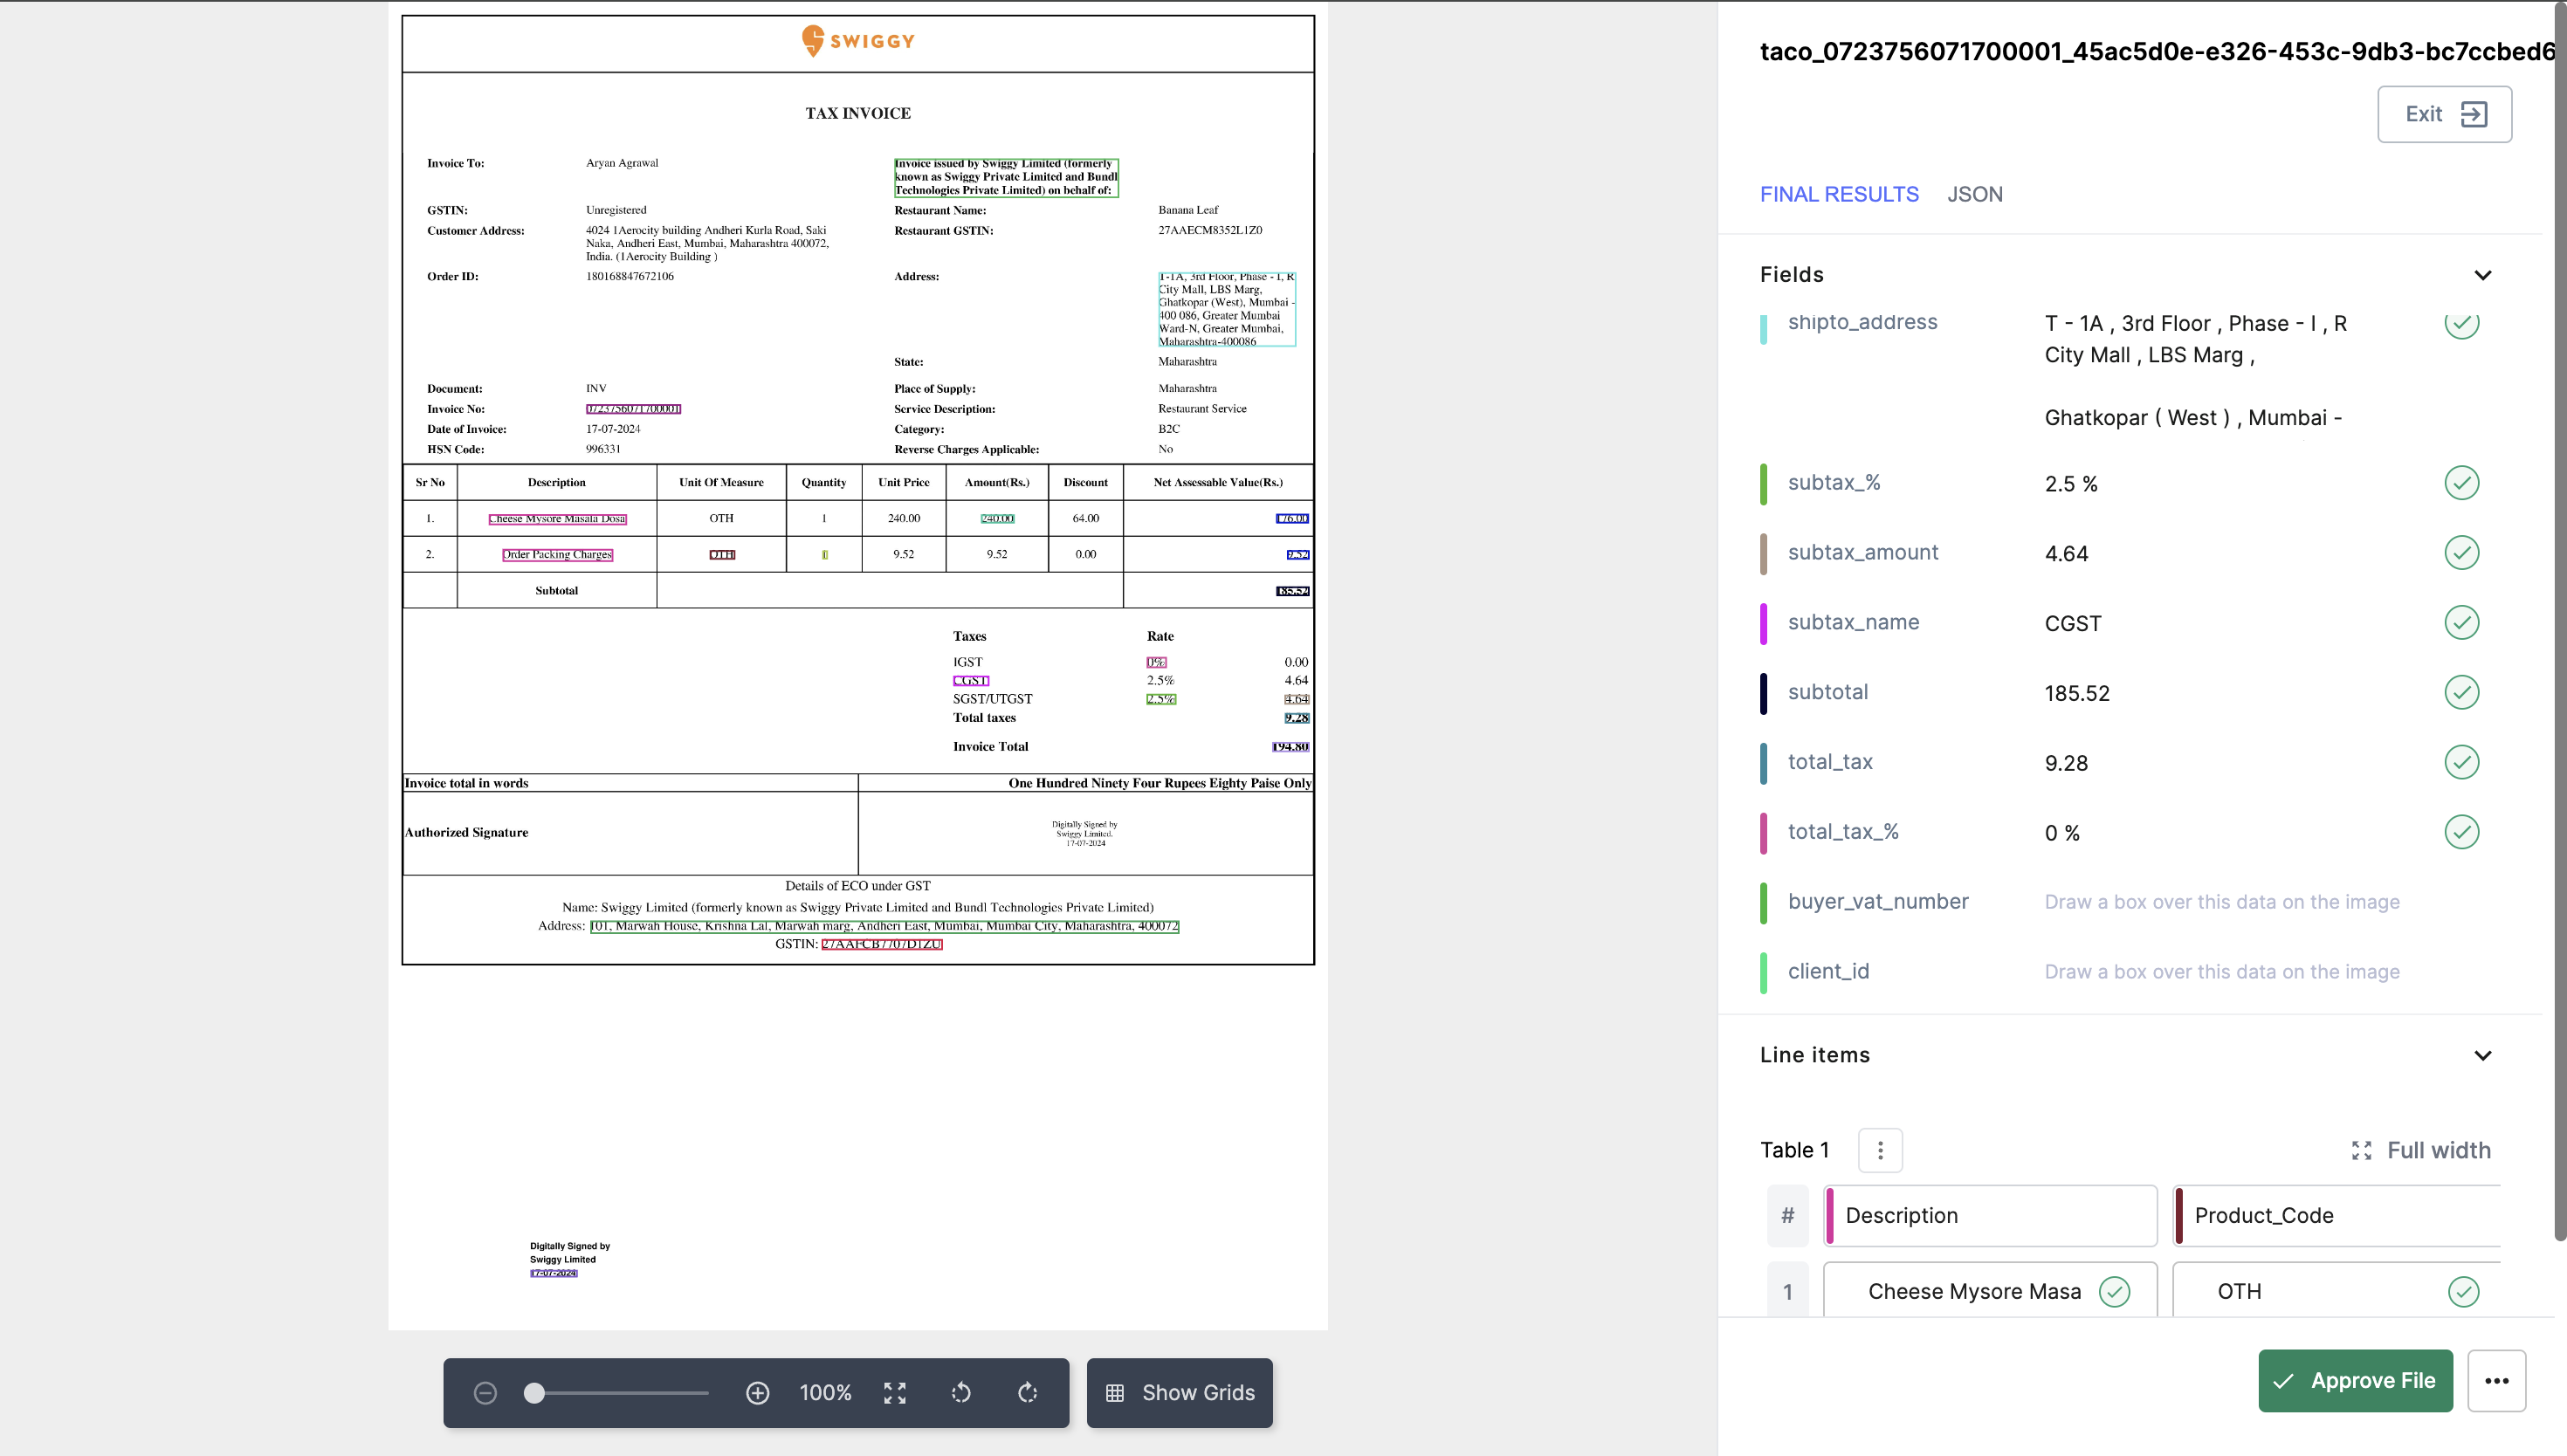
The White Label Review and Approval Solution allows for the integration of file review and approval processes into your platforms or portals. This feature enables reviewers to access files, review extracted data, make edits to the extracted data, and approve it directly within your portal, without navigating away. Importantly, it ensures that reviewers do not have access to model configurations, thus preventing any unintended modifications.
Key Features:
- Seamless Integration: Easily integrate the review and approval screen into your portal. Reviewers will see the data as part of your platform.
- Prevent Accidental Modifications: Give reviewers access only to what they need, protecting your main models from any accidental changes.
- Customizable Domain: Use your own domain in review links instead of showing Nanonets.
Use Cases
- Ideal for cases where we don’t want reviewers to switch between platforms and enhance the user experience by integrating the approval and review process directly into their portals.
- Suitable for scenarios where you need to restrict reviewer access to sensitive or critical model configurations.
- Optimal for enterprises looking to maintain brand identity while sharing review tasks. By customizing the domain of the review link.
- The reviewing team can train the Oneshot/Instant Learning model by making changes on the preview screen and approving the file.
How to Create a Preview Link
Preview Screen:
- Using Nanonets UI:
To create a preview link directly from the Nanonets User Interface (UI), follow these steps:
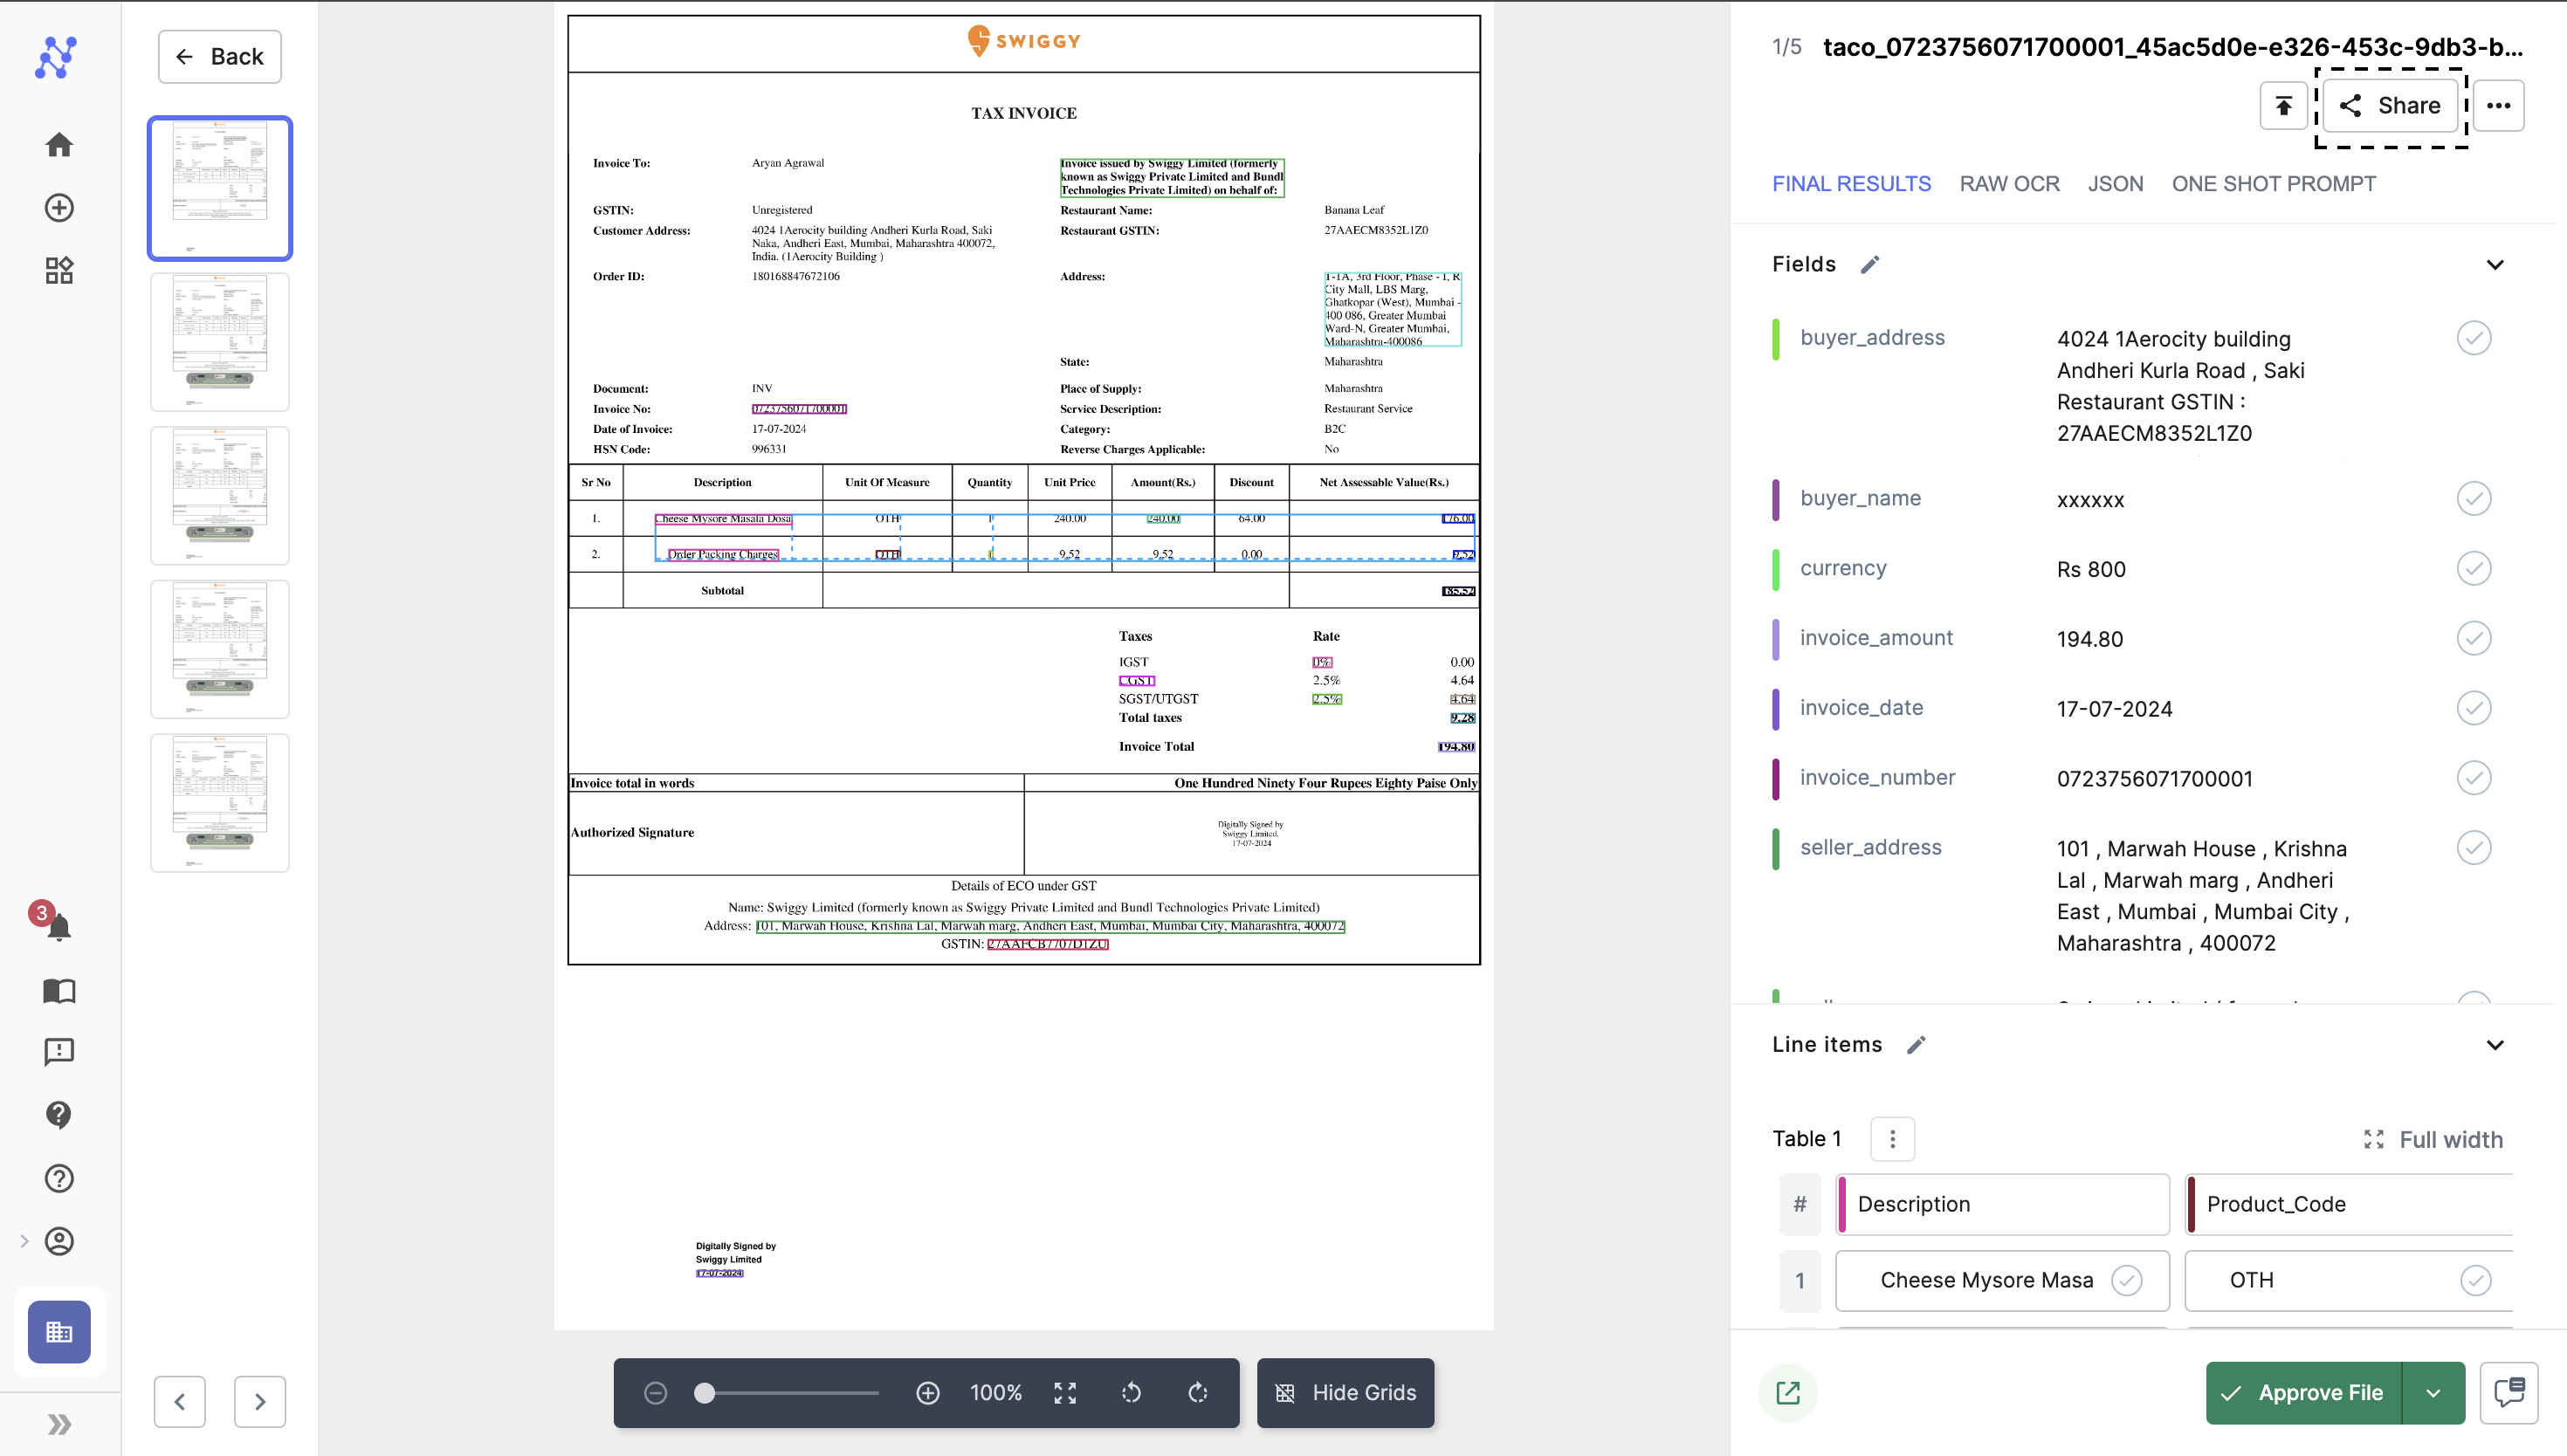
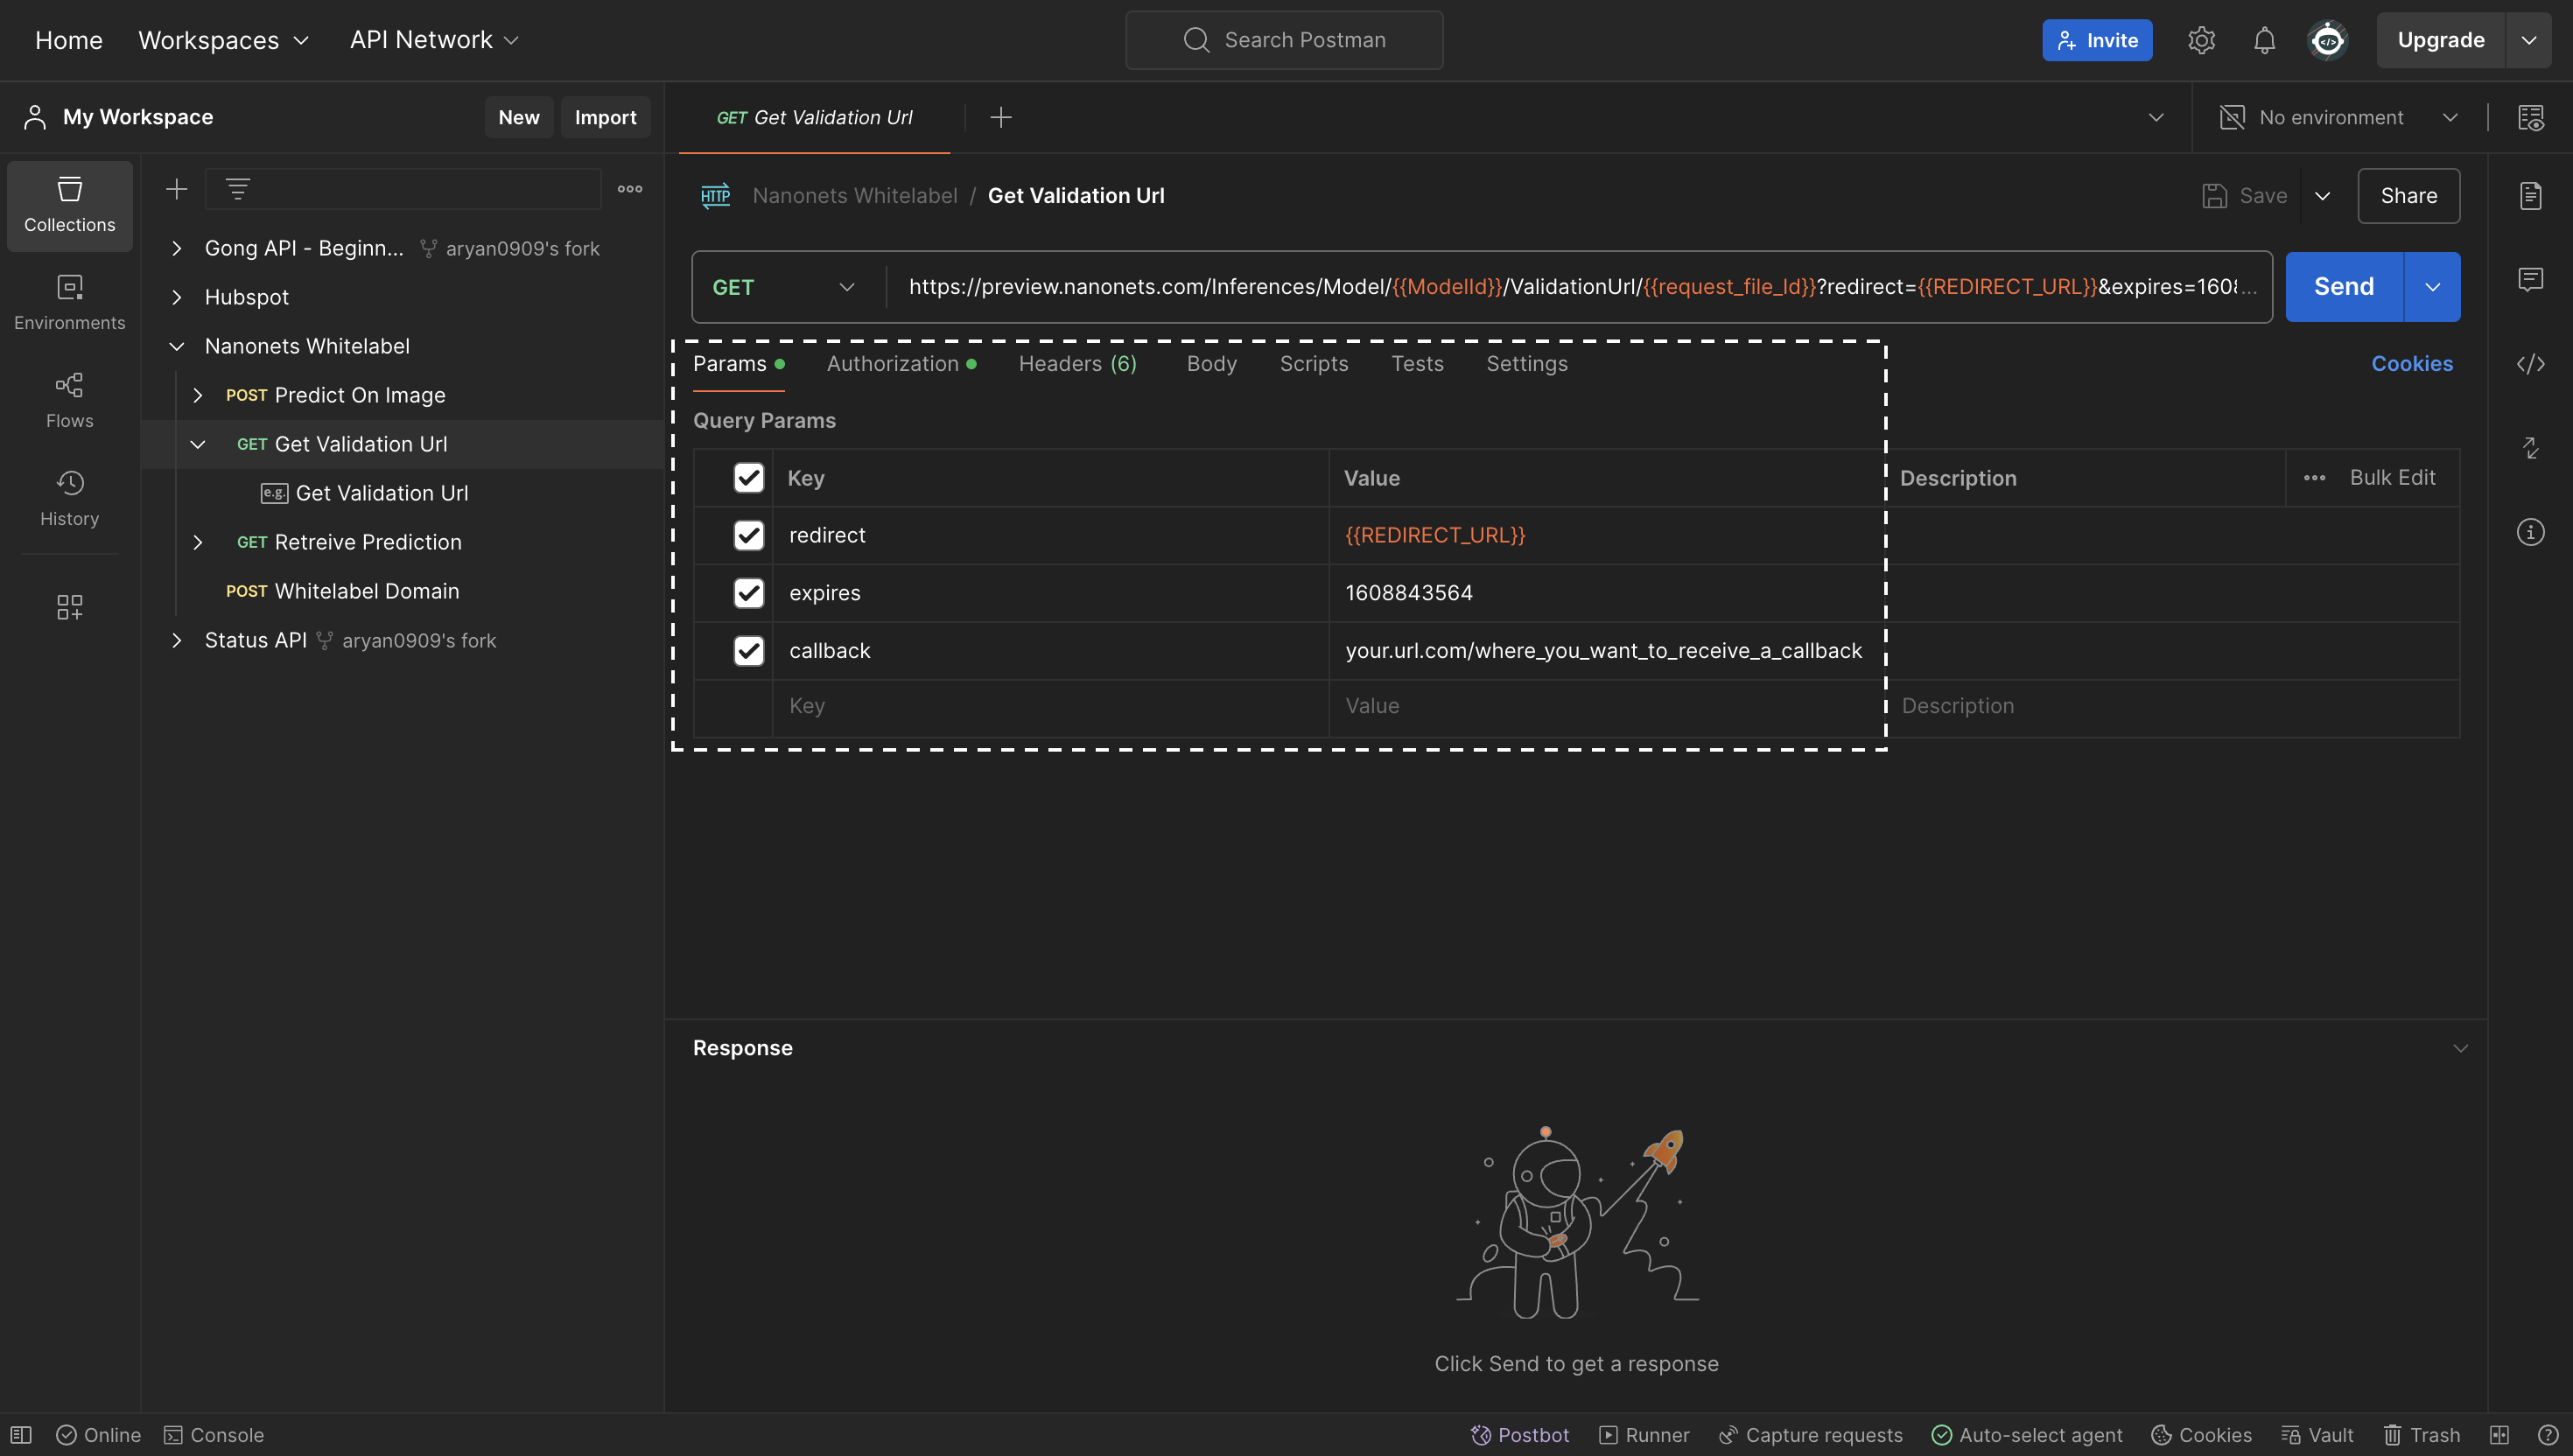
- Navigate to the Data Extraction Screen: Open the file for which you want to create a preview link.
- Click on the Share Button: Find this button in the top right corner of the interface.
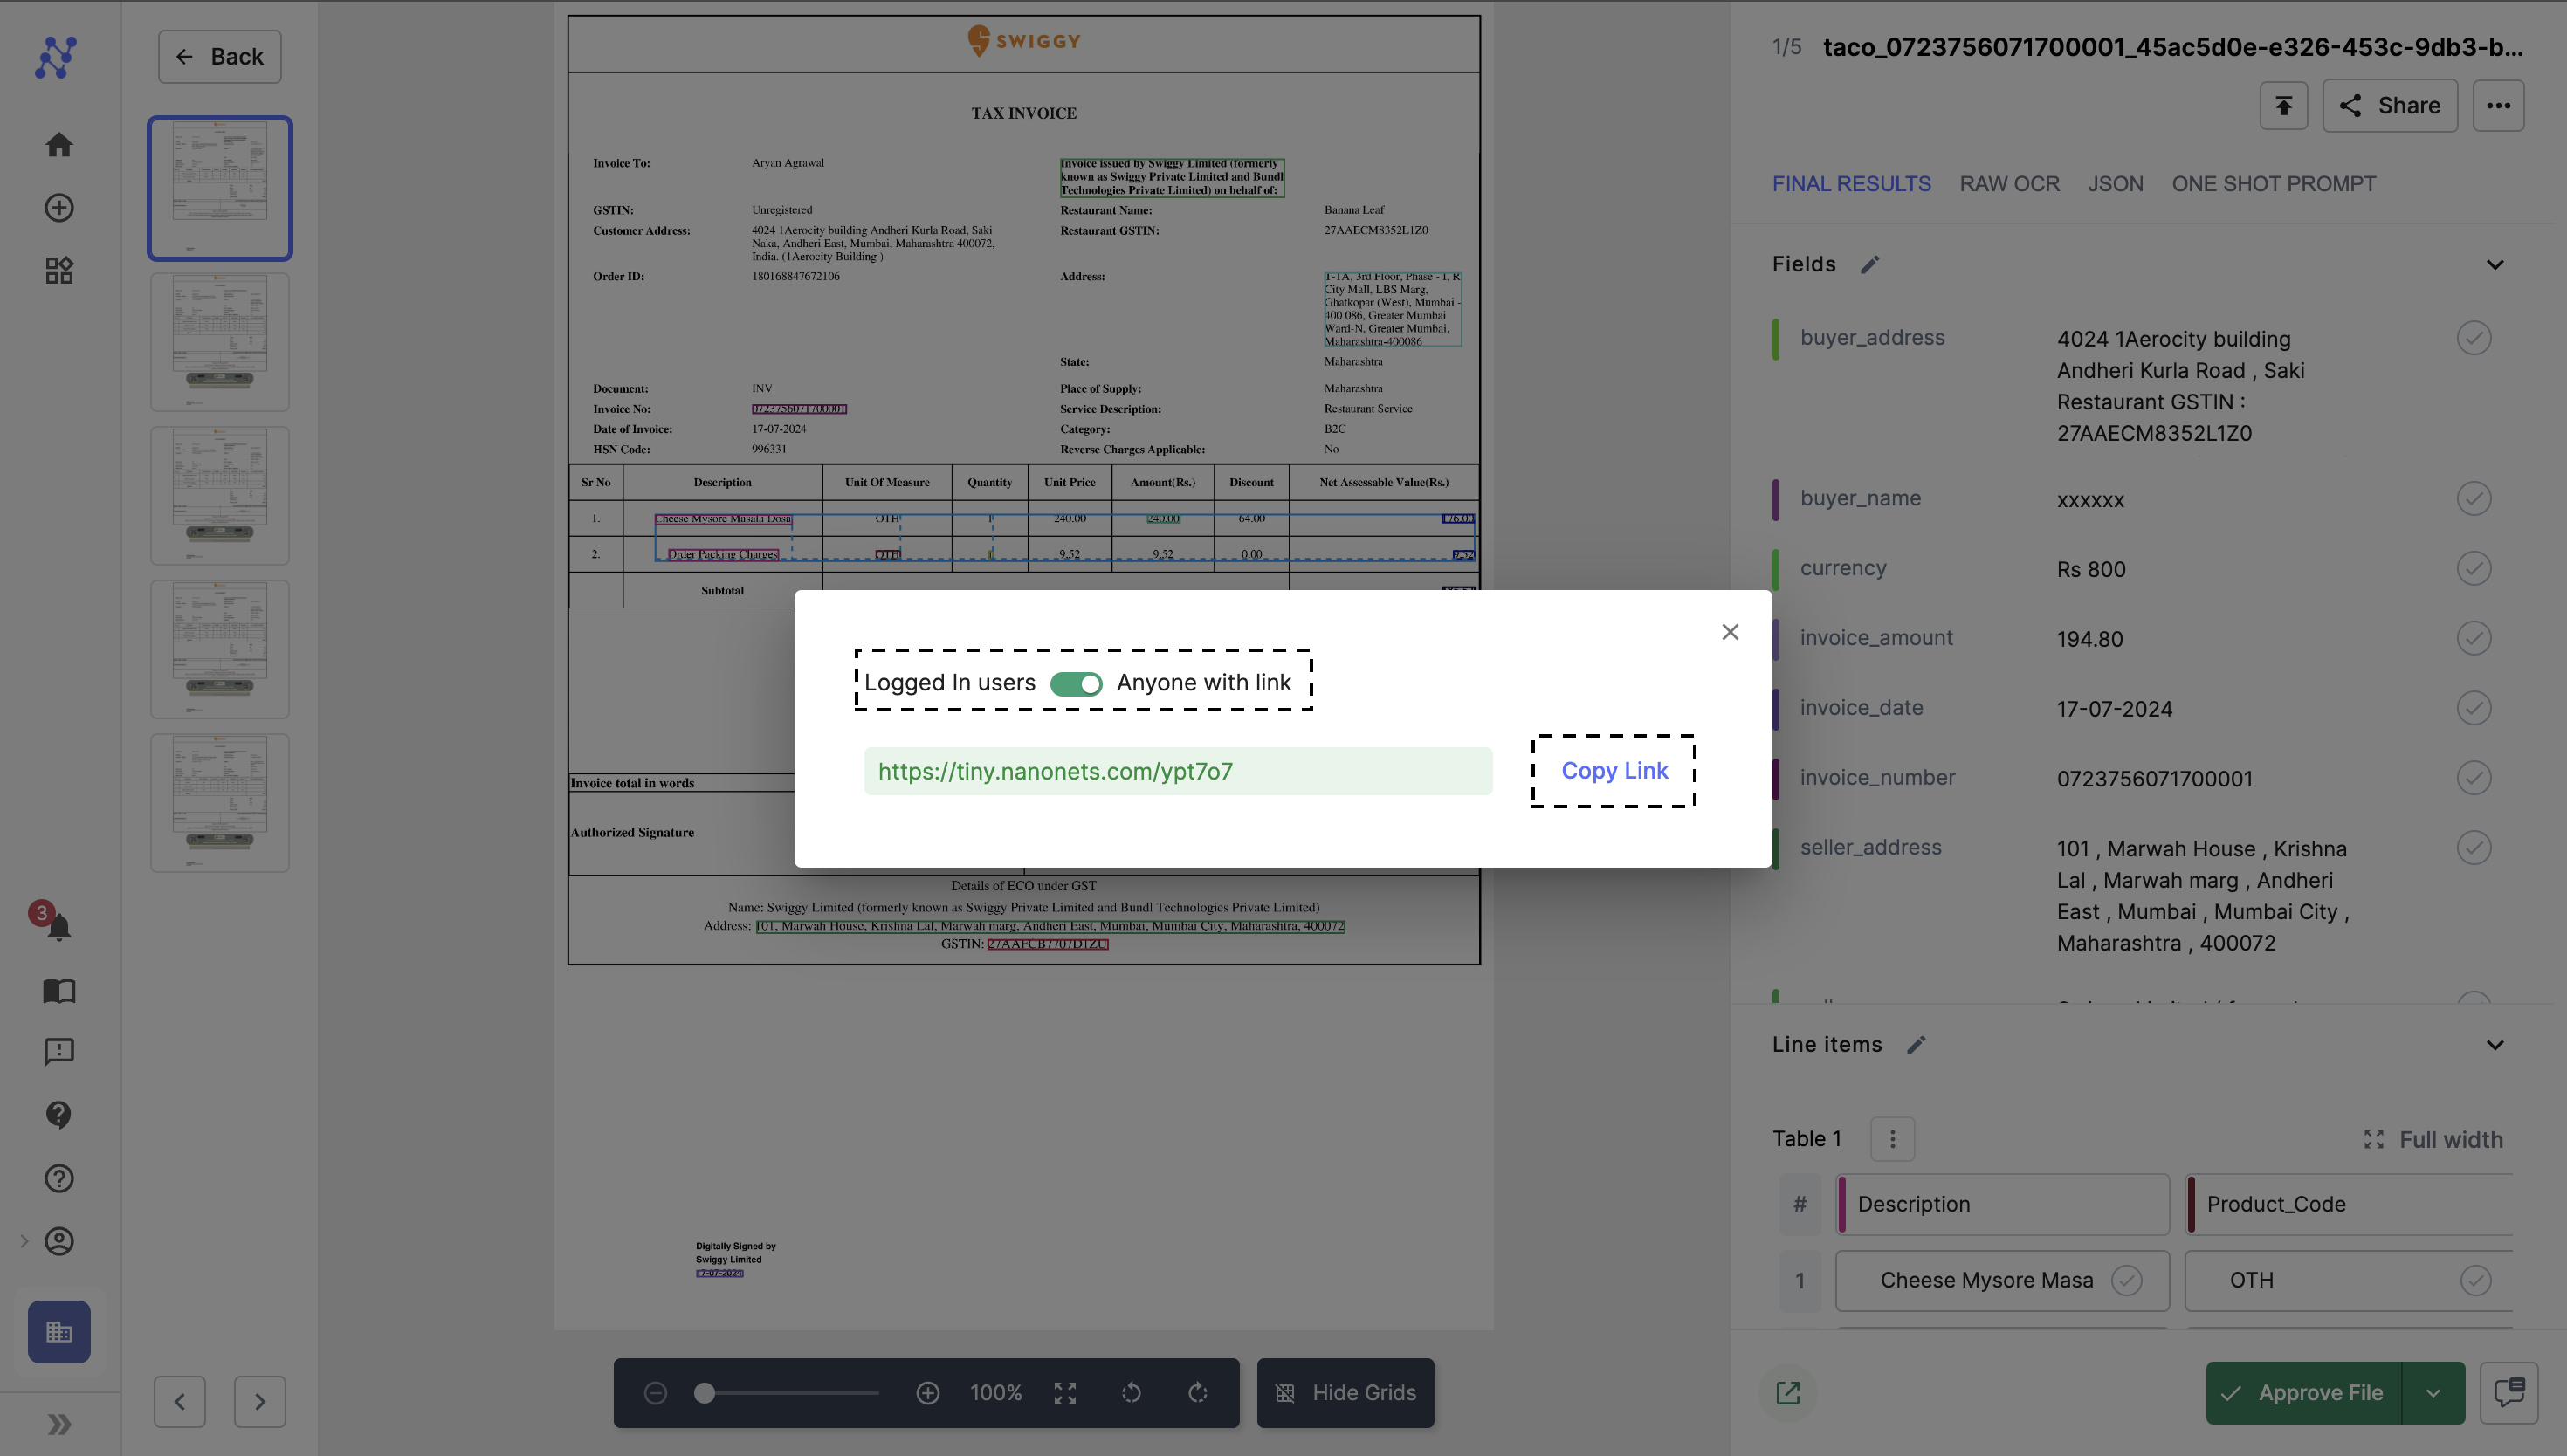
- Toggle Access: Select "Anyone with link" to enable access to the link and then copy the link for sharing.
2. Using a Python Script:
You can automate the creation of a preview link using a Python script. Here’s a simple script to get you started:
import requests

# Define variables
model_id = "YOUR_MODEL_ID"
request_file_id = "YOUR_REQUEST_FILE_ID"
api_key = "YOUR_API_KEY"
redirect_url = "YOUR_REDIRECT_URL"
callback_url = "YOUR_CALLBACK_URL"
expires = 1608843564  # Set expiry time as needed(seconds since epoch)

# Construct URL
url = f"https://preview.nanonets.com/Inferences/Model/{model_id}/ValidationUrl/{request_file_id}?redirect={redirect_url}&expires={expires}&callback={callback_url}"

# Make the GET request
response = requests.get(url, auth=requests.auth.HTTPBasicAuth(api_key, ''))

# Print response
print(response.text.encode('utf8'))
Replace the placeholders with your actual data, such as your model ID, file ID, API key, etc.
- redirect_url: This parameter specifies a URL to which the user is redirected after completing the validation process.
- expires: Sets the validity duration of the link in seconds since the epoch (UNIX timestamp). This parameter defines how long the link remains active, ensuring security by limiting the access time. You can use this to generate seconds since the epoch: https://www.epochconverter.com/
- callback_url: This is used to specify a URL that will receive a POST request once the user completes the verification and exits.
- api_key: This is the API Key that you can generate from the platform. How to generate API Key?
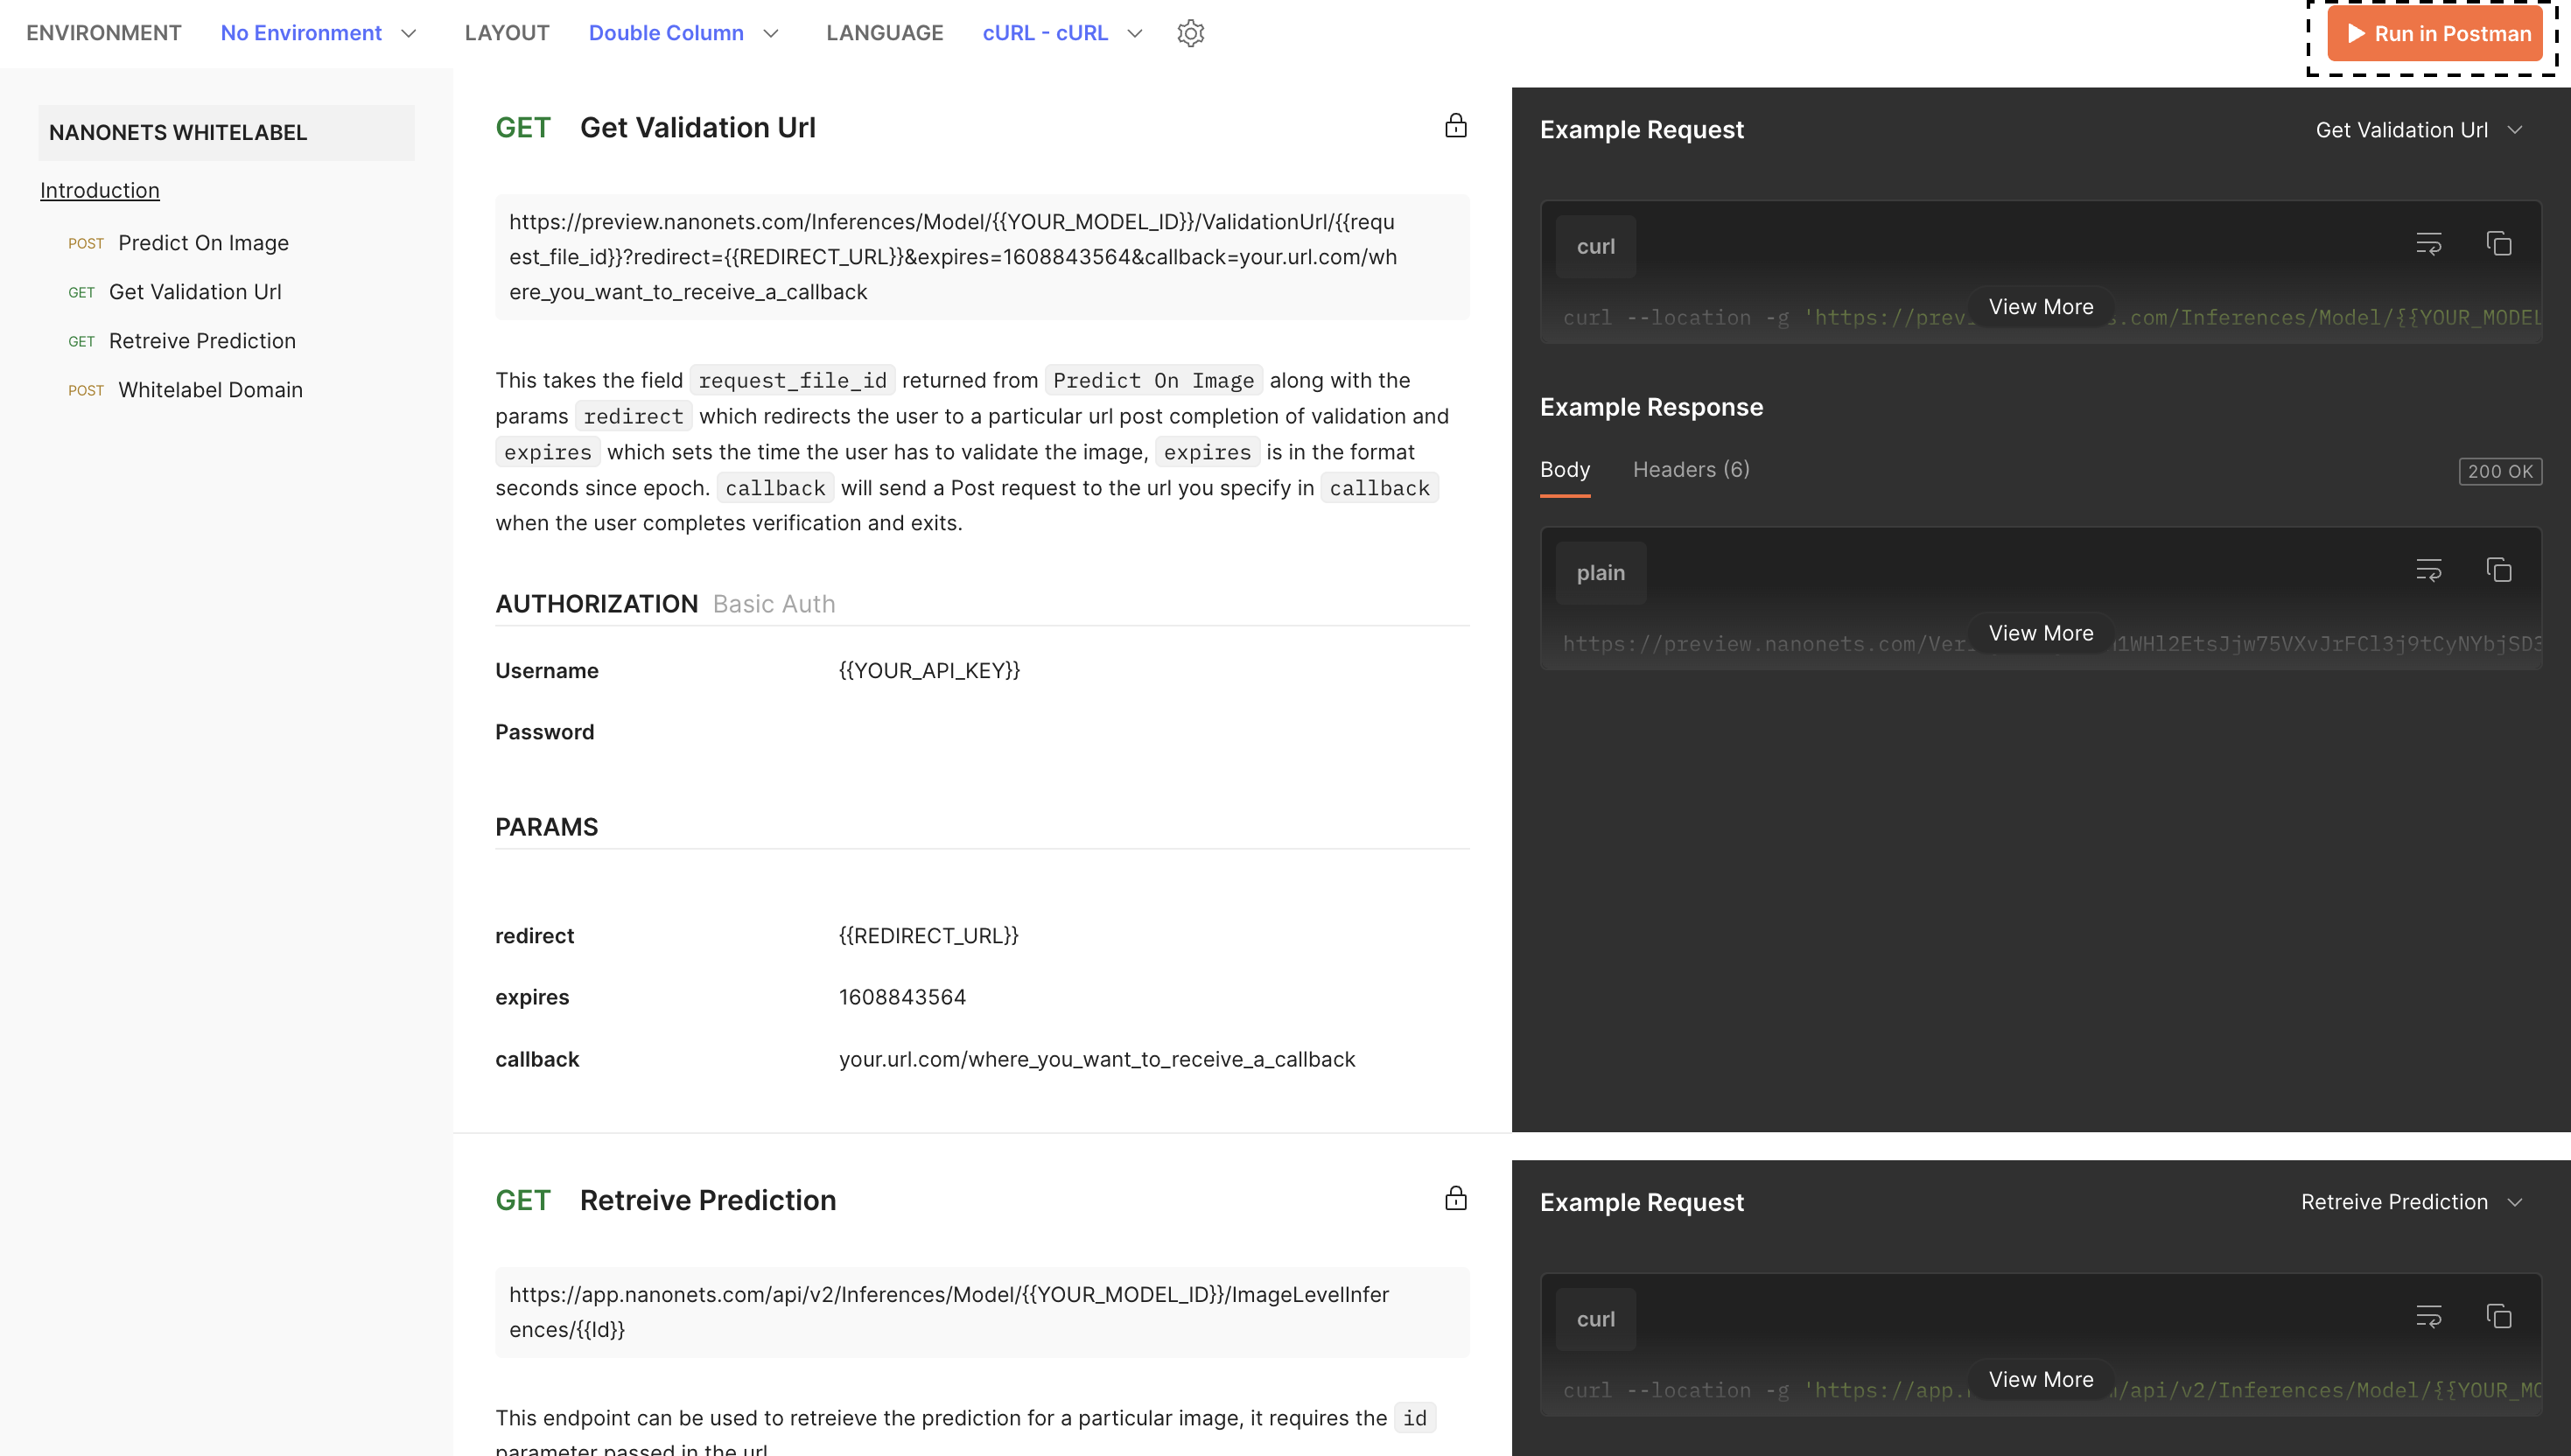
3. Generating a Preview Link Using Postman:
You can use the below link to generate preview link using postman: https://documenter.getpostman.com/view/13272317/TVsxA6Bc#301a2ada-058b-40bf-845d-7e9e03bd0489
- Open the Collection URL:
Visit the above link to access the specific Postman documentation. - Run in Postman:
Click the "Run in Postman" button located in the top right corner of the page. This action will prompt Postman to open.
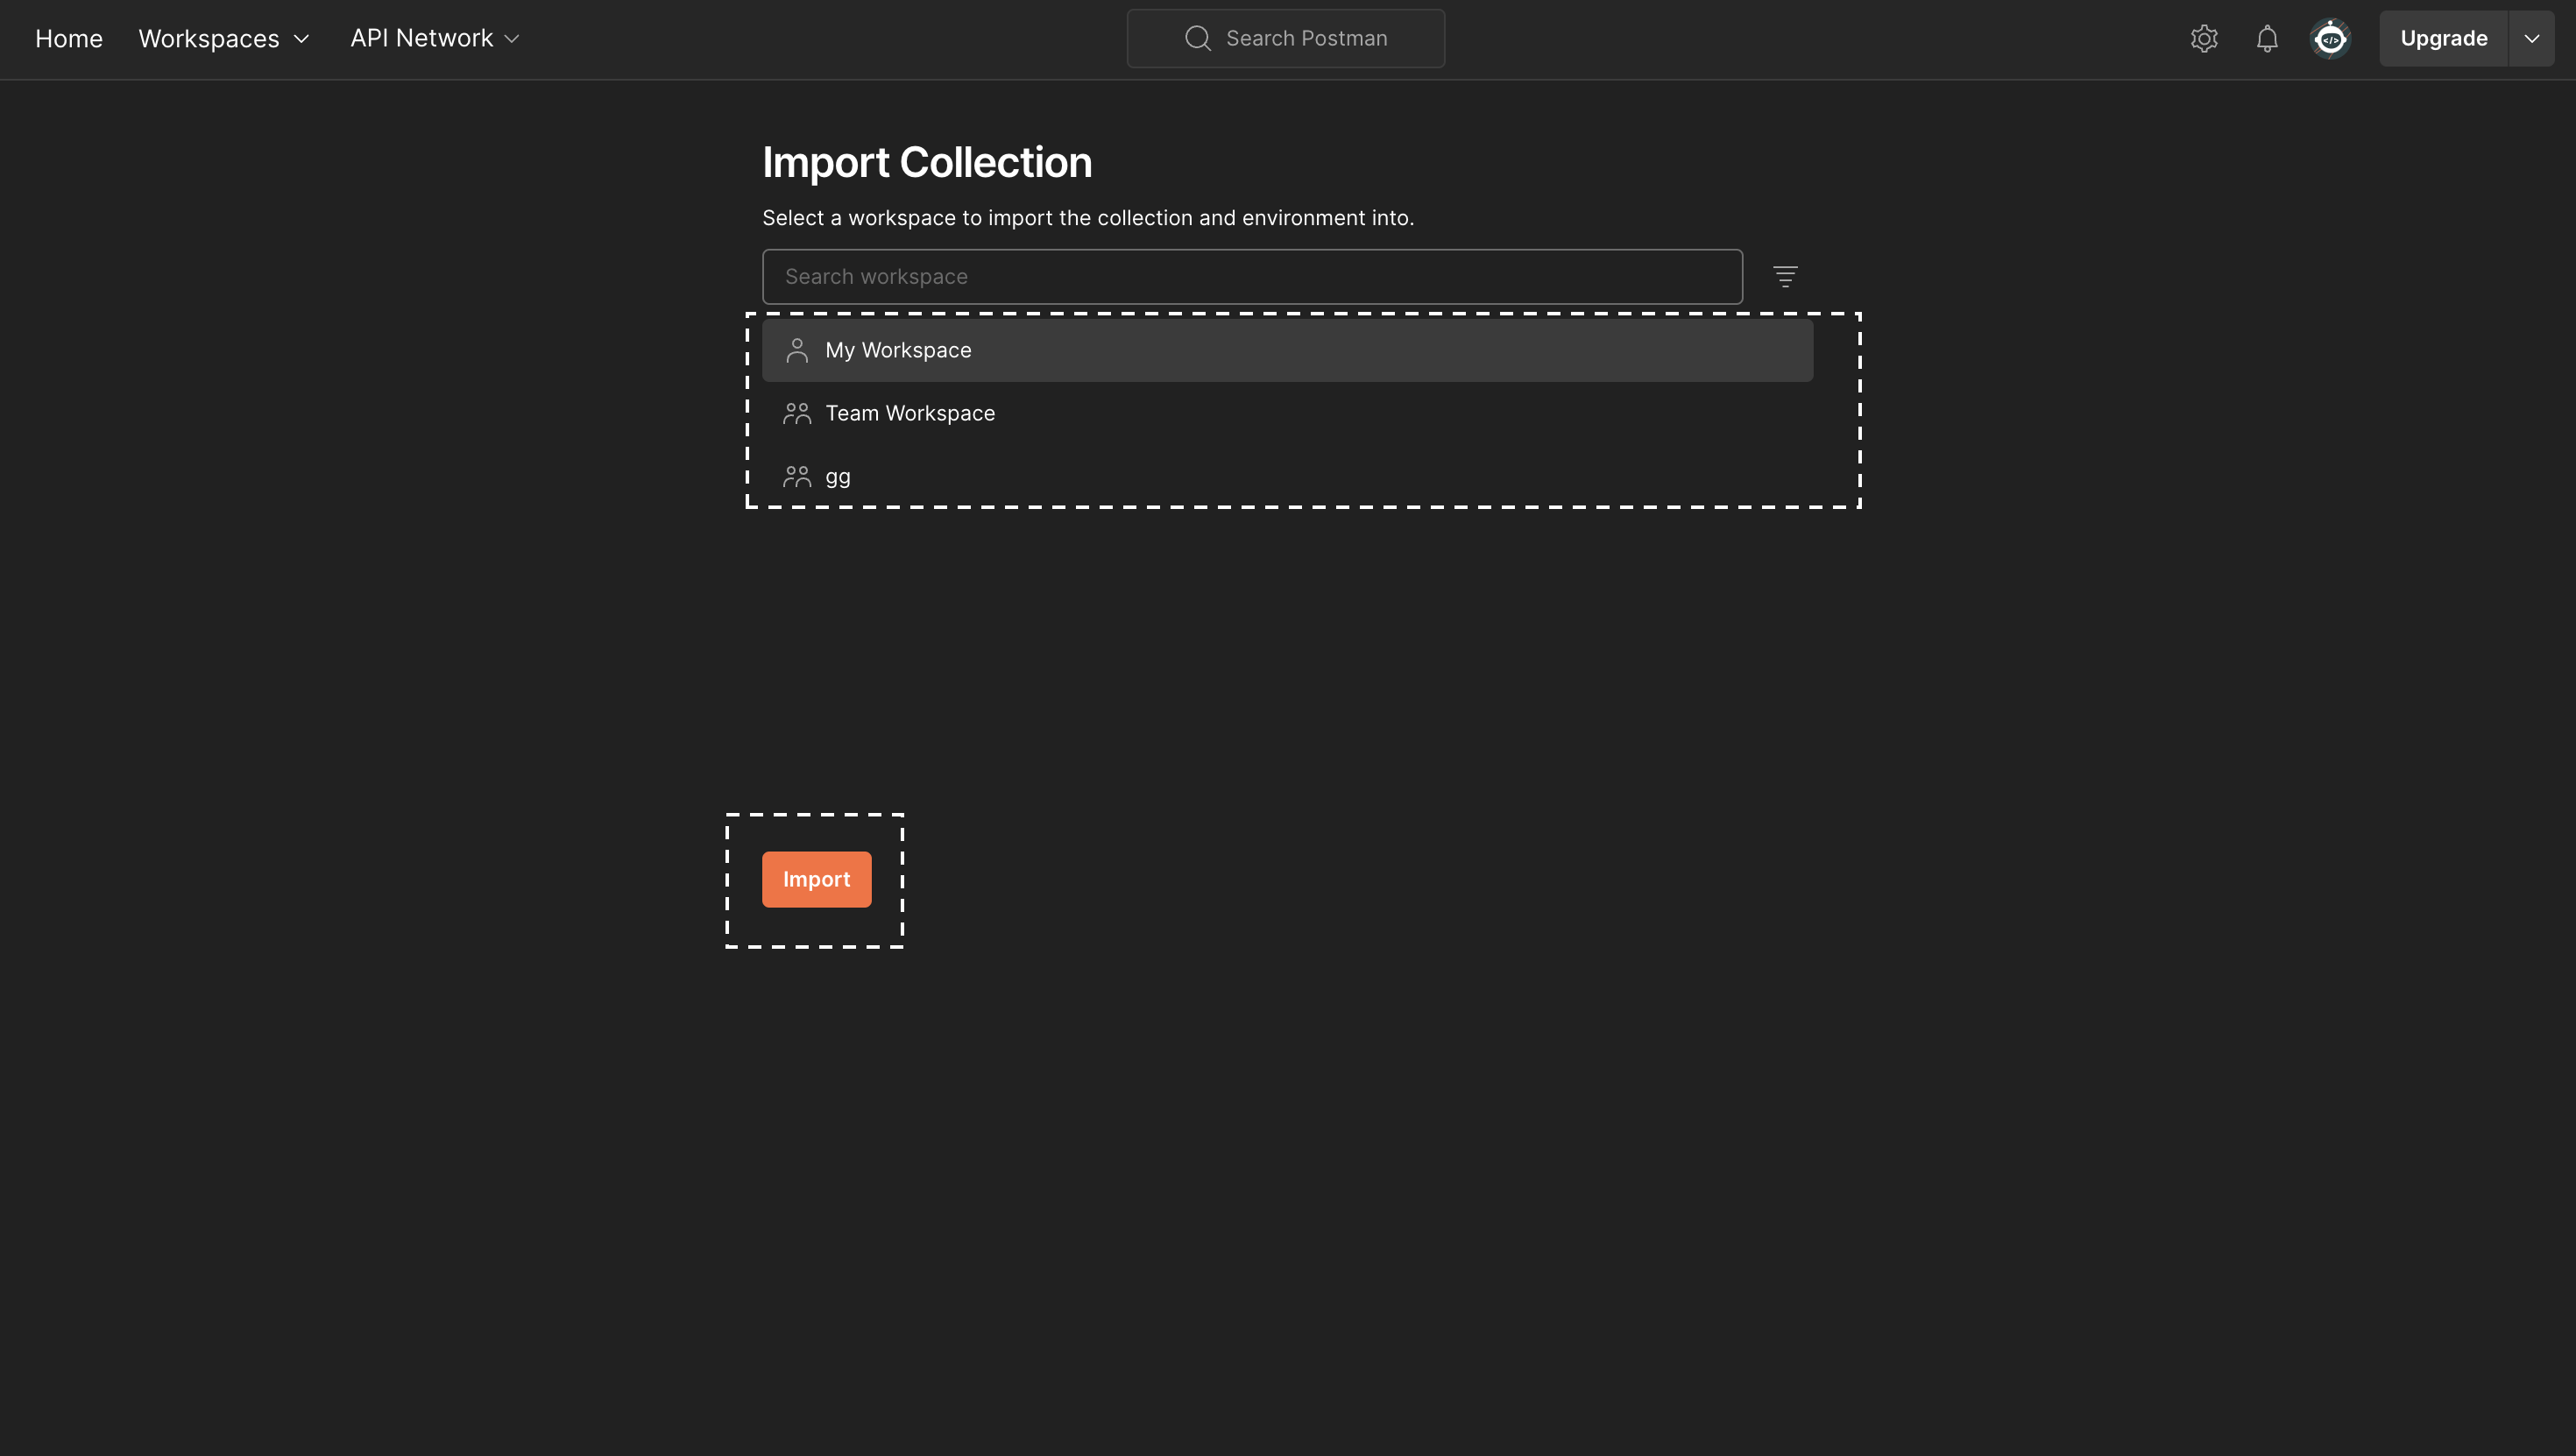
- Import the Collection: You will be asked to import the "Nanonets Whitelabel" collection. Select your desired workspace and click on the import button.
- Access the Collection: Once imported, you will be redirected to the "Nanonets Whitelabel" collection within the chosen workspace. The collection will now be successfully imported into your Postman environment.
- Setup and Authorization: Replace all placeholder variables with your specific data (e.g., API key, model ID, etc.). Ensure you are authorized appropriately to access the required endpoints.
- Generate the Preview Link: Execute the relevant request in the collection to generate the preview link. Make sure all parameters are correctly set according to your needs.
How to Add your domain?
If you prefer to use your own domain rather than the default preview.nanonets.com, you can set this up by following these steps:
1. Configure DNS Settings
- Add a NS Record: Update your DNS settings by adding a NS (Name Server) record pointing to
preview.nanonets.com. - To add an NS record for your domain (xyz.com) pointing to a specific website (preview.nanonets.com), you need to follow these steps:
- Log in to Your Domain Registrar Account:
- Access the account where you registered your domain (e.g., GoDaddy, Namecheap, Google Domains).
- Navigate to DNS Settings:
- Find the DNS management or DNS settings section for your domain. This might be labeled as "DNS Management," "DNS Settings," or something similar.
- Add an NS Record:
- Look for an option to add a new DNS record. Select "NS" from the record type dropdown menu.
- Enter the Details:
- Name/Host/Alias: Enter the subdomain you want to point to the new nameserver. If you want to change the nameserver for the root domain, leave this field blank or enter "@."
- Value/Points to: Enter the nameserver you want to point to, which in this case would be
preview.nanonets.com. - TTL: Set the TTL (Time to Live) value. The default value provided by your registrar is usually fine.
- Save Changes:
- Save or apply the changes to your DNS settings.
- Log in to Your Domain Registrar Account:
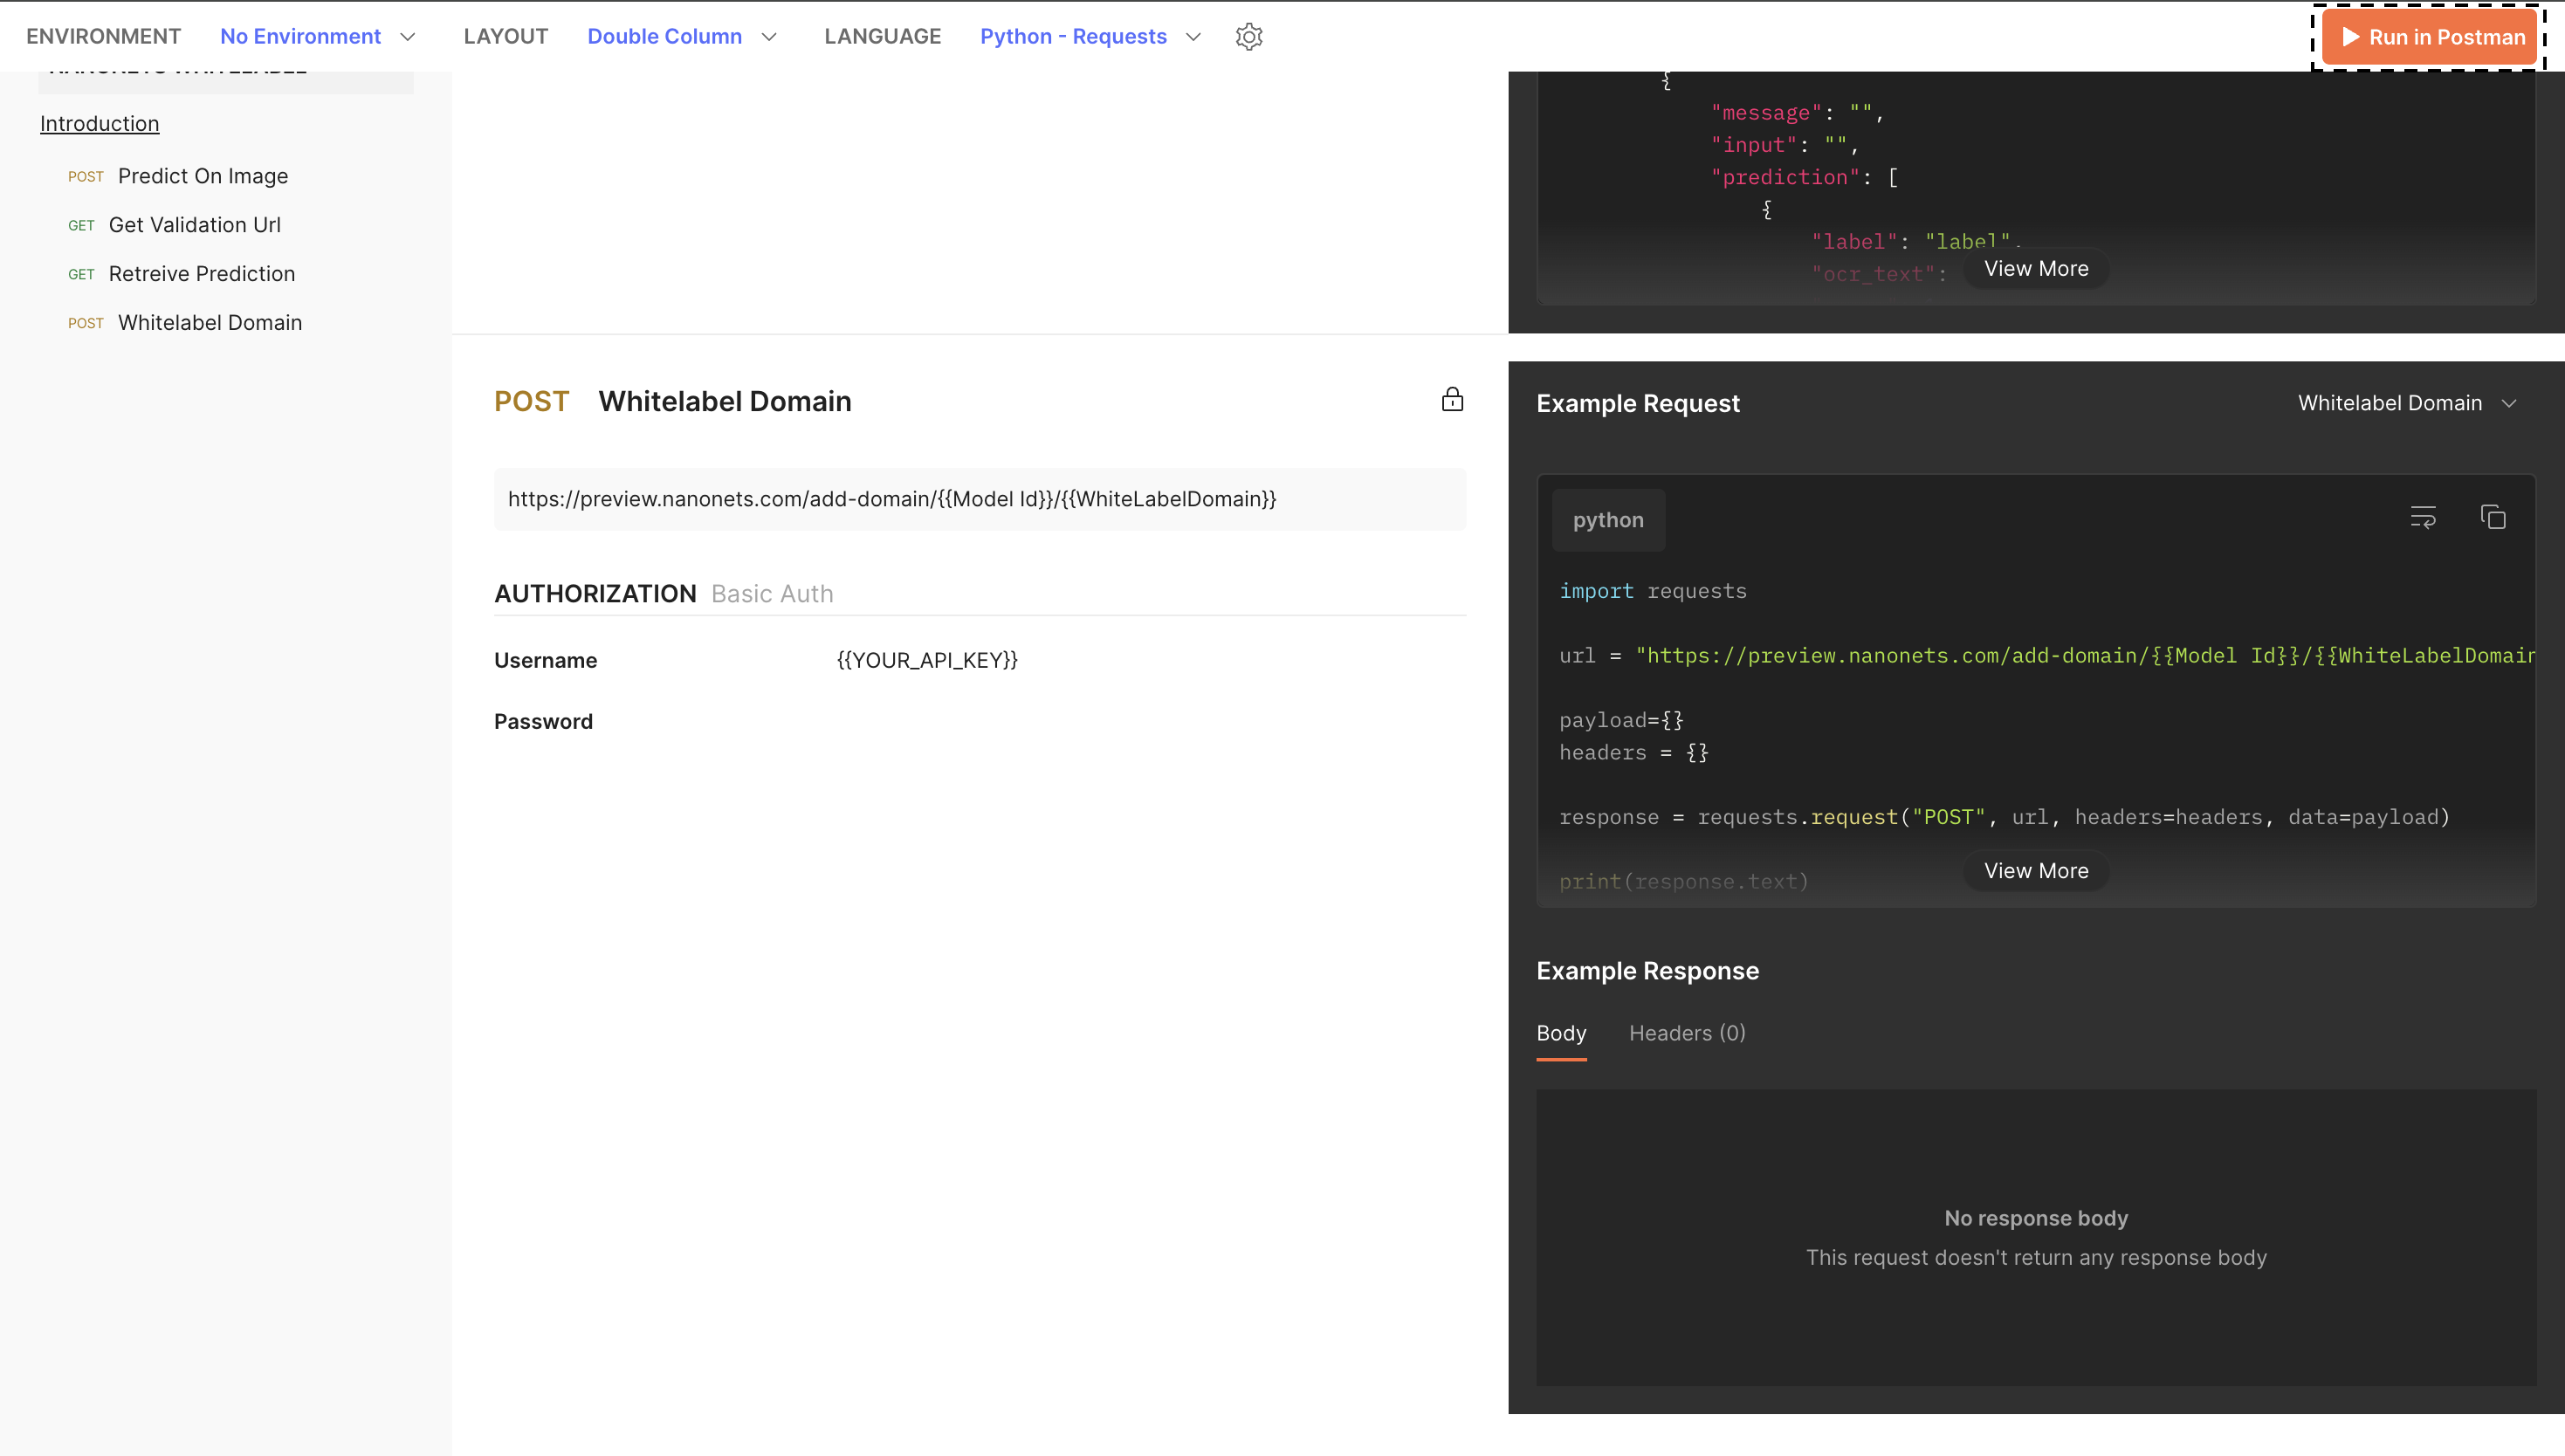
2. Register the Domain with Nanonets
- Then make an API call to add the Domain to your app
Using a Python Script:
Make an API Call: Use the following Python script to register your custom domain with your Nanonets application.
import requests

# API endpoint for adding a domain
url = "https://preview.nanonets.com/add-domain"

# Your custom domain and headers
payload = '{"domain": "mydomain.com"}'
headers = {'Content-Type': 'application/json'}
api_key = 'YOUR_API_KEY'  # Replace with your actual API key

# Making the POST request
response = requests.post(url, data=payload, headers=headers, auth=(api_key, ''))

# Print the response from the server
print(response.text)
Replace "mydomain.com" with your actual domain and "YOUR_API_KEY" with your actual API key.
Using Postman:
You can use the below link to register the domain using postman: https://documenter.getpostman.com/view/13272317/TVsxA6Bc#0a556f93-7d24-478a-9714-ffc15f776582
- Open the Collection URL:
Visit the above link to access the specific Postman documentation. - Run in Postman:
Click the "Run in Postman" button located in the top right corner of the page. This action will prompt Postman to open.
- Import the collection and replace all the variables withe values.
What is redirect_url?Frequently Asked Questions (FAQ)
Theredirectparameter is used to specify a URL where the user will be redirected immediately after they exit the validation screen. For instance, if Google is utilizing this solution and wishes to direct the reviewer to their homepage after they complete the review process, they would set theredirect_linkparameter to 'www.google.com'.
Note: Make sure that the redirect_url parameter value is url encoded
What is callback_url?
The callback_url parameter is used to specify a URL/Endpoint that will receive updates about changes made by the reviewer. These updates are sent in JSON format. For example, if a Webhook is set as the callback_url, it will capture any modifications made to the predicted data on the preview link. This allows real-time data capture and processing.
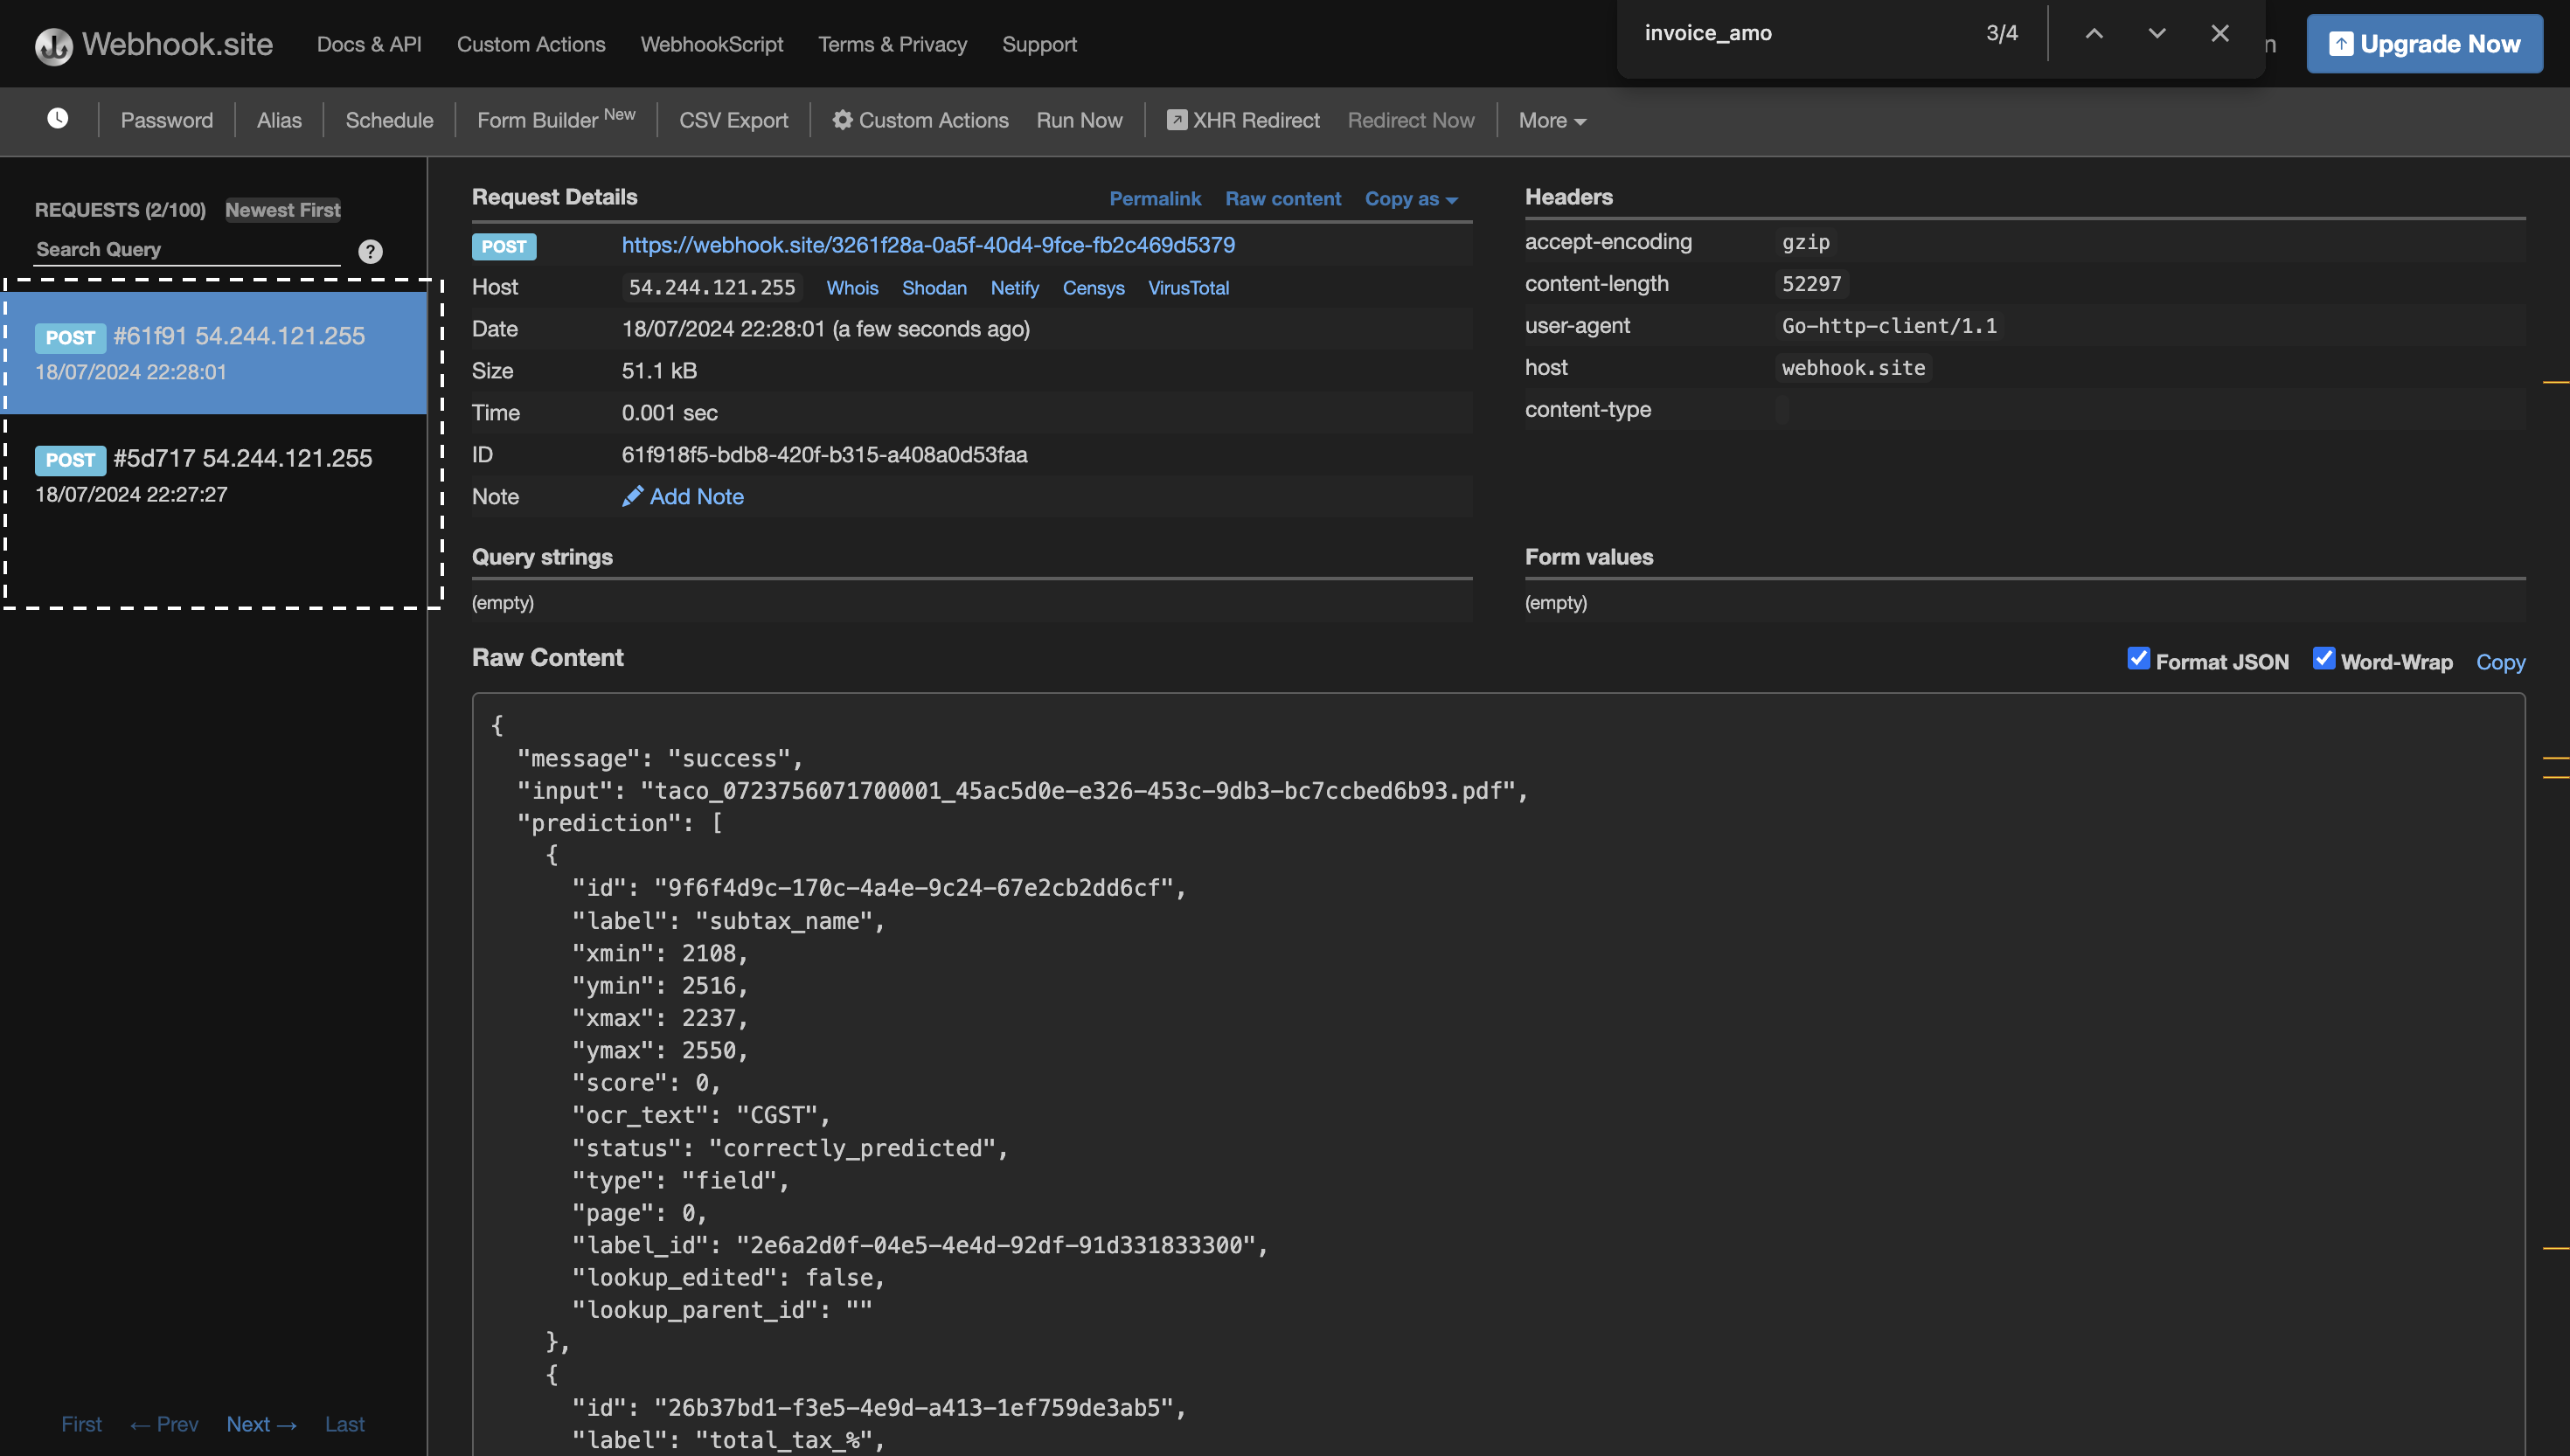
Once you approve the file using the preview, you will receive this JSON response at the callback_url. Additionally, when the reviewer approves the file using the preview link, the file will move to the approved section in the model.
{ "request_file_id": "7b796391-0f30-4e03-803c-d16e8eb56b09", "action": "file_stage_approved" }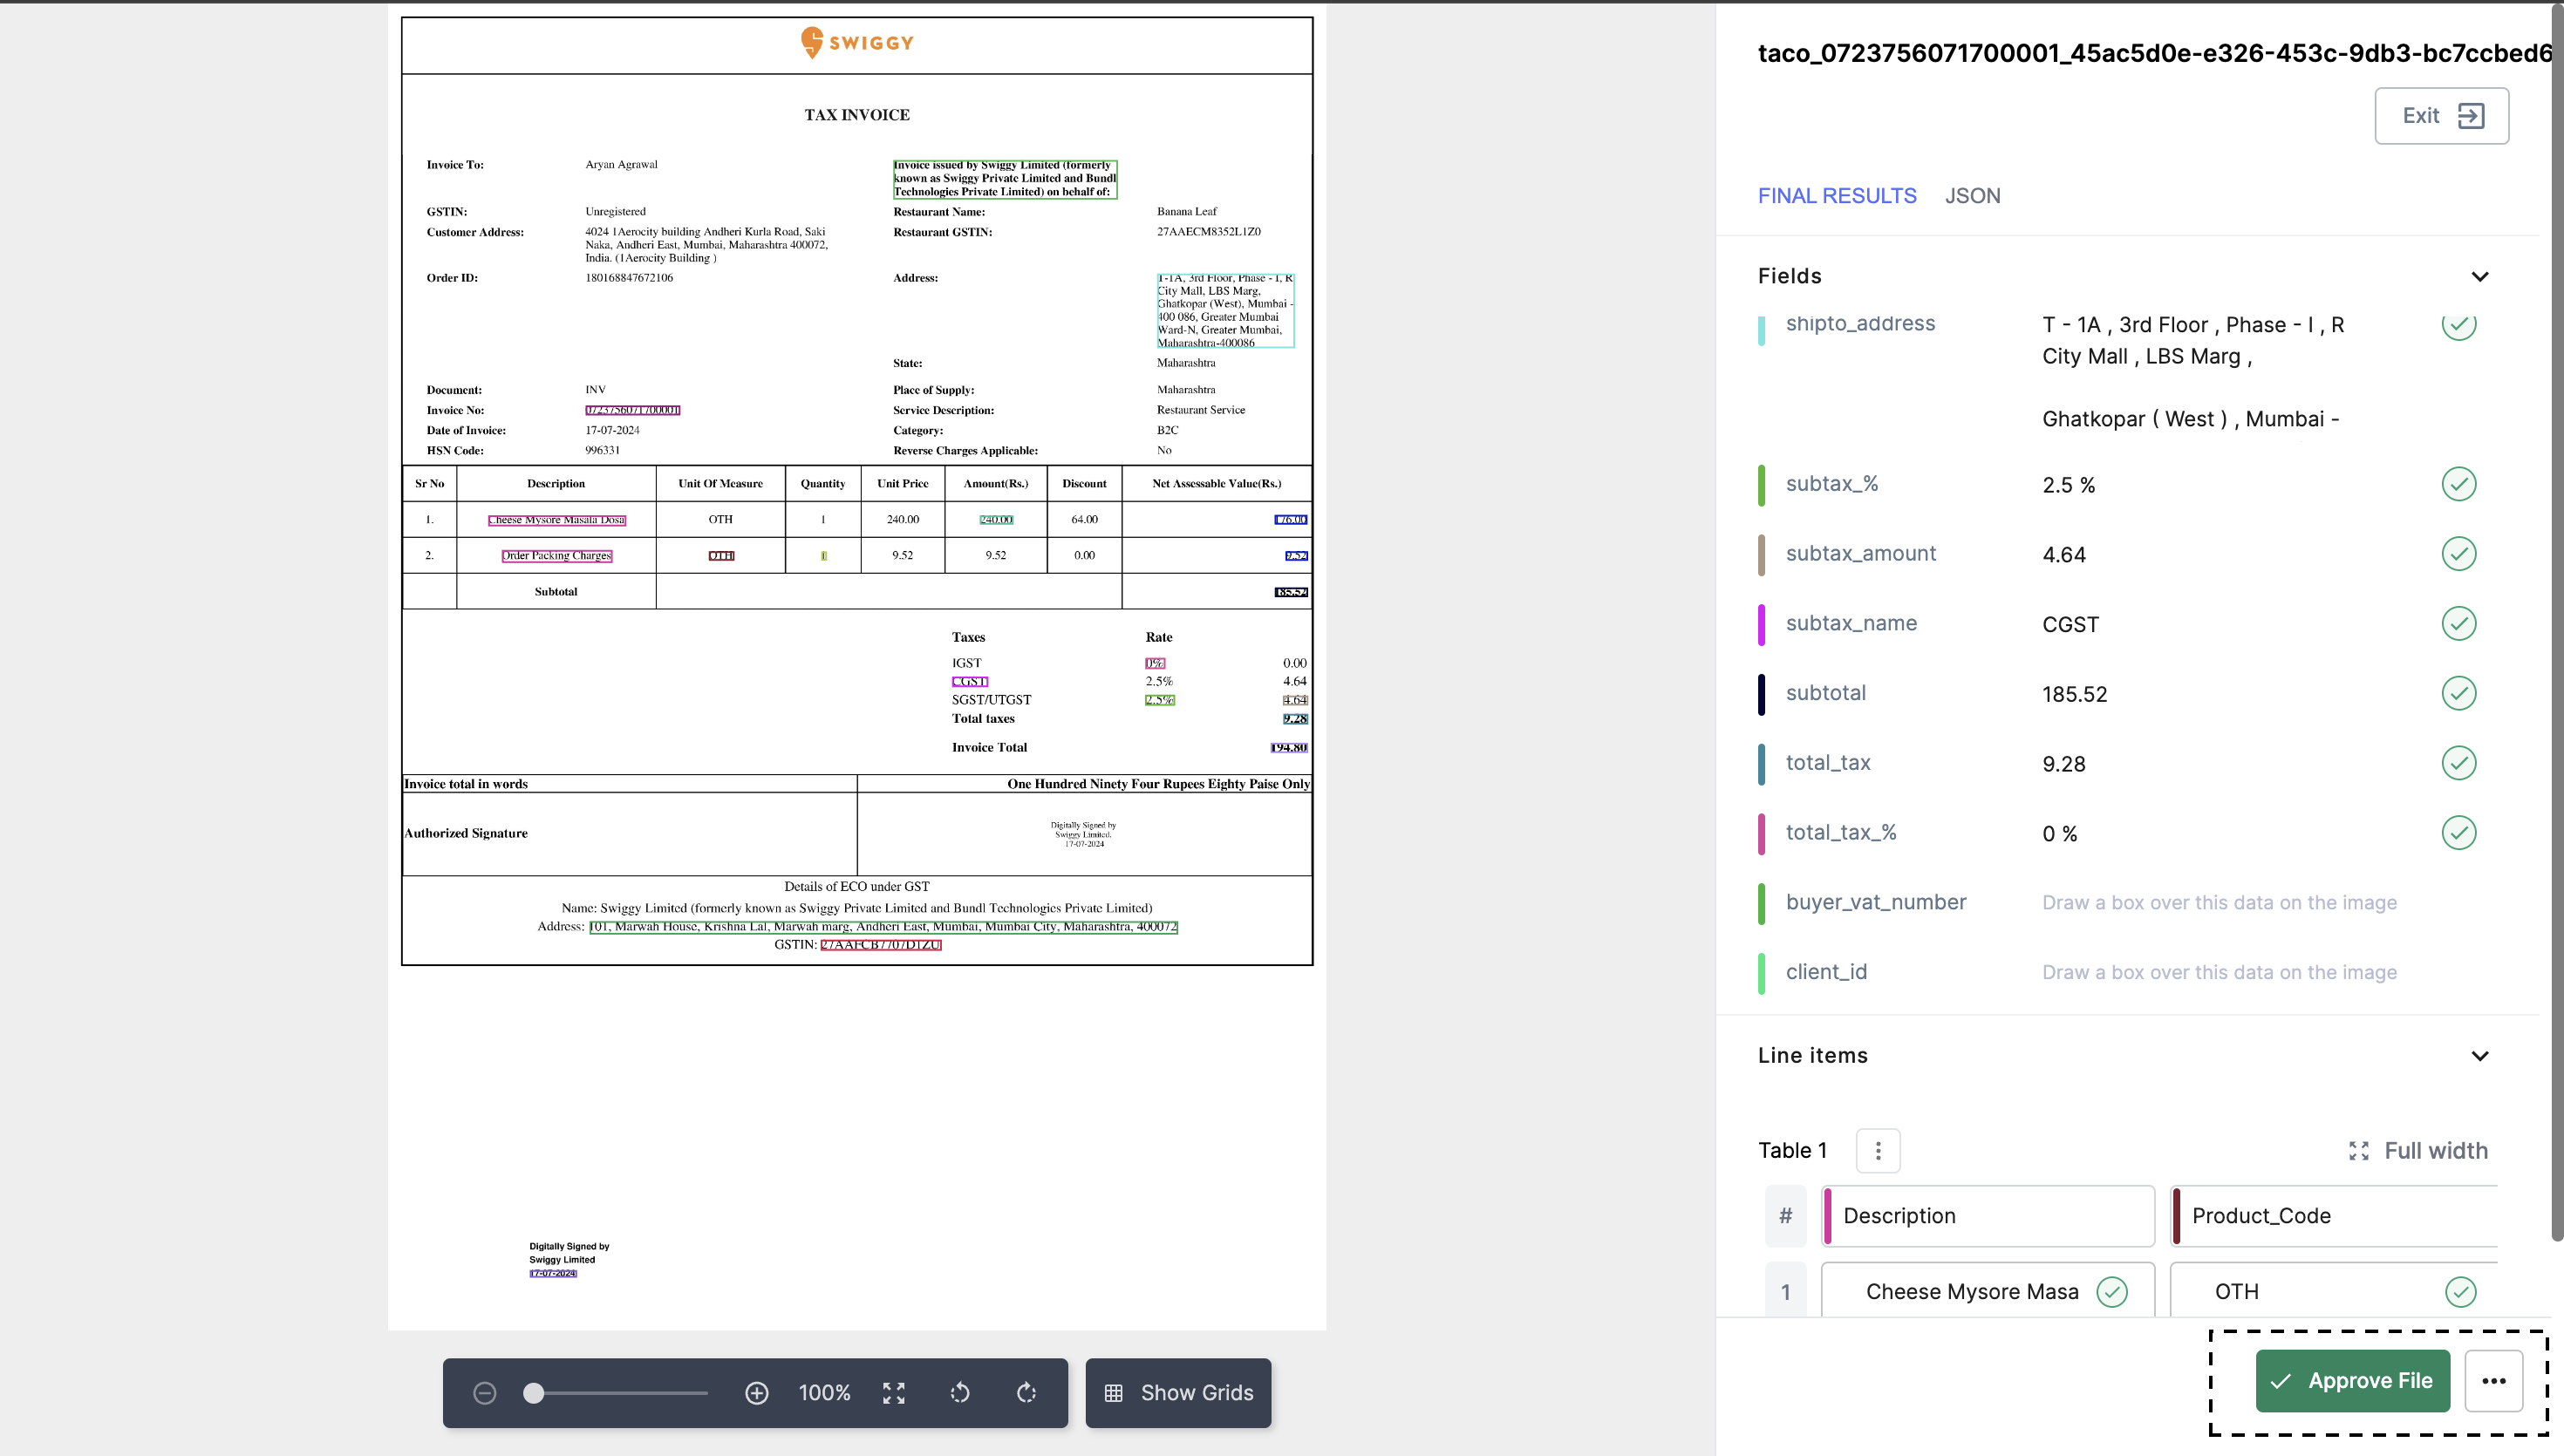
Updated about 1 year ago